
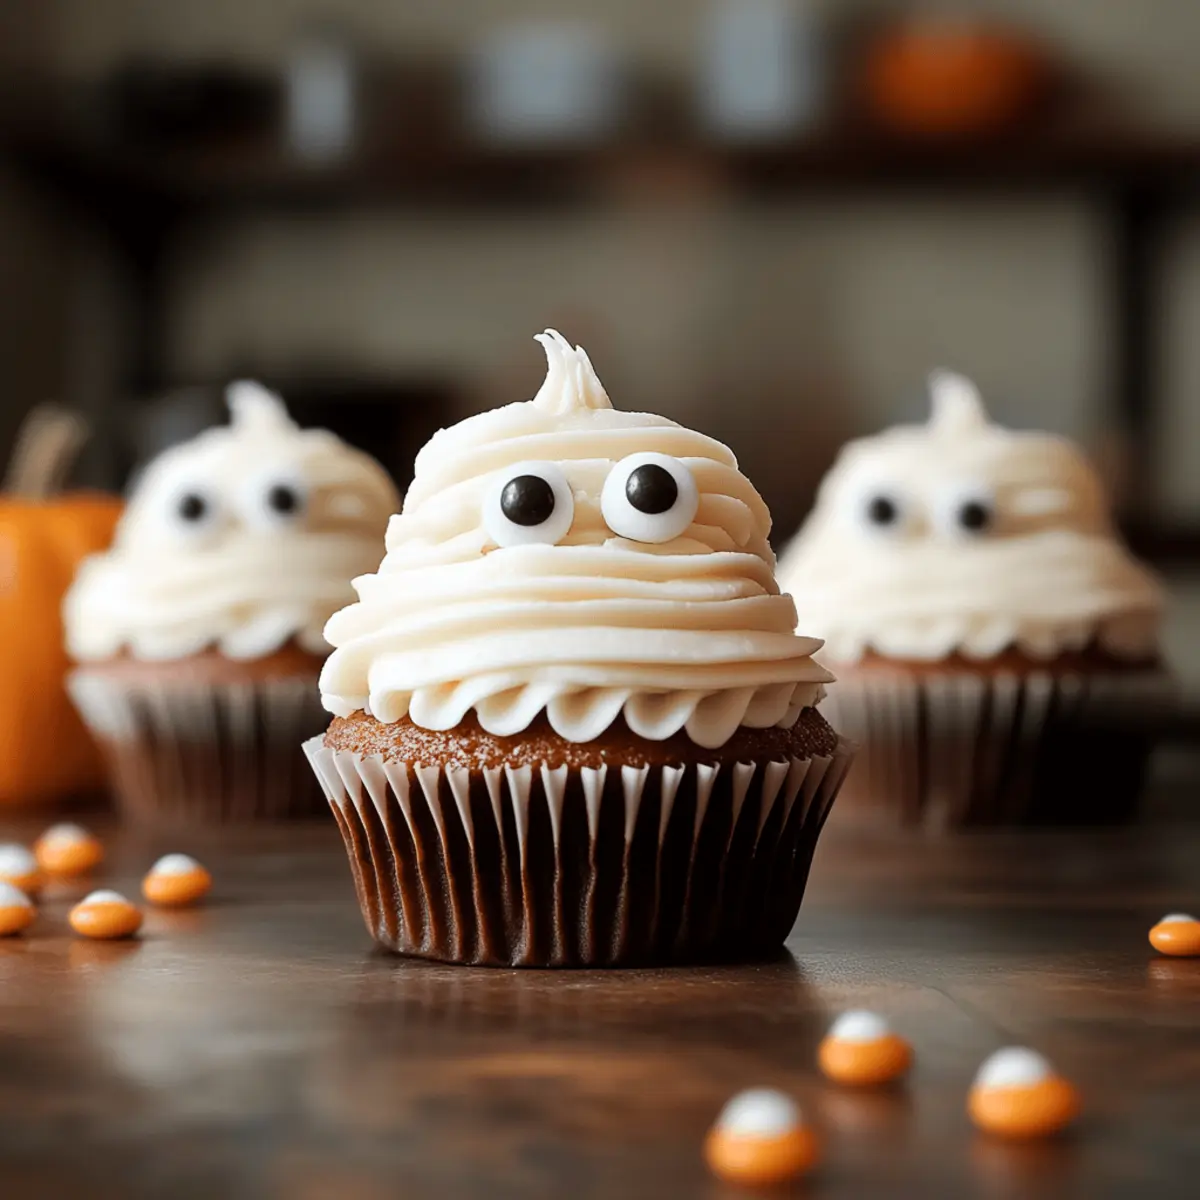
Every October, I find myself wandering through the aisles of colorful candies and spooky decorations, feeling that familiar wave of excitement for Halloween. This year, I’m ready to take my festive spirit to the next level with these adorable Mummy Cupcakes! Not only are they a hit with kids, but they also cater to various dietary needs, ensuring that everyone can join in on the Halloween fun. The soft, moist cake wrapped in fluffy frosting and topped with playful candy eyes creates a whimsical treat that’s perfect for school parties or festive bake sales. Best of all, these cupcakes are quick to whip up, allowing you to focus more on the memories you’re creating with friends and family. Are you ready to bring some spooky cheer to your kitchen?
Why are Mummy Cupcakes a must-try?
Kid-Friendly Delight: These Mummy Cupcakes are perfect for little hands, making them a hit at any Halloween gathering.
Customizable Goodness: Adapt the ingredients to fit dietary needs, with options for low-sugar, dairy-free, or gluten-free alternatives.
Quick and Easy: Bake and decorate in no time, giving you more moments to enjoy the festivities.
Eye-Catching Presentation: The adorable candy eyes and fluffy frosting create a whimsical treat that catches everyone’s attention.
Perfect for Sharing: Whether it’s a spooky school party or a festive bake sale, these cupcakes are sure to please a crowd! For more delicious ideas, check out our Halloween dessert guide to keep your celebrations sweet.
Mummy Cupcake Ingredients
Get ready to whip up some spooky fun with these simple ingredients!
For the Cupcakes
- Cupcake Mix – Use a homemade recipe or a convenient box mix for ease.
- Eggs – Essential for binding the ingredients together; check for substitutions if needed.
- Butter or Dairy-Free Alternative – Adds richness; opt for dairy-free if necessary.
For the Buttercream Frosting
- Powdered Sugar – The sweet base for your frosting; sift for a smoother texture.
- Butter – Gives the frosting that fluffy texture; use dairy-free butter for an alternative.
- Heavy Cream/Dairy-Free Milk – Add for a creamy consistency; adjust for your desired thickness.
- Vanilla Extract – A touch of flavor that enhances the sweetness.
For Decoration
- White Gel Food Coloring – Optional for achieving that brilliant white frosting.
- Candy Eyeballs – These fun decorations are perfect for completing your spooky look.
- Chocolate Ganache/Melted Chocolate – Use for adding “stitch” details on your mummy cupcakes.
For Dietary Modifications
- Low-Sugar Cake Mix – Choose this for a healthier cupcake base without sacrificing flavor.
- Gluten-Free Cake Mix – To accommodate gluten sensitivities, ensuring everyone can enjoy.
- Dairy-Free Buttercream – Easily swap in non-dairy ingredients for those with allergies.
These Mummy Cupcakes are not only a delight to make but also a great way to include everyone in the festive fun!
Step‑by‑Step Instructions for Mummy Cupcakes
Step 1: Preheat and Prepare
Begin by preheating your oven to 350°F (175°C). Line a cupcake pan with paper liners to ensure easy removal of your Mummy Cupcakes. If you’re making the cupcakes from scratch, gather all ingredients and equipment, including bowls, a whisk or mixer, and a spatula. Bake the cupcakes according to your recipe or box mix instructions, usually about 20 minutes, until they’re golden and a toothpick inserted comes out clean.
Step 2: Cool the Cupcakes
Once baked, remove the cupcakes from the oven and allow them to cool in the pan for 5 minutes. Then, transfer them to a wire rack to cool completely, which usually takes about 30–45 minutes. This step is crucial; if the cupcakes are warm, the frosting may melt and lose its fluffy texture when you decorate.
Step 3: Make the Buttercream Frosting
While the cupcakes are cooling, prepare your buttercream frosting. In a mixing bowl, beat together softened butter and powdered sugar until smooth and fluffy, around 3–5 minutes. If desired, add a splash of heavy cream or dairy-free milk to achieve the perfect consistency and a few drops of white gel food coloring for that brilliant white color.
Step 4: Frost the Cupcakes
Once the cupcakes are completely cool, apply a dollop of frosting on top of each cupcake, placing them where the candy eyeballs will sit. This will act as glue for the candy eyes. Ensure the frosting is thick enough to hold them; let your Mummy Cupcakes get a friendly start with these playful decorations.
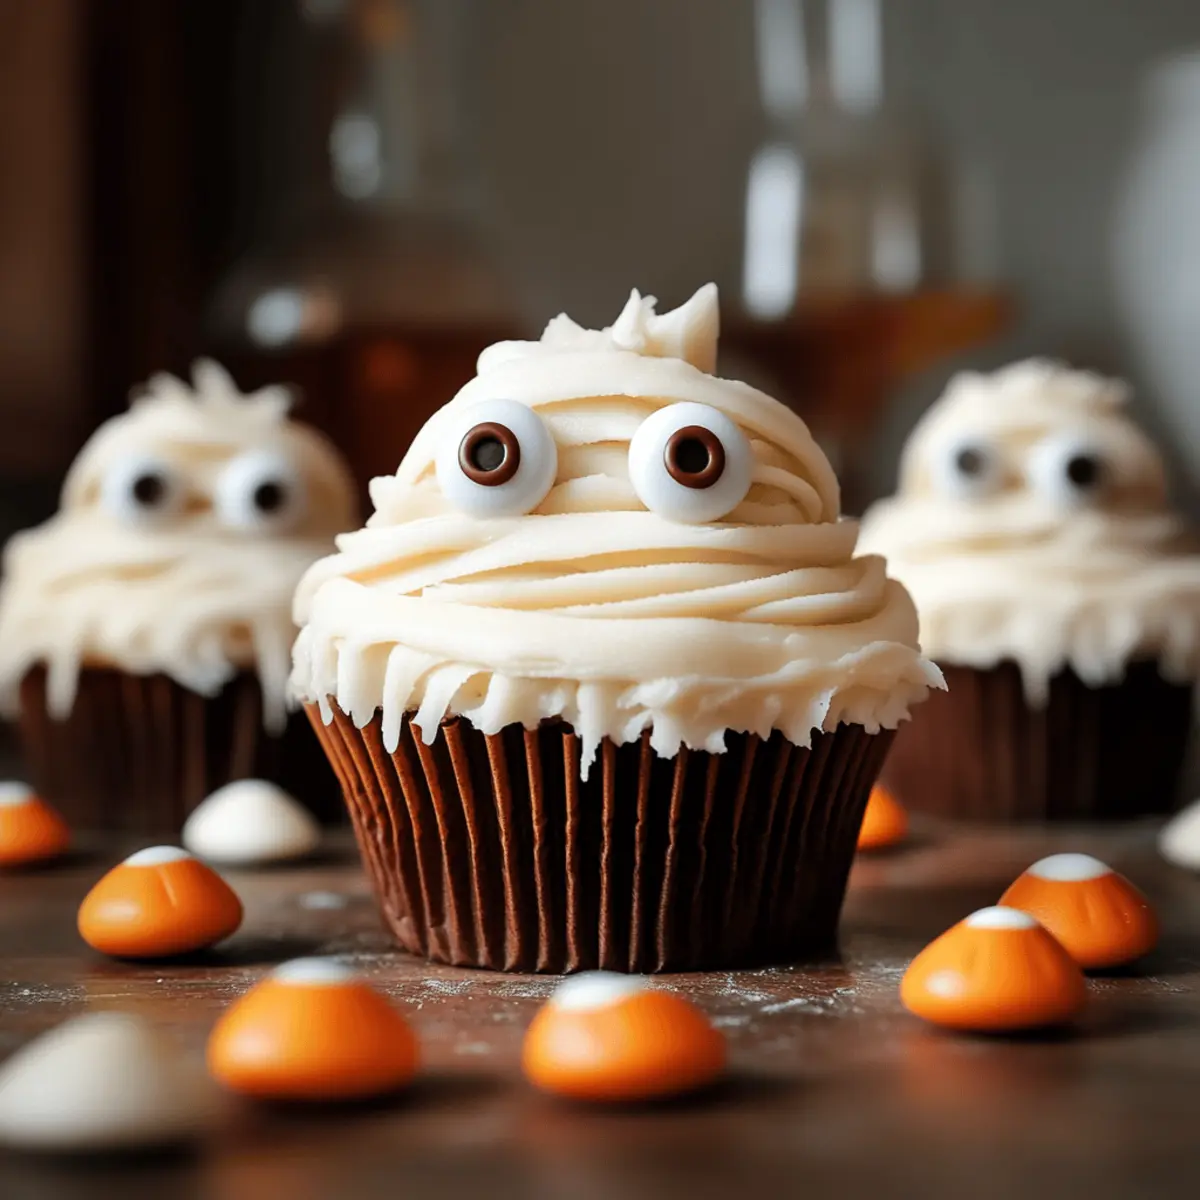
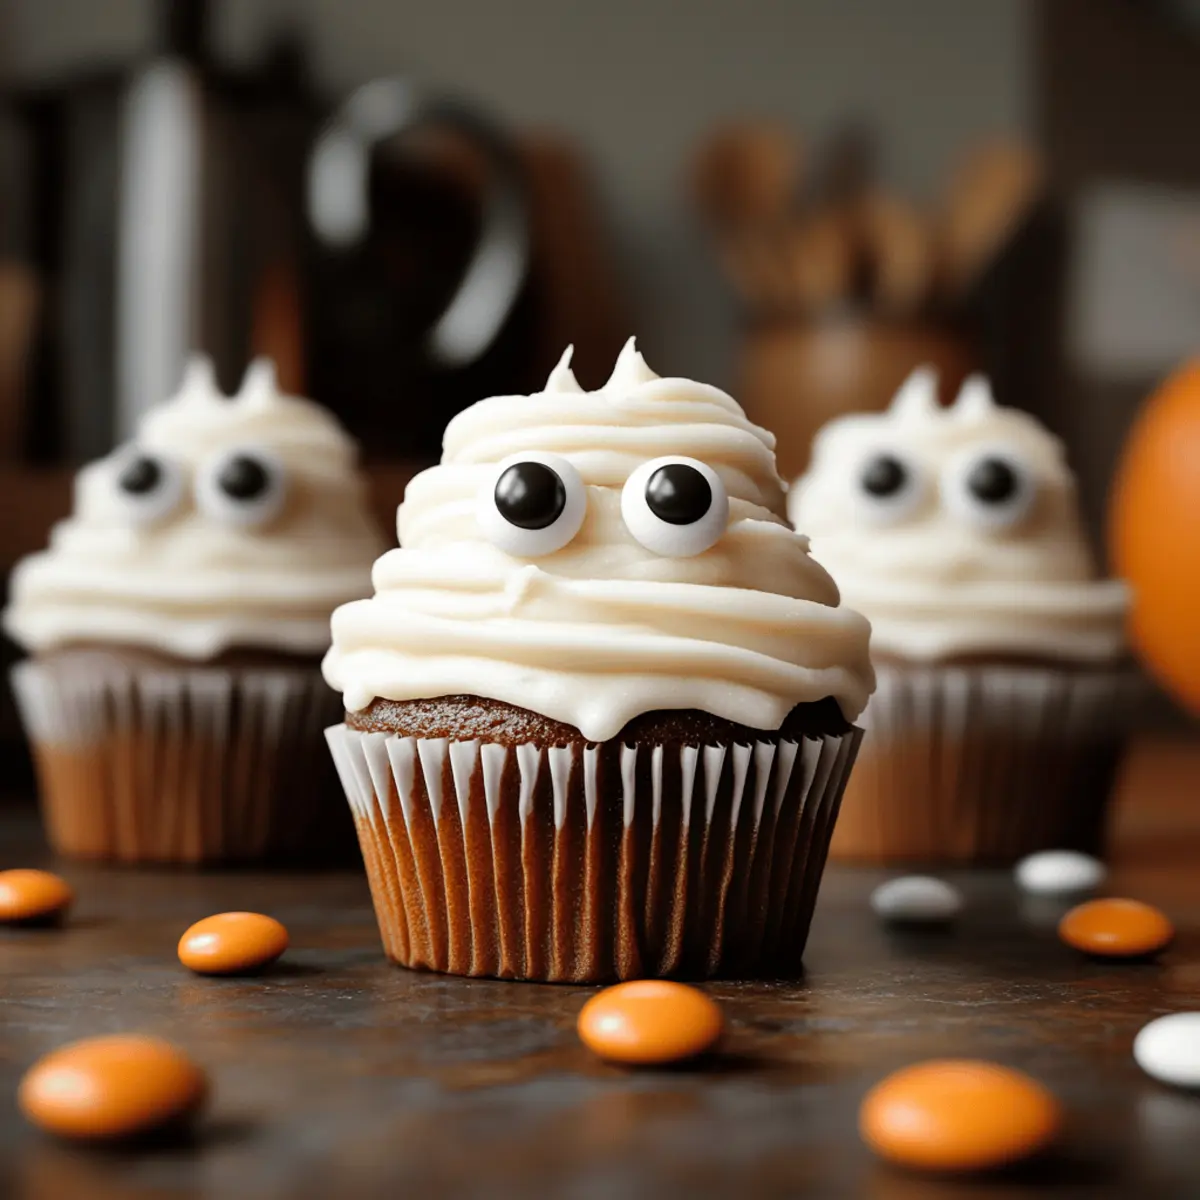
Step 5: Pipe the Mummy Wrappings
Fill a piping bag with the remaining frosting and use a small round tip. Pipe crisscross lines over the cupcakes to mimic mummy bandages, making sure to leave the eyes peeking through. Apply gentle pressure and create an overlapping pattern that gives your Mummy Cupcakes their spooky, wrapped appearance.
Step 6: Add the Candy Eyes
Press candy eyeballs gently into the frosted tops, positioning them in front of the crisscross lines. Ensure they are slightly embedded in the frosting to create an appealing 3D effect. This playful addition brings your Mummy Cupcakes to life and makes them extra fun for kids and adults alike.
Step 7: Detail with Chocolate
To add character, melt chocolate or prepare chocolate ganache in a microwave or on the stovetop. Transfer the melted chocolate to a piping bag, and carefully squeeze out a few lines or dots to create “stitches” or “cracks” on your mummies. This finishing touch will enhance the spooky, Halloween vibe.
Step 8: Chill and Serve
Once decorated, place the Mummy Cupcakes in the refrigerator for about 10–15 minutes to firm up the frosting and chocolate details. This step will ensure that everything stays in place when serving. After they are set, they are ready to delight at your Halloween celebration!
Mummy Cupcakes Variations & Substitutions
Feel free to make these delightful Mummy Cupcakes uniquely yours with a few simple twists!
-
Gluten-Free: Substitute regular flour with a gluten-free cake mix to ensure everyone can enjoy these treats.
-
Dairy-Free: Use plant-based butter and milk for a creamy frosting without dairy, perfect for lactose intolerant guests.
-
Low-Sugar: Opt for a low-sugar cake mix and sweetener in your frosting to enjoy the fun without too much guilt. Perfect for health-conscious bakers!
-
Vegan: Swap eggs for applesauce or flax meal and use dairy-free buttercream for a truly inclusive cupcake everyone will love.
-
Flavor Boost: Add a splash of vanilla or almond extract to your frosting for an extra layer of delicious flavor!
-
Chocolate Lovers: Surprise everyone by adding cocoa powder to the cupcake mix for a rich chocolate twist, topped with vanilla frosting for contrast.
-
Different Toppings: Instead of candy eyeballs, use mini chocolate chips or colored sprinkles for an equally playful look.
-
Spice It Up: Add a pinch of cinnamon or nutmeg to the cupcake mix for a hint of warmth; it’s delicious and seasonal.
If you’re looking for more thematic inspiration, consider checking out our collection of Halloween dessert ideas that’ll keep your celebrations extra sweet!
Embrace the creative process of baking, and remember, each variation is an opportunity to share a little love with family and friends.
How to Store and Freeze Mummy Cupcakes
Room Temperature: Keep assembled Mummy Cupcakes in an airtight container at room temperature for up to 2 days to maintain their soft, moist texture.
Fridge: If you’ll be storing them longer, place the cupcakes in the fridge, where they can stay fresh for up to a week. Let them come to room temperature before serving to enjoy the full flavor.
Freezer: For longer storage, wrap each cupcake individually in plastic wrap and place them in a freezer-safe bag. They can be frozen for up to 3 months. Thaw in the fridge overnight before decorating or serving.
Reheating: For best results, allow thawed cupcakes to sit at room temperature for about 30 minutes before enjoying. This way, your Mummy Cupcakes will be deliciously inviting!
Expert Tips for Mummy Cupcakes
- Cooling is Key: Allow the cupcakes to cool completely before frosting. Warm cupcakes will melt the frosting, ruining your mummy’s look.
- Chill the Frosting: If your buttercream is too soft, chill it briefly before piping. A firmer frosting holds shape better for decorating your Mummy Cupcakes.
- Piping Techniques: Use a piping bag with a small round tip for crisscrossing the frosting. Practice on parchment first if you’re unsure; it makes a difference!
- Storage Wisdom: Keep assembled cupcakes in an airtight container at room temperature for up to 2 days, or refrigerate if longer storage is needed.
- Customize Decor: Get creative! Use different candies for eyes or alternate colors for frosting to match your Halloween theme while keeping them kid-friendly.
Make Ahead Options
These Mummy Cupcakes are perfect for meal prep enthusiasts looking to save time during the Halloween rush! You can bake the cupcakes and store them in an airtight container for up to 3 days at room temperature. For the frosting, prepare it in advance and refrigerate it for up to 24 hours; just give it a quick whip before use to restore its fluffiness. When you’re ready to serve, simply frost and decorate your cupcakes, adding the candy eyes and any chocolate details. This way, you’ll have adorable Mummy Cupcakes ready with minimal effort, allowing you to enjoy the spooky festivities without the last-minute stress!
What to Serve with Spooky Mummy Cupcakes?
The perfect Halloween celebration calls for delightful accompaniments that enhance the festive spirit of these spooky treats.
- Witch’s Brew Punch: This fruity, fizzy drink adds a refreshing element, making it a hit among kids and adults alike. Serve in a cauldron for an extra spooky touch!
- Ghostly Fruit Skewers: Combine grapes, bananas, and marshmallows for a colorful and healthy side, perfect for balancing the sweetness of the cupcakes. The playful presentation is sure to delight young guests.
- Crispy Potato Wedges: These are savory and comforting, providing a delicious contrast to the sugary sweetness of your Mummy Cupcakes. They’re easy to prepare and can be customized with various seasonings.
- Monster Veggie Platter: Arrange colorful veggies with a vibrant dip to keep the health-conscious happy. This colorful spread offers a crunchy contrast and keeps the spooky theme going strong.
- Mini Pumpkin Pies: Add a seasonal touch with these bite-sized desserts. The warm spices will enhance the Halloween atmosphere while satisfying those who crave something a bit less sweet.
- Chocolate Milkshake: Complete the dessert table with rich and creamy milkshakes flecked with Halloween-themed sprinkles. Children will adore this indulgent treat while balancing flavors on the table.
- Spooky Candy Corn Parfaits: Layer candy corn with vanilla yogurt for a fun, festive dessert that mirrors the colors of Halloween. It’s simple yet visually appealing!
- Apple Cider Floats: Warm apple cider topped with vanilla ice cream creates a cozy, festive vibe, and it’s perfect for celebrating the season. Enjoy it warm or iced, depending on your preference!
These pairings will elevate your spooky spread, ensuring every bite and sip celebrates the Halloween spirit!
Mummy Cupcakes Recipe FAQs
How do I choose the right cupcakes for Mummy Cupcakes?
Absolutely! You can either bake cupcakes from scratch using your favorite recipe or choose a box mix for convenience. If you opt for a box mix, look for one that is moist and light, ideally one you and your family love.
What’s the best way to store Mummy Cupcakes?
You’ll want to keep these little mummies fresh! Store assembled Mummy Cupcakes in an airtight container at room temperature for up to 2 days. If they need to last longer, refrigerate them. Just remember to bring them back to room temperature for the tastiest treat!
Can I freeze Mummy Cupcakes?
Definitely! To freeze, wrap each cooled cupcake individually in plastic wrap, then place them in a freezer-safe bag. They can be frozen for up to 3 months. When you’re ready to enjoy, thaw them in the fridge overnight, and let them sit at room temperature for about 30 minutes before serving.
What if my buttercream frosting is too soft?
Ah, don’t worry! If your frosting is too soft for piping, it’s a common issue. Chill your frosting in the refrigerator for about 15-20 minutes to firm it up. If it’s still too loose, you can add a bit more powdered sugar to stiffen it. Just mix it in a little at a time until you reach the desired consistency.
Are these Mummy Cupcakes suitable for allergies?
Absolutely! These cupcakes can easily accommodate dietary restrictions. For nut allergies, be sure to choose nut-free cake mixes and butter alternatives. You can also substitute ingredients to be low-sugar, dairy-free, or gluten-free, making them a delightful treat for everyone at the party!

Delicious Mummy Cupcakes for a Spooktacular Halloween Treat
Ingredients
Equipment
Method
- Preheat your oven to 350°F (175°C). Line a cupcake pan with paper liners. Bake the cupcakes according to your recipe or box mix instructions for about 20 minutes.
- Remove the cupcakes from the oven and cool them in the pan for 5 minutes. Then, transfer to a wire rack to cool completely, about 30-45 minutes.
- Prepare the buttercream frosting by beating together softened butter and powdered sugar until smooth and fluffy, about 3-5 minutes. Add heavy cream or dairy-free milk as needed.
- Once cooled, apply a dollop of frosting on top of each cupcake where the candy eyeballs will sit.
- Fill a piping bag with the remaining frosting and pipe crisscross lines over the cupcakes to mimic mummy bandages.
- Gently press candy eyeballs into the frosted tops of the cupcakes.
- Melt chocolate and transfer to a piping bag. Squeeze out lines to create 'stitches' or 'cracks'.
- Chill the decorated cupcakes in the refrigerator for about 10-15 minutes before serving.
Leave a Reply