
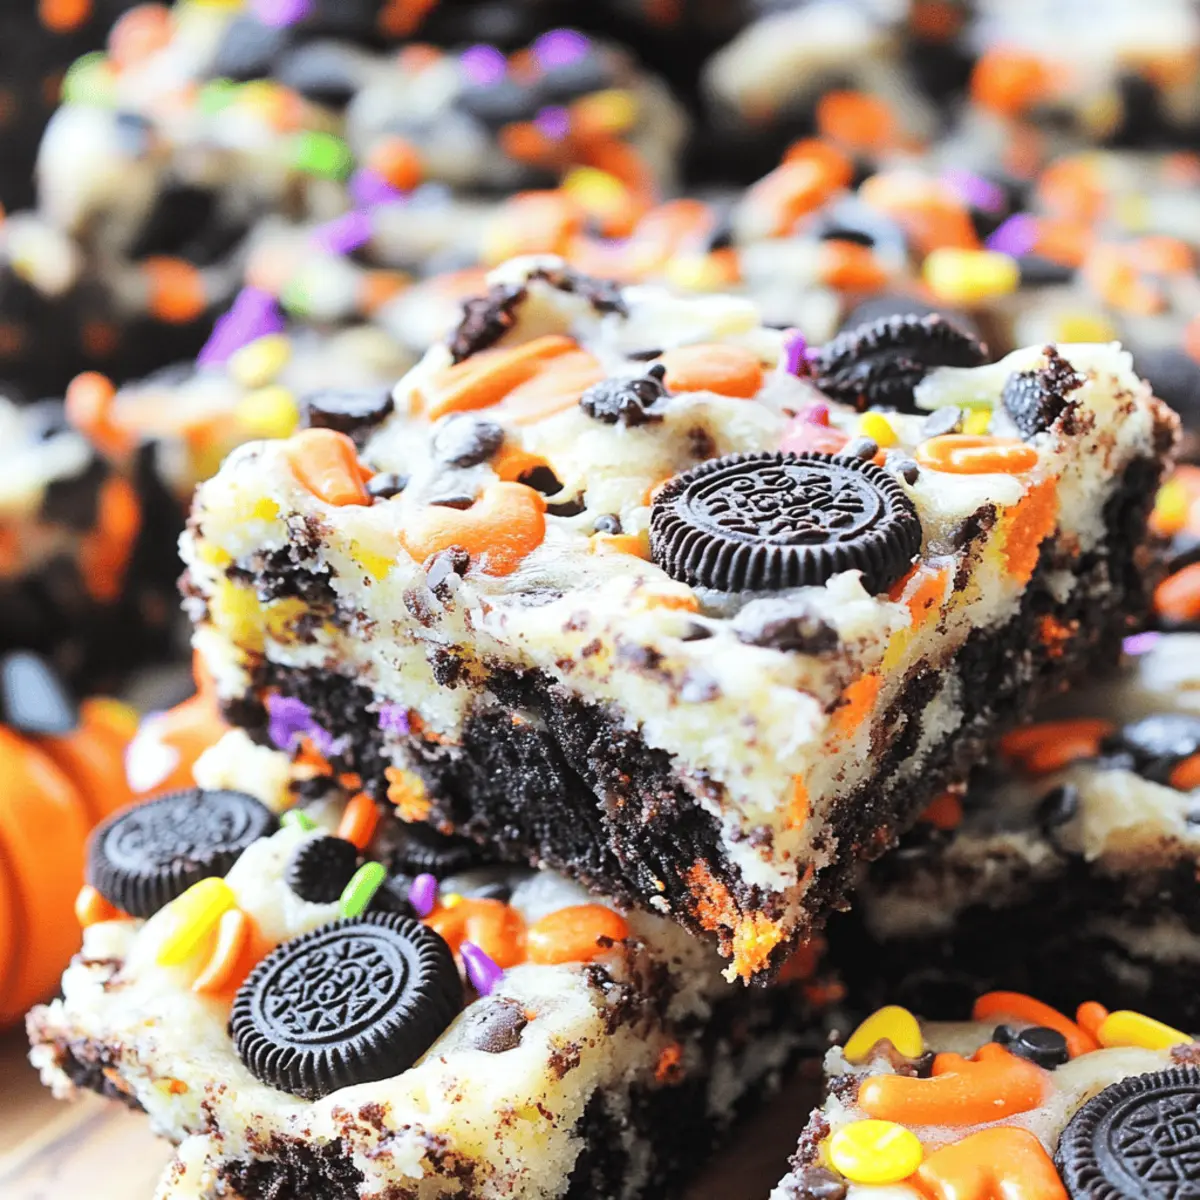
As autumn leaves begin to swirl and pumpkins adorn doorsteps, my thoughts turn to cozy treats that embody the spirit of the season. This is where my Easy Halloween Oreo Cake Bars come into play, perfectly blending festive fun with delightful flavors. They’re not just a breeze to whip up—taking minimal time and effort—but also a surefire way to captivate both kids and adults alike at any holiday gathering. With their soft cake-like texture and vibrant sprinkles, these bars promise a festive twist that elevates your dessert game without overwhelming your schedule. So, are you ready to add a touch of Halloween magic to your dessert table? Let’s dive in!
Why Are These Cake Bars a Must-Try?
Simplicity Meets Flavor: These Easy Halloween Oreo Cake Bars are incredibly easy to make, taking only a few minutes to prepare before they hit the oven.
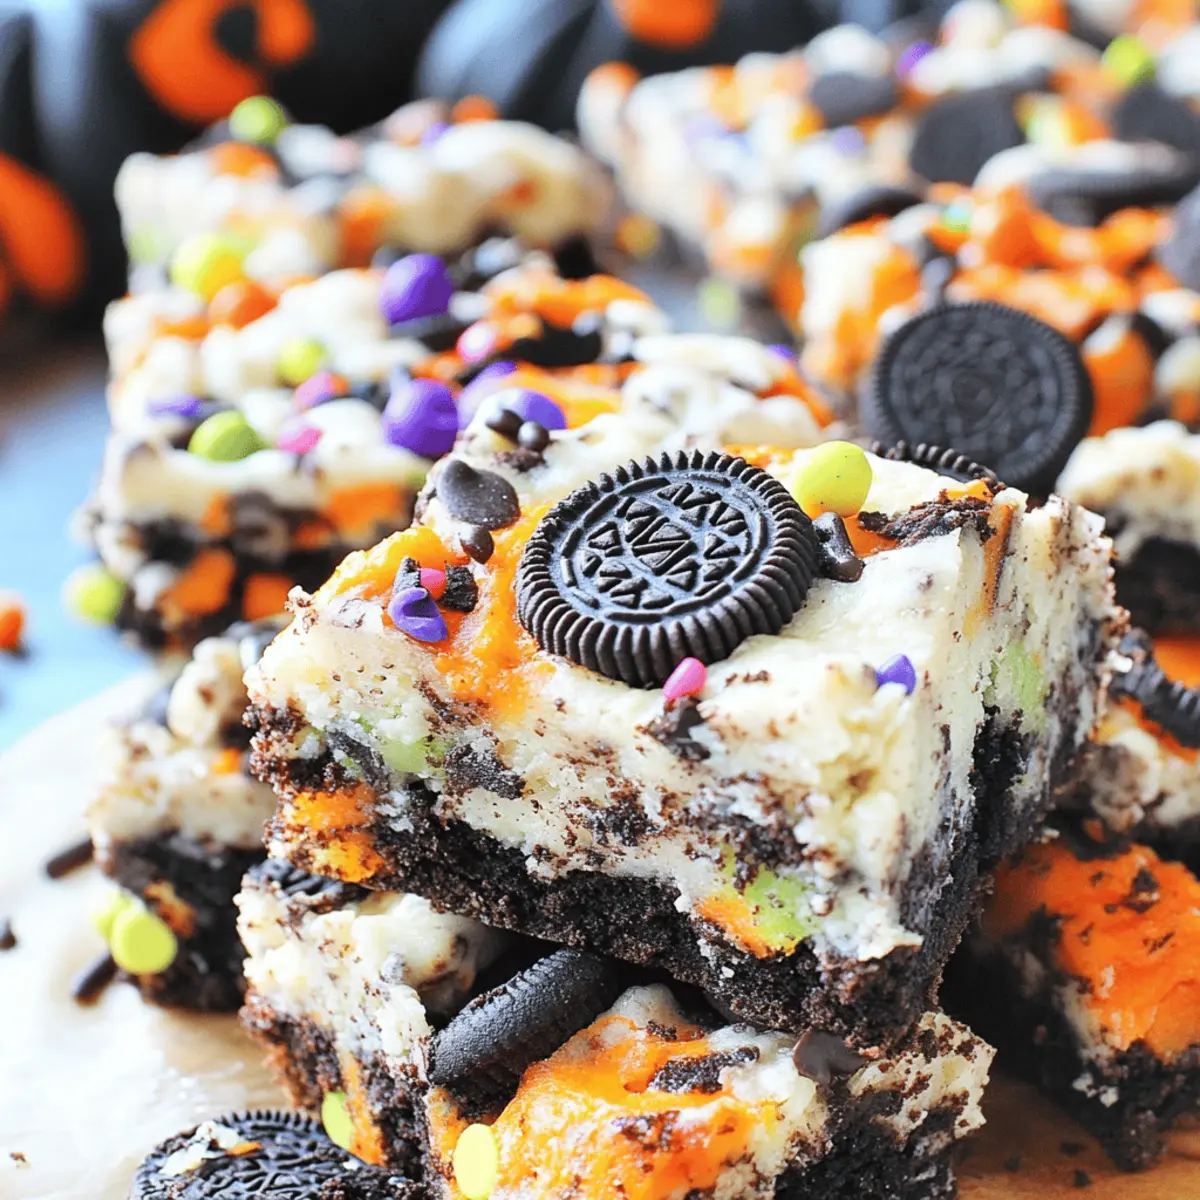
Festive Presentation: The vibrant colors from the Halloween sprinkles transform your dessert into an Instagram-worthy treat, making it ideal for gatherings.
Kid-Friendly Appeal: With the beloved Oreo cookies blended into soft cake, they’re a hit among both kids and adults—perfect for your next party!
Versatile Customization: You can easily swap in different cake mix flavors or toppings, ensuring that every batch can be uniquely yours!
Time-Saving Delight: In just 25 minutes of baking, you’ll have an impressive dessert that requires no complicated techniques or lengthy prep, just like my Apple Crumb Cake.
Crowd-Pleaser: These bars are guaranteed to disappear quickly, making them a great choice for potlucks or family gatherings. Add a side of whipped cream for an extra touch of indulgence!
Halloween Oreo Cake Bars Ingredients
For the Cake Mixture
• Cake Mix – The base of the bars provides sweetness and structure; substitute with any flavor you prefer to create your own twist!
• Milk – Adds moisture to the batter; use whole or 2% milk for optimal creaminess.
• Oil – Keeps the bars moist and tender; you can use melted butter as a flavorful alternative.
• Eggs – Binds the mixture together while adding richness; remember to beat them before adding for even mixing.
For the Fun Add-ins
• Halloween Oreos – The star ingredient that gives these bars festive flavor; if unavailable, regular Oreos can easily replace them.
• Halloween Sprinkles – Sprinkles add a cheerful touch and beautiful color; feel free to mix up colors for your particular festive theme.
Make your holiday gatherings unforgettable with these delightful Halloween Oreo Cake Bars that are as fun to make as they are to eat!
Step‑by‑Step Instructions for Halloween Oreo Cake Bars
Step 1: Prepare the Pan
Start by preheating your oven to 350°F (175°C). While it heats, line a 13 x 9-inch baking pan with parchment paper, leaving some overhang for easy removal later. This step ensures that your delightful Halloween Oreo Cake Bars will come out smoothly and remain intact for cutting.
Step 2: Make the Batter
In a large mixing bowl, combine your cake mix, milk, oil, and eggs. Using an electric mixer, blend the ingredients on medium speed until everything is well combined and forms a smooth batter, which should take about 2-3 minutes. Add half of your Halloween sprinkles, folding them in gently to maintain their vibrant colors as you create the perfect cake mixture.
Step 3: Layer Oreos
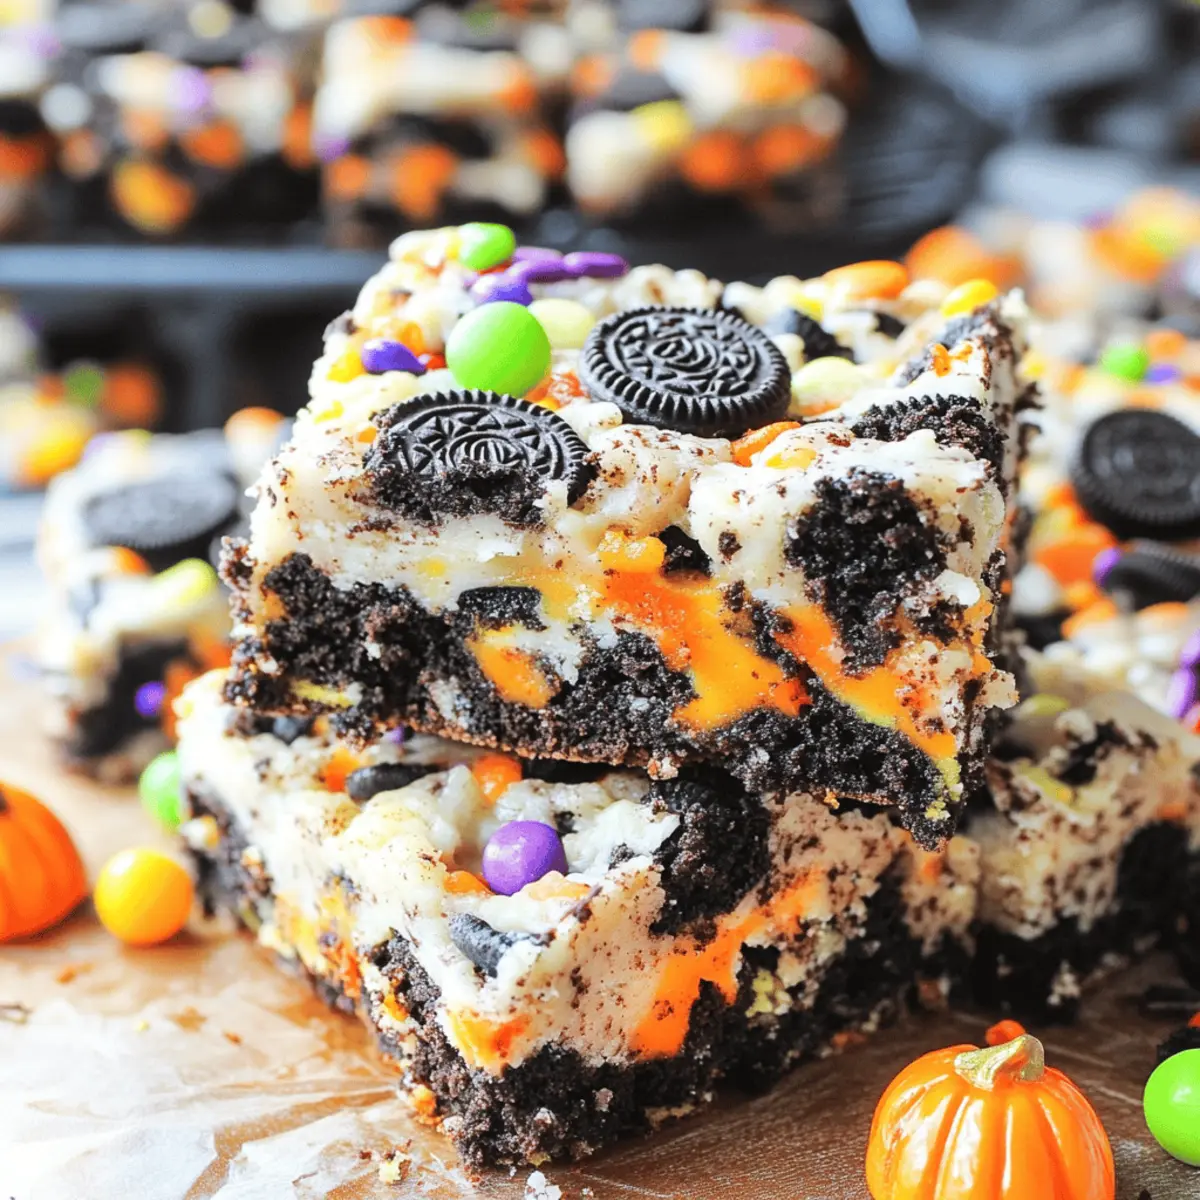
Grab your prepared baking pan and sprinkle half of the chopped Halloween Oreos evenly across the bottom. This layer will add great flavor and texture to your cake bars, so spread them out well to ensure every bite is packed with the festive taste of Oreos.
Step 4: Add Batter
Carefully spoon the cake batter over the layer of Oreos, using a spatula to smooth it out evenly from corner to corner. The batter should be thick and sit snugly over the cookie layer, creating a seamless blend of cake and treats. Take your time to ensure it’s evenly distributed for baking.
Step 5: Top with Sprinkles & Oreos
Now it’s time to add a finishing touch! Sprinkle the remaining Halloween sprinkles and the rest of the chopped Oreos over the top of your batter. Gently press them down into the mixture, ensuring they stick to the surface and add a burst of color that makes these Halloween Oreo Cake Bars truly festive.
Step 6: Bake
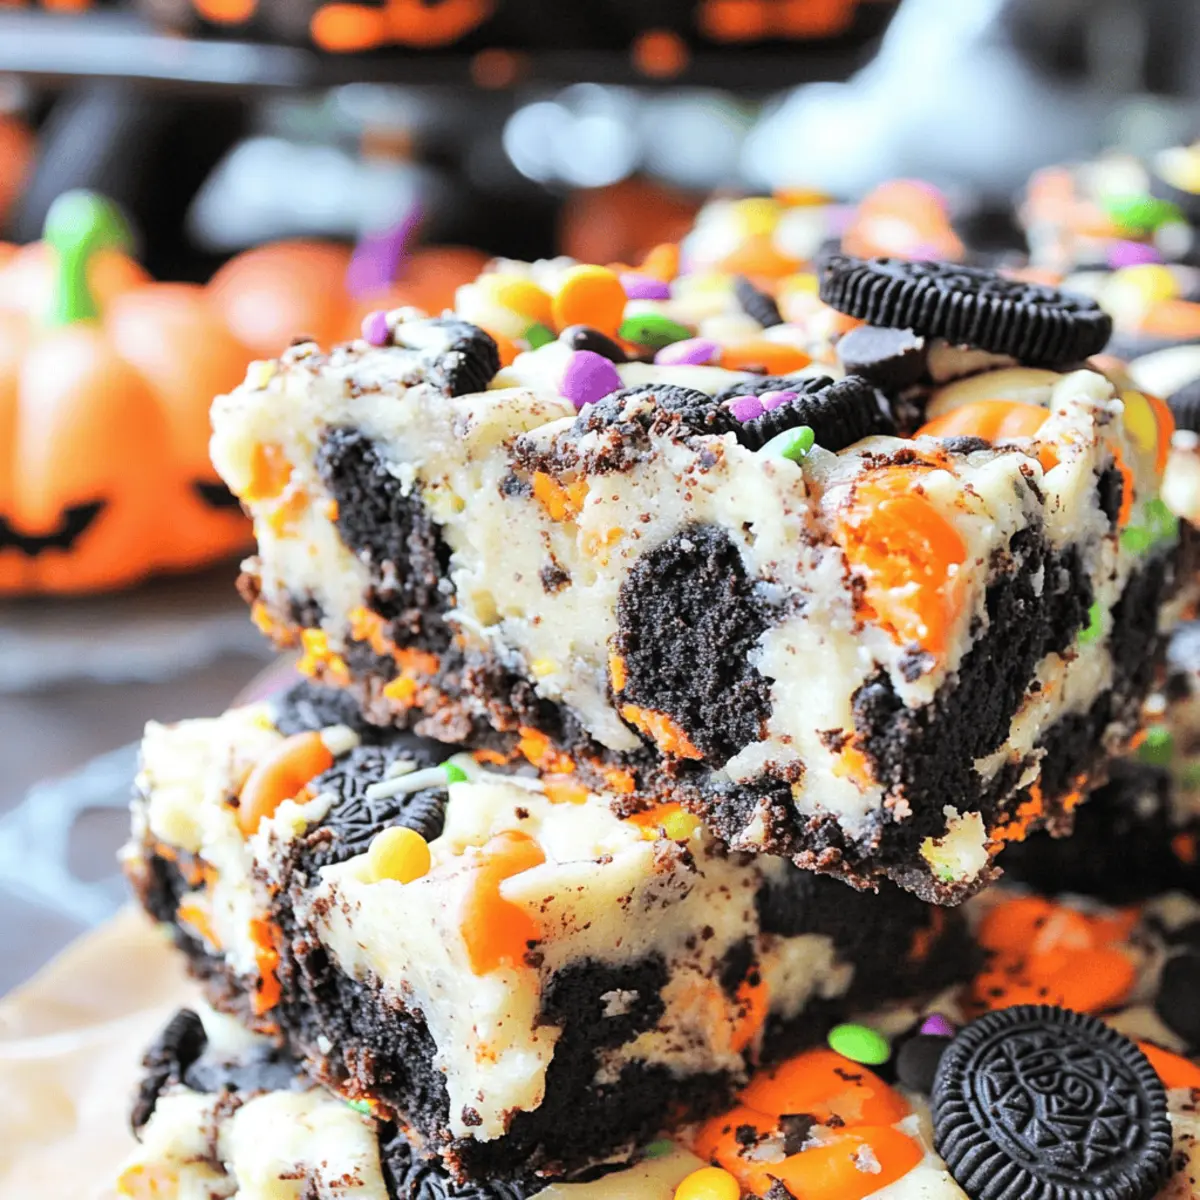
Place your pan in the preheated oven and bake for 20-25 minutes. Keep an eye on them; they are done when the top is set and a toothpick inserted in the center comes out clean. Once baked, remove from the oven and let the cake bars cool completely in the pan before slicing into squares for a delicious treat!
What to Serve with Easy Halloween Oreo Cake Bars
Make your dessert spread unforgettable by complementing these bars with delightful accompaniments that enhance the spooky season.
-
Whipped Cream:
Light and fluffy whipped cream brings a creamy contrast that balances the sweetness of the cake bars perfectly. -
Vanilla Ice Cream:
Serve a scoop of vanilla ice cream alongside for a deliciously cold and creamy addition that melts beautifully on warm bars. -
Pumpkin Spice Latte:
This seasonal favorite pairs harmoniously with the chocolatey bars, enhancing the fall flavors and keeping cozy vibes alive. -
Chocolate Drizzle:
A warm drizzle of melted chocolate adds richness and a touch of decadence to every bite of your Halloween Oreo Cake Bars. -
Candied Apples:
Crunchy candied apples bring a fresh, fruity element that contrasts nicely with the indulgent sweetness of the bars. They’re a perfect fall treat! -
Caramel Sauce:
A drizzle of buttery caramel not only looks tempting but adds a delightful sweetness that pairs wonderfully with the crunchy Oreos. -
Pumpkin Pie:
This traditional dessert offers a spiced, creamy option that complements the chocolate flavors and enhances your holiday table’s autumn aesthetic! -
Chewy Gummy Worms:
Add some whimsy with gummy worms atop the cake bars or as a fun side treat to elevate the Halloween theme for kids.
Enjoy creating a festive and memorable dessert table with the Easy Halloween Oreo Cake Bars at the center!
Storage Tips for Halloween Oreo Cake Bars
-
Room Temperature: Store your Halloween Oreo Cake Bars in an airtight container at room temperature for up to 3 days to maintain their soft, chewy texture.
-
Fridge: If you want to extend their freshness, keep the bars in the fridge for up to 1 week. Just ensure they’re tightly wrapped to avoid drying out.
-
Freezer: For longer storage, freeze the bars in an airtight container or wrapped in plastic wrap for up to 3 months. Thaw in the fridge overnight before serving.
-
Reheating: Reheat individual bars in the microwave for about 10-15 seconds for a warm, melty treat—perfect for indulgent snacking!
Expert Tips for Halloween Oreo Cake Bars
- Mixing Matters: Ensure your batter is well mixed but don’t overmix; this keeps your Halloween Oreo Cake Bars light and fluffy.
- Layer Decisively: Distribute the Oreos evenly; this prevents the cookies from sinking and guarantees a delightful crunch in every bite.
- Perfect Baking Time: Keep a close eye during baking; overbaking can dry out the cake bars, so check for doneness around the 20-minute mark.
- Cool Completely: Allow the bars to cool completely in the pan for the best texture and easier slicing—this ensures no cracks!
- Custom Sprinkling: Feel free to personalize your sprinkles or toppings based on your Halloween theme, allowing creativity to shine through!
Make Ahead Options
These Easy Halloween Oreo Cake Bars are perfect for meal prep, allowing you to get a head start on your dessert for upcoming festivities! You can prepare the batter and layer the chopped Halloween Oreos in the pan up to 24 hours in advance; simply cover the pan tightly with plastic wrap and refrigerate to keep everything fresh. When you’re ready to bake, just pour the batter over the Oreo layer, sprinkle with festive toppings, and pop it in the oven. This way, you’ll have a scrumptious dessert with minimal effort, ensuring that your bars are just as delicious and moist as if you made them fresh on the day of serving!
Halloween Oreo Cake Bars Variations
Feel free to make these delightful treats uniquely yours with a sprinkle of creativity!
-
Classic Oreos: Use regular Oreos instead of Halloween-themed ones for a timeless dessert that’s always a hit.
-
Candy Coated: Mix in some candy eyes or Reese’s Pieces into the batter for an extra pop of Halloween fun. These add a delightful crunch and festive surprise!
-
Chocolate Chip Boost: Throw in some semi-sweet or white chocolate chips for an added dimension of sweetness—who can resist a chocolatey surprise in every bite?
-
Gluten-Free Delight: Swap the cake mix for a gluten-free blend to cater to gluten-sensitive guests without sacrificing flavor; you can still enjoy the same fun and texture!
-
Nuts for Texture: Add chopped nuts like walnuts or pecans to the batter or sprinkle on top to introduce a crunchy element that pairs beautifully with the soft cake.
-
Spicy Kick: For those who love a bit of heat, add a dash of cinnamon or pumpkin spice to the batter. It’ll make your bars warm and cozy, perfect for autumn!
-
Sweet Cream Topping: Serve your bars with a drizzle of cream cheese frosting or a dollop of whipped cream for an indulgent finish that elevates the dessert experience.
-
Seasonal Sprinkles: Change up the sprinkles for other holidays or themes, such as pastel colors for Easter, to help extend this recipe’s use beyond Halloween.
No matter how you decide to customize, you’ll find that these easy Halloween Oreo Cake Bars are as fun to make as they are to eat!
Easy Halloween Oreo Cake Bars Recipe FAQs
Which cake mix is best for making Halloween Oreo Cake Bars?
Absolutely! While you can use any flavor of cake mix to create your Halloween Oreo Cake Bars, I highly recommend a chocolate cake mix for that rich, decadent combination with the Oreos. Vanilla or funfetti mixes can add a sweet twist if you’re feeling adventurous, too!
How should I store leftover Halloween Oreo Cake Bars?
To keep your Halloween Oreo Cake Bars at their best, store them in an airtight container at room temperature for up to 3 days. If you’d like to extend their shelf life, you can refrigerate them for up to 1 week, just be sure they’re wrapped tightly to avoid drying out.
Can I freeze the Halloween Oreo Cake Bars?
Yes! You can freeze your Halloween Oreo Cake Bars for up to 3 months. Simply cool them completely, then wrap them tightly in plastic wrap and place them in an airtight container. When you’re ready to enjoy, thaw them in the refrigerator overnight and they’ll be just as delicious!
What do I do if my cake bars are too crumbly?
If your Halloween Oreo Cake Bars turn out crumbly, it might be due to overbaking or not enough moisture. To remedy this, try checking for doneness around the 20-minute mark next time. If they’re already baked and crumbled, you can layer them with ice cream to create a delightful sundae!
Are these cake bars safe for kids with allergies?
Check the labels on your ingredients when making Halloween Oreo Cake Bars, as items may contain allergens like gluten, dairy, or nuts. Always choose allergy-friendly alternatives if needed—there are many gluten-free or dairy-free cake mixes available that can be substituted to meet dietary restrictions.
Delightful Halloween Oreo Cake Bars for Festive Celebrations
Ingredients
Equipment
Method
- Preheat your oven to 350°F (175°C) and line a 13 x 9-inch baking pan with parchment paper.
- In a large mixing bowl, combine cake mix, milk, oil, and eggs. Blend on medium speed for 2-3 minutes.
- Sprinkle half of the chopped Halloween Oreos into the bottom of the prepared pan.
- Spoon the cake batter over the layer of Oreos, smoothing it out evenly.
- Top with remaining Halloween sprinkles and Oreos, pressing them down gently.
- Bake for 20-25 minutes until top is set and a toothpick comes out clean. Cool completely before slicing.
Leave a Reply