
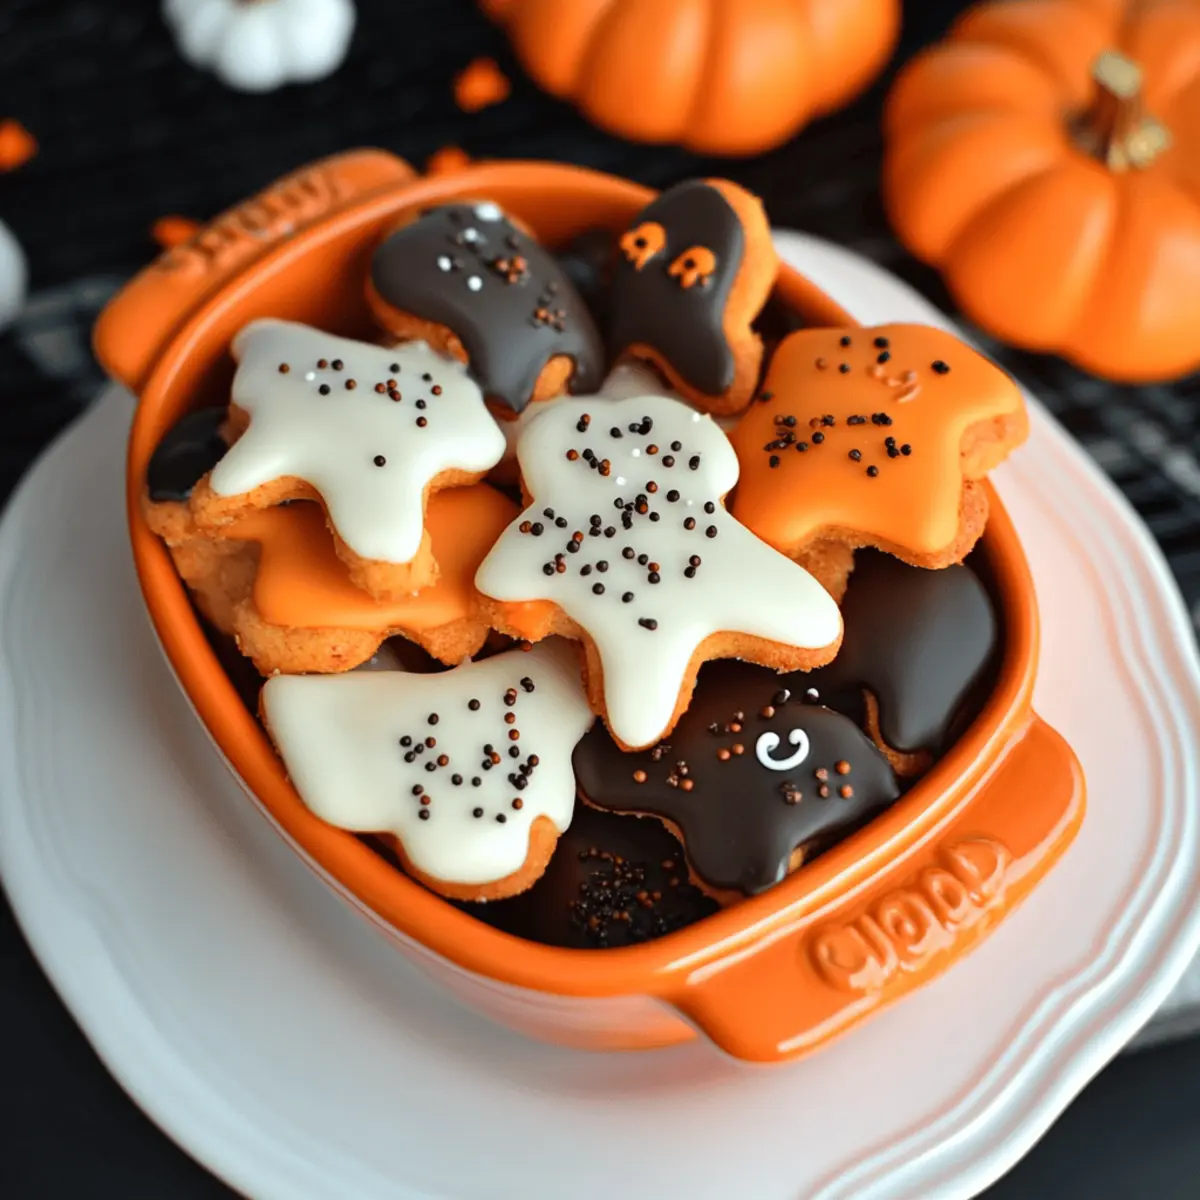
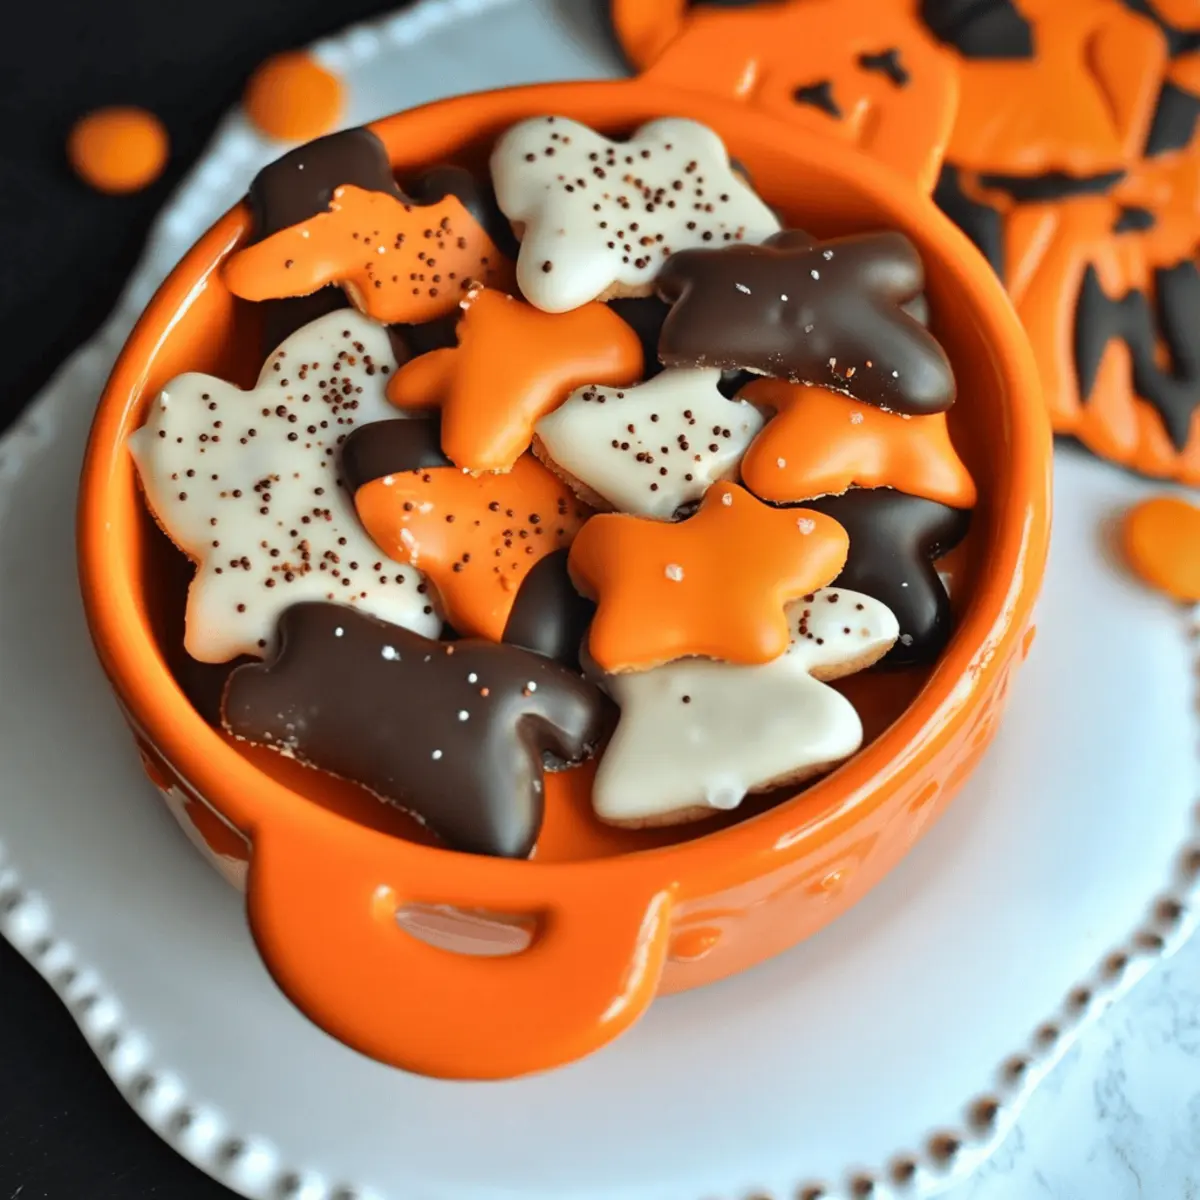
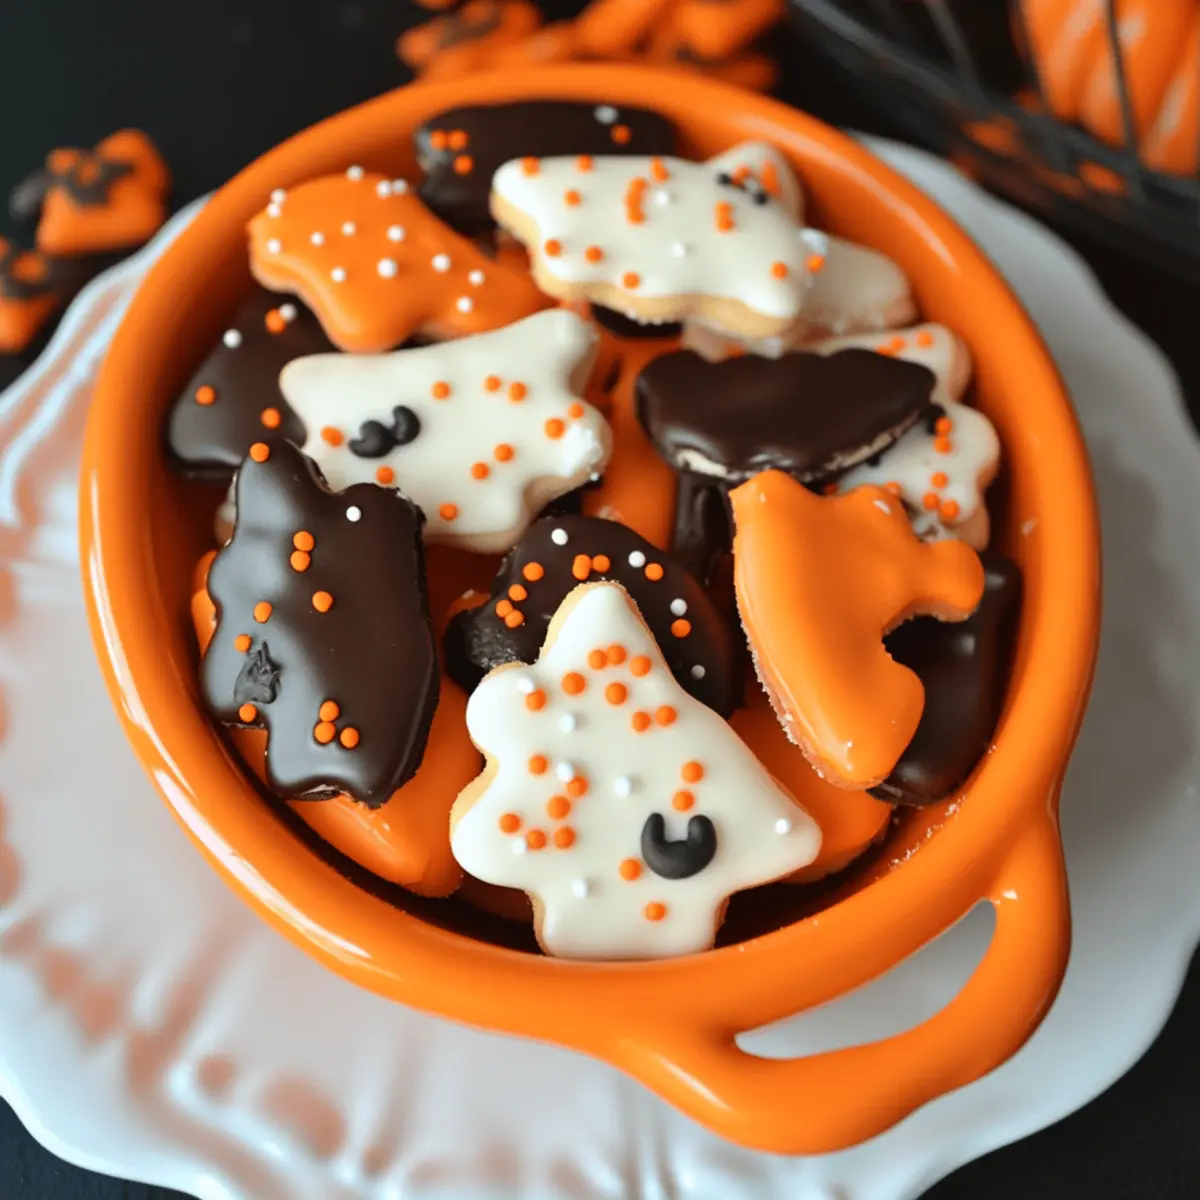
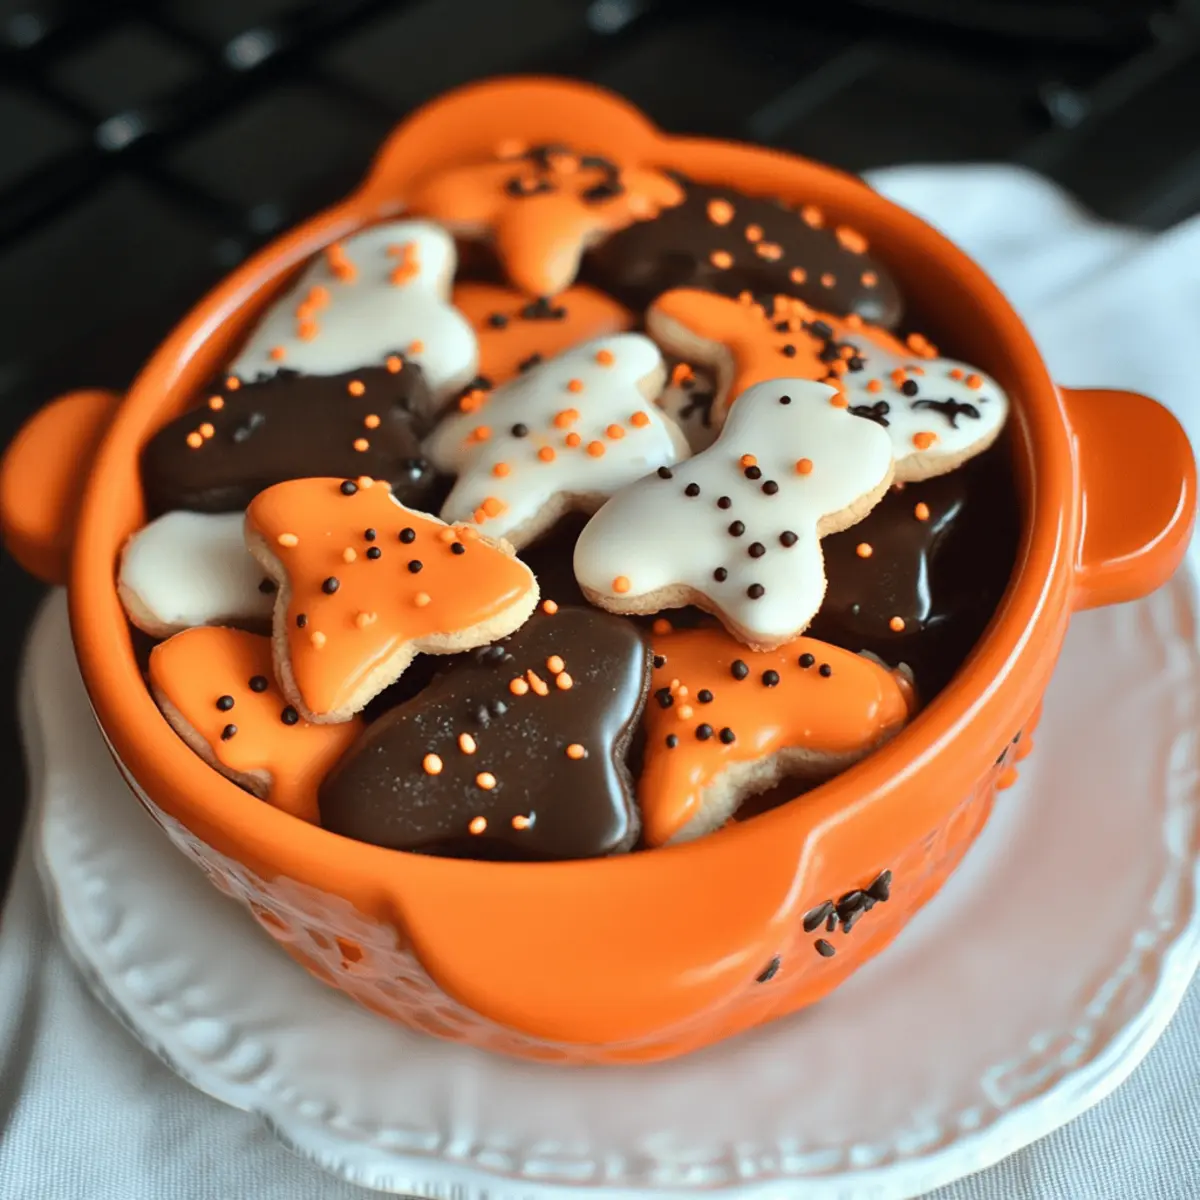
The air is crisp, and the scent of autumn foliage fills the atmosphere—Halloween is around the corner! As I eagerly prepare for this delightful holiday, I can’t help but crave the nostalgia of crafting festive treats that capture the essence of childhood joy. That’s where my Mini Halloween Sugar Cookies come in, bringing a fun twist to our seasonal celebrations. These little delights not only promise a quick and easy baking experience, but their colorful candy melt coating adds just the right amount of creativity for your festive gatherings or as sweet surprises for trick-or-treaters. So, are you ready to swap out the store-bought snacks and bring some homemade magic to your Halloween festivities? Let’s dive in!
Why Choose Mini Halloween Sugar Cookies?
Joyful Baking Experience: These cookies allow you to reconnect with your inner child as you cut out playful shapes and decorate them with vibrant colors.
Quick and Easy: With simple ingredients, you’ll have these delightful treats ready in no time, making them perfect for spontaneous Halloween fun.
Versatile Decor: Get creative! You can swap in colorful icing or festive sprinkles for personalized touches that will impress friends and family, much like my Halloween Chocolate Chip cookies.
Perfect for Sharing: Pack them in festive bags or serve at gatherings, festive occasions, or as treats for trick-or-treaters!
A Unique Twist: The candy melt coating gives these cookies a nostalgic flair reminiscent of Circus Animal Cookies while adding a colorful twist to traditional sugar cookies.
Mini Halloween Sugar Cookies Ingredients
• Discover the joyful components of your Mini Halloween Sugar Cookies!
For the Dough
- All-Purpose Flour – Provides structure and texture; consider substituting with gluten-free flour for a delicious gluten-free option.
- Salt – Enhances flavor and balances sweetness; using sea salt can give your cookies a more complex taste.
- Baking Powder – Helps cookies rise to achieve that perfect fluffy texture; make sure it’s fresh for the best results.
- Butter – Adds richness and tenderness; you can substitute with margarine or a vegan butter alternative if needed.
- Sugar – Sweetens the dough beautifully; mixing in brown sugar can add a deeper flavor profile.
- Egg – Binds the ingredients and ensures moisture; use a flax egg as a vegan alternative if you prefer.
- Vanilla Extract – Provides a delightful aromatic flavor; almond extract can offer a lovely twist to the traditional vanilla taste.
For the Coating
- Candy Melts (orange, white, brown) – Perfect for coating the cookies and adding a colorful, festive flair; chocolate chips can be used as a substitute, but they will alter the aesthetic look of your treats.
Step‑by‑Step Instructions for Mini Halloween Sugar Cookies
Step 1: Prepare Dough
In a large mixing bowl, whisk together 2 cups of all-purpose flour, 1/2 teaspoon of salt, and 1 teaspoon of baking powder until well combined. In a separate bowl, cream 1 cup of softened butter and 1 cup of sugar together until light and fluffy, about 3-4 minutes. Beat in one egg and 2 teaspoons of vanilla extract before gradually adding the dry mixture until a smooth dough forms.
Step 2: Chill Dough
Wrap the dough in plastic wrap and refrigerate it for at least 30 minutes. Chilling is crucial as it firms up the dough, making it easier to roll out without sticking. If you’re short on time, a 15-minute chill can work, but for the best results, allow it to sit longer. Your dough should be firm yet pliable when you’re ready to shape those delightful Mini Halloween Sugar Cookies.
Step 3: Shape Cookies
Preheat your oven to 350°F (175°C) while the dough chills. Once ready, lightly flour your countertop and roll out the dough to about 1/4-inch thickness. Using Halloween-themed cookie cutters, cut out shapes and transfer them to a lined baking sheet, leaving space in between for spreading. You may want to decorate with some sprinkles before baking for an extra festive touch!
Step 4: Bake
Place your baking sheet in the preheated oven and bake the cookies for 8-10 minutes, or until the edges are lightly golden. Keep a close eye on them to avoid overbaking, as they continue to firm up on cooling. Once done, remove them from the oven and let them cool on the sheet for 5 minutes before transferring to a wire rack.
Step 5: Decorate
After your Mini Halloween Sugar Cookies have cooled completely, melt your chosen candy melts—orange, white, or brown—using a microwave in 30-second intervals, stirring until smooth. Dip the top of each cookie into the melted candy melts or use a drizzle technique for a more artistic flair. Allow the coated cookies to sit until the candy hardens, creating a delightful finish for your festive treats.
Expert Tips for Mini Halloween Sugar Cookies
Chill Your Dough: Make sure the dough is thoroughly chilled for at least 30 minutes to prevent spreading during baking. A cold dough retains its shape better.
Use Fresh Ingredients: Check that your baking powder is fresh to ensure your cookies rise properly, giving them the fluffy texture you desire.
Melt with Care: When melting your candy melts, do it on a low setting to avoid seizing, creating a smooth coating for your cookies.
Play with Shapes: Get creative with different Halloween-themed cookie cutters and festive colors for a delightful presentation that captures attention and spirit.
Cool Completely: Make sure your cookies are fully cooled before decorating to prevent melted candy from slipping off or losing its shape, resulting in perfect Mini Halloween Sugar Cookies.
What to Serve with Mini Halloween Sugar Cookies
Indulge in a delightful spread that enhances the festive spirit of your baking adventures.
- Chilled Milk: The classic pairing that brings out the sweet flavors of the cookies, making each bite feel cozy and nostalgic.
- Warm Hot Chocolate: A rich, velvety beverage that complements the sweet, colorful cookies perfectly—ideal for a chilly Halloween night.
- Caramel Dipping Sauce: Add an extra element of indulgence by dipping your cookies into a smooth and creamy caramel sauce for a sweet twist.
- Spiced Apple Cider: This warm drink evokes the flavors of fall and adds a comforting touch that balances the sweetness of the cookies.
- Vanilla Ice Cream: Imagine a scoop of creamy vanilla ice cream alongside your Mini Halloween Sugar Cookies, creating a delightful contrast of textures and flavors.
- Festive Fruit Platter: A mix of fresh apple slices, pear wedges, and grapes offers a refreshing crunch that complements the cookies’ sweetness beautifully.
- Pumpkin Spice Latte: The warm spices in this seasonal favorite enhance the flavors of the cookies while adding a festive flair to the table.
- Chocolate-Covered Pretzels: The salty crunch pairs wonderfully with the sweet cookies, creating a satisfying contrast in both flavor and texture.
- Mini Cupcakes: A variety of themed cupcakes can elevate your dessert table and provide a fun visual feast alongside the cookies.
How to Store and Freeze Mini Halloween Sugar Cookies
Room Temperature: Store in an airtight container at room temperature for up to one week to maintain freshness and softness.
Fridge: If you prefer a firmer texture, place the cookies in the refrigerator for up to 10 days, ensuring they are in a sealed container.
Freezer: Freeze these delightful cookies in an airtight container for up to three months; allow them to thaw in the fridge before enjoying them again.
Reheating: To enjoy them warm, you can microwave each cookie for about 10-15 seconds, just until slightly warm, perfect for a cozy treat!
Make Ahead Options
These Mini Halloween Sugar Cookies are a fantastic choice for meal prep enthusiasts! You can make the cookie dough up to 3 days in advance and store it in the refrigerator, wrapped tightly in plastic wrap to keep it fresh. If you want to prepare even further ahead, freeze the dough for up to three months—just remember to thaw it in the refrigerator overnight before rolling it out. For an extra touch, you can also cut the cookies into shapes and freeze them on a baking sheet before transferring them to an airtight container. When you’re ready to bake, simply pop them in the oven for a quick treat, ensuring they’re just as delightful as if made fresh!
Mini Halloween Sugar Cookies Variations
Get ready to make your Mini Halloween Sugar Cookies even more special with these delightful variations!
- Gluten-Free: Substitute all-purpose flour with a 1:1 gluten-free flour blend for a delicious alternative.
- Dairy-Free: Replace butter with vegan butter or coconut oil to ensure everyone can enjoy these festive treats.
- Sugar Twist: Mix white sugar with brown sugar for extra depth of flavor, delighting your taste buds with every bite.
- Flavor Infusion: Try adding a pinch of almond extract along with the vanilla for a lovely nutty flavor that complements the sweetness.
- Icing Instead: Swap the candy melts for colored icing and pipe your favorite Halloween designs, creating a fun, artistic touch.
For an added crunch, drizzle with a few chopped nuts or sprinkles, just like I do with my Halloween Chocolate Chip cookies!
- Spooky Spice: Incorporate a teaspoon of pumpkin pie spice into the dough for an extra kick of fall flavor.
- Chocolate Coating: Use dark chocolate chips instead of candy melts for a rich, decadent twist that pairs wonderfully with the sweetness of the cookies.
With these variations, your Mini Halloween Sugar Cookies will be a hit at any gathering!
Mini Halloween Sugar Cookies Recipe FAQs
How do I select the right ingredients for my Mini Halloween Sugar Cookies?
Absolutely! For the best results, choose all-purpose flour that’s fresh and has no lumps. Check your baking powder’s expiration date to ensure it’s effective. When selecting butter, opt for unsalted for better control over the cookie’s sweetness. Additionally, if you’re substituting, remember that gluten-free flour behaves differently in the dough, so read its instructions for a perfect consistency!
How should I store my Mini Halloween Sugar Cookies?
The more the merrier! Store your cookies in an airtight container at room temperature for up to one week. This keeps them soft and fresh! If you prefer a firmer cookie, refrigerate them for up to 10 days in a sealed container to help maintain their texture.
Can I freeze Mini Halloween Sugar Cookies?
Absolutely! To freeze these delightful cookies, let them cool completely first. Then, layer them between sheets of parchment paper in an airtight container. They can be stored in the freezer for up to three months. When you’re ready to enjoy, simply thaw in the refrigerator overnight and serve as usual. For a warm treat, microwave for 10-15 seconds!
What should I do if my dough is too sticky?
Very! If your dough turns out sticky, don’t panic. Chill it longer in the refrigerator for another 15-30 minutes. You can also sprinkle a bit of flour on your work surface when rolling it out. This will help prevent it from sticking and make shaping those Halloween cookies a breeze!
Are these cookies safe for my pets?
No, these Mini Halloween Sugar Cookies are not safe for pets. Ingredients like sugar and chocolate can be harmful to them. If you’re looking to treat your furry friends, there are healthier homemade dog treats you can prepare specifically for them!
Can I convert the recipe to make sugar cookies with icing instead of candy melts?
Absolutely! For a traditional touch, simply substitute the melted candy melts for colored icing. Mix powdered sugar with water and a drop of food coloring to get your desired hues. Once your cookies are cooled, pipe the icing onto your cookies for a beautiful and personalized finish!
Mini Halloween Sugar Cookies That Spark Joy and Fun
Ingredients
Equipment
Method
- In a large mixing bowl, whisk together 2 cups of all-purpose flour, 1/2 teaspoon of salt, and 1 teaspoon of baking powder until well combined. In a separate bowl, cream 1 cup of softened butter and 1 cup of sugar together until light and fluffy, about 3-4 minutes. Beat in one egg and 2 teaspoons of vanilla extract before gradually adding the dry mixture until a smooth dough forms.
- Wrap the dough in plastic wrap and refrigerate it for at least 30 minutes. Chilling is crucial as it firms up the dough, making it easier to roll out without sticking.
- Preheat your oven to 350°F (175°C) while the dough chills. Once ready, lightly flour your countertop and roll out the dough to about 1/4-inch thickness. Using Halloween-themed cookie cutters, cut out shapes and transfer them to a lined baking sheet, leaving space in between for spreading.
- Place your baking sheet in the preheated oven and bake the cookies for 8-10 minutes, or until the edges are lightly golden.
- After your cookies have cooled completely, melt your chosen candy melts—orange, white, or brown—using a microwave in 30-second intervals, stirring until smooth. Dip the top of each cookie into the melted candy melts or use a drizzle technique for a more artistic flair.
Leave a Reply