
Life can sometimes feel like a whirlwind of responsibilities, but there’s something magical about carving out a moment to create a homemade treat. As the leaves begin to turn and autumn’s chill sets in, I’ve been eager to whip up a batch of Apple Crisp Mini Cheesecakes that perfectly capture this season’s essence. These delightful desserts marry the creamy tang of traditional cheesecake with spiced apples and a crunchy oat topping, all in individual portions that are as elegant as they are satisfying. Not only can you prepare them in just 30 minutes, but they also make a crowd-pleasing addition to any gathering without the fuss of a full cheesecake. Ready to impress your friends and family while enjoying the flavors of fall? Let’s dive into this easy recipe that will have your heart—and taste buds—singing!
Why are these cupcakes a must-try?
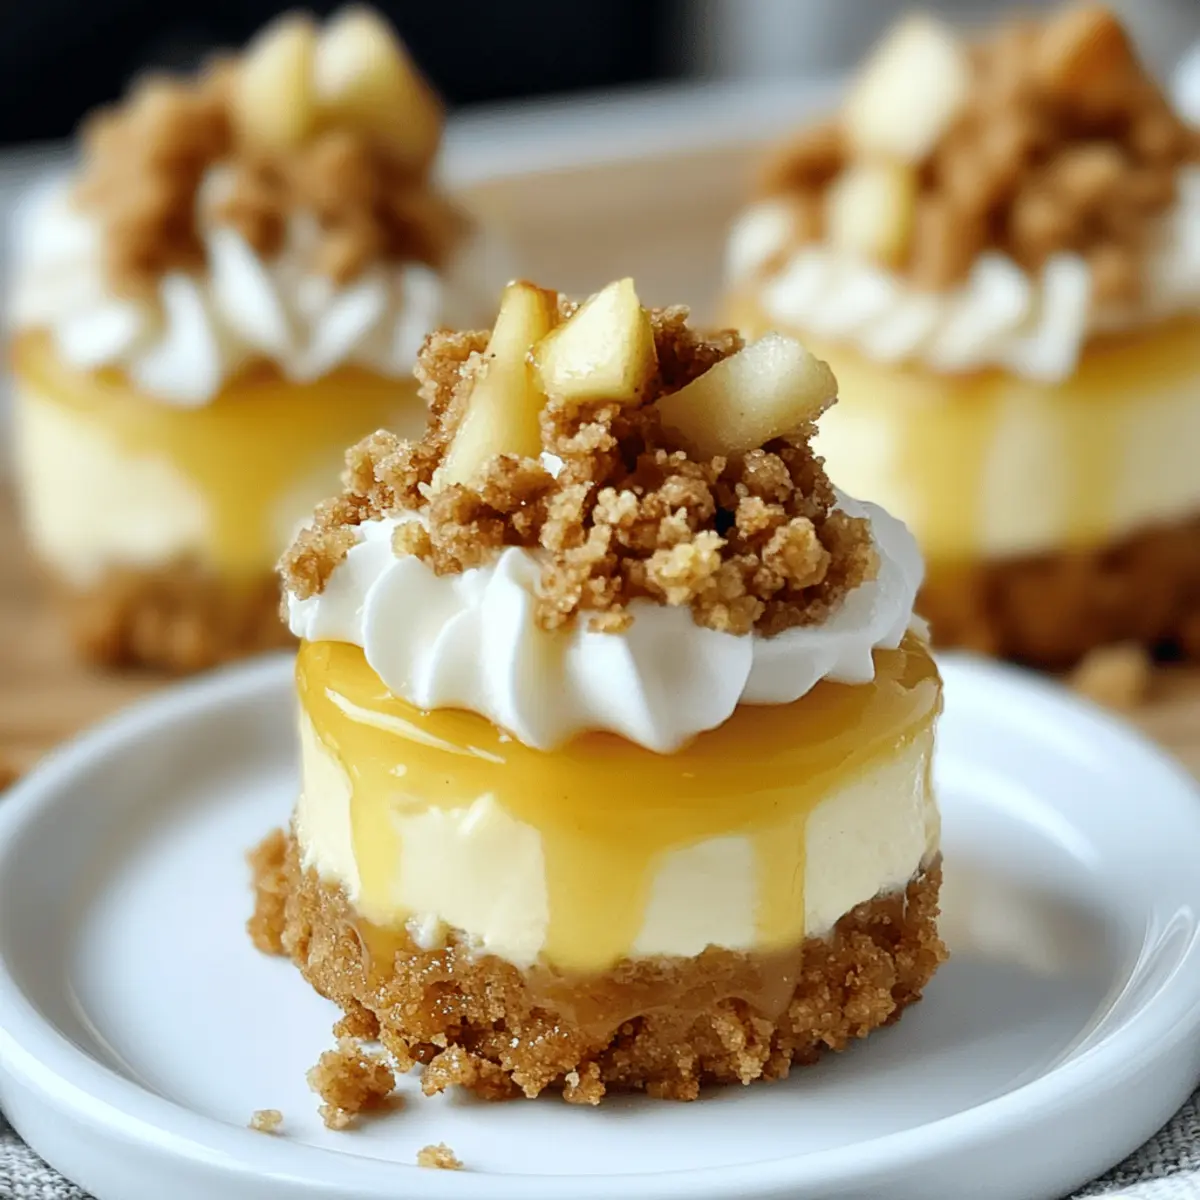
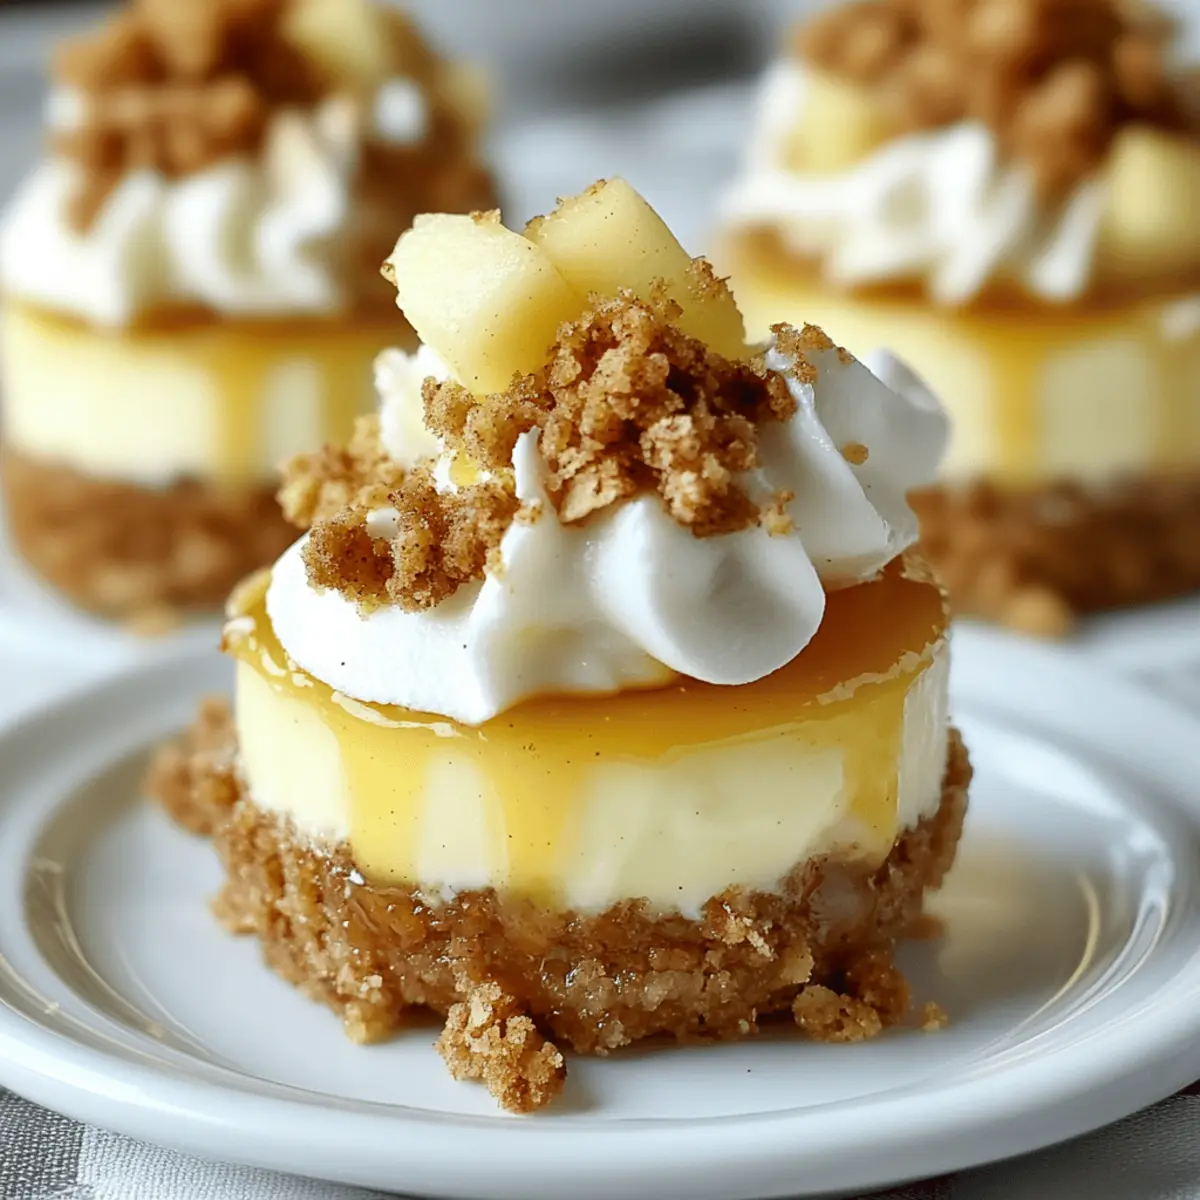
Delectable Layers: Each bite of these Apple Crisp Mini Cheesecakes offers a luscious blend of creamy cheesecake and tender, spiced apples, finished with a crunchy oat topping.
Quick Preparation: In just 30 minutes, you can whip up these delightful desserts, making them perfect for busy weeknights or spontaneous gatherings.
Versatile Toppings: Get creative! Top with whipped cream, caramel sauce, or even a chocolate drizzle for an extra touch.
Perfectly Portioned: Individual servings mean everyone can enjoy their own slice of autumn bliss without the guilt of sharing.
Make-Ahead Friendly: These cheesecakes can be prepared days in advance, allowing you to spend more time with loved ones and less time in the kitchen.
Crowd-Pleasing Appeal: Bring these to your next gathering, and watch them disappear faster than a classic apple pie. They’re truly a showstopper! To keep the autumn vibes going, try pairing them with a warm Apple Cider Pound or some hearty Apple Cinnamon Streusel muffins.
Apple Crisp Mini Cheesecakes Ingredients
For the Crust
- Graham Cracker Crumbs – Provides structure to the crust; digestive biscuits or gluten-free crumbs can work well.
- Granulated Sugar – Adds sweetness to both the crust and filling; for a richer flavor, try coconut sugar.
- Cinnamon – Enhances flavor in the crust and apple filling; nutmeg or pumpkin spice can also be delightful alternatives.
- Unsalted Butter – Binds the crust ingredients; substitute with coconut oil for a dairy-free version.
For the Cheesecake Filling
- Cream Cheese – Forms the creamy base of the cheesecake; you can use vegan cream cheese for a dairy-free option.
- Granulated Sugar (for filling) – Sweetens the cheesecake; for a more natural sweetener, consider honey or maple syrup.
- Vanilla Extract – Adds depth of flavor; vanilla bean paste can elevate your dessert to gourmet status.
- All-Purpose Flour – Stabilizes the filling; for gluten-free, almond flour or cornstarch makes a great alternative.
- Egg – Acts as a binding agent; a flax egg (1 tbsp ground flaxseed + 3 tbsp water) can be used for a vegan alternative.
For the Apple Topping
- Golden Delicious Apples – Provides sweetness and texture to the dessert; Honeycrisp or Granny Smith can also work with an adjusted sugar amount.
- Brown Sugar – Adds richness to the apple layer; swap for coconut sugar or a sugar substitute for a lower-calorie option.
- Cornstarch – Thickens the apple mixture to prevent sogginess; arrowroot powder is an excellent substitute.
For the Streusel Topping
- Oats – Create that lovely texture in the topping; use gluten-free oats for a gluten-free version.
- All-Purpose Flour – For structure in the streusel; consider gluten-free flour if needed.
- Brown Sugar (for streusel) – Infuses a rich sweetness; you can use coconut sugar as a healthier option.
- Unsalted Butter – Binds the streusel; like the crust, coconut oil can serve as a dairy-free alternative.
Remember, these Apple Crisp Mini Cheesecakes are perfect for both casual family gatherings and elegant dinner parties!
Step‑by‑Step Instructions for Apple Crisp Mini Cheesecakes
Step 1: Prepare the Crust
In a mixing bowl, combine graham cracker crumbs, granulated sugar, and cinnamon. Pour in the melted unsalted butter, mixing until the texture resembles wet sand. Evenly distribute the mixture into paper liners set in a muffin tin, pressing down firmly to form a solid crust. Refrigerate the crusts for at least 10 minutes to set while you prepare the filling.
Step 2: Make the Filling
Using an electric mixer, beat softened cream cheese and granulated sugar until creamy. Gradually add the vanilla extract and all-purpose flour, blending just until combined. Add the egg, mixing briefly to incorporate but be careful not to overmix. The filling should be smooth and slightly airy, ready to dollop onto the chilled crusts in the muffin tin.
Step 3: Prep Apples
Peel and dice the Golden Delicious apples into small, even cubes. In a separate bowl, toss the apples with lemon juice, brown sugar, cornstarch, and a sprinkle of cinnamon. The mixture should be well-coated, allowing the flavors to meld. Let it sit for a few minutes to soften slightly before layering it onto the cheesecakes.
Step 4: Combine Layers
Remove the muffin tin from the refrigerator and spoon the cream cheese filling into the crusts, filling each cup about two-thirds full. Gently layer the prepared apple mixture on top of the cheesecake filling in each cup. Ensure that the apples are evenly distributed across the tops for a delightful presentation and balanced flavor.
Step 5: Prepare Streusel
In a separate bowl, mix together the oats, all-purpose flour, brown sugar, and melted butter until crumbly. The texture should be coarse but hold together when pressed. Generously sprinkle this streusel over the apple layer in each cupcake, creating a charming topping that will add a crisp texture once baked.
Step 6: Bake
Preheat your oven to 325°F (160°C) and bake the mini cheesecakes for 28 to 30 minutes. Keep a close eye on them; they are ready when the edges are set, but the centers should still jiggle slightly. This ensures they will be creamy in texture once cooled and set.
Step 7: Cool
After baking, carefully remove the muffins from the oven and let them cool in the pan for 30 minutes. The cooling helps the cheesecakes to firm up a bit before they are moved to the refrigerator. Once cooled, transfer them to the fridge for at least an hour to chill thoroughly, ensuring the best overall texture.
Step 8: Serve
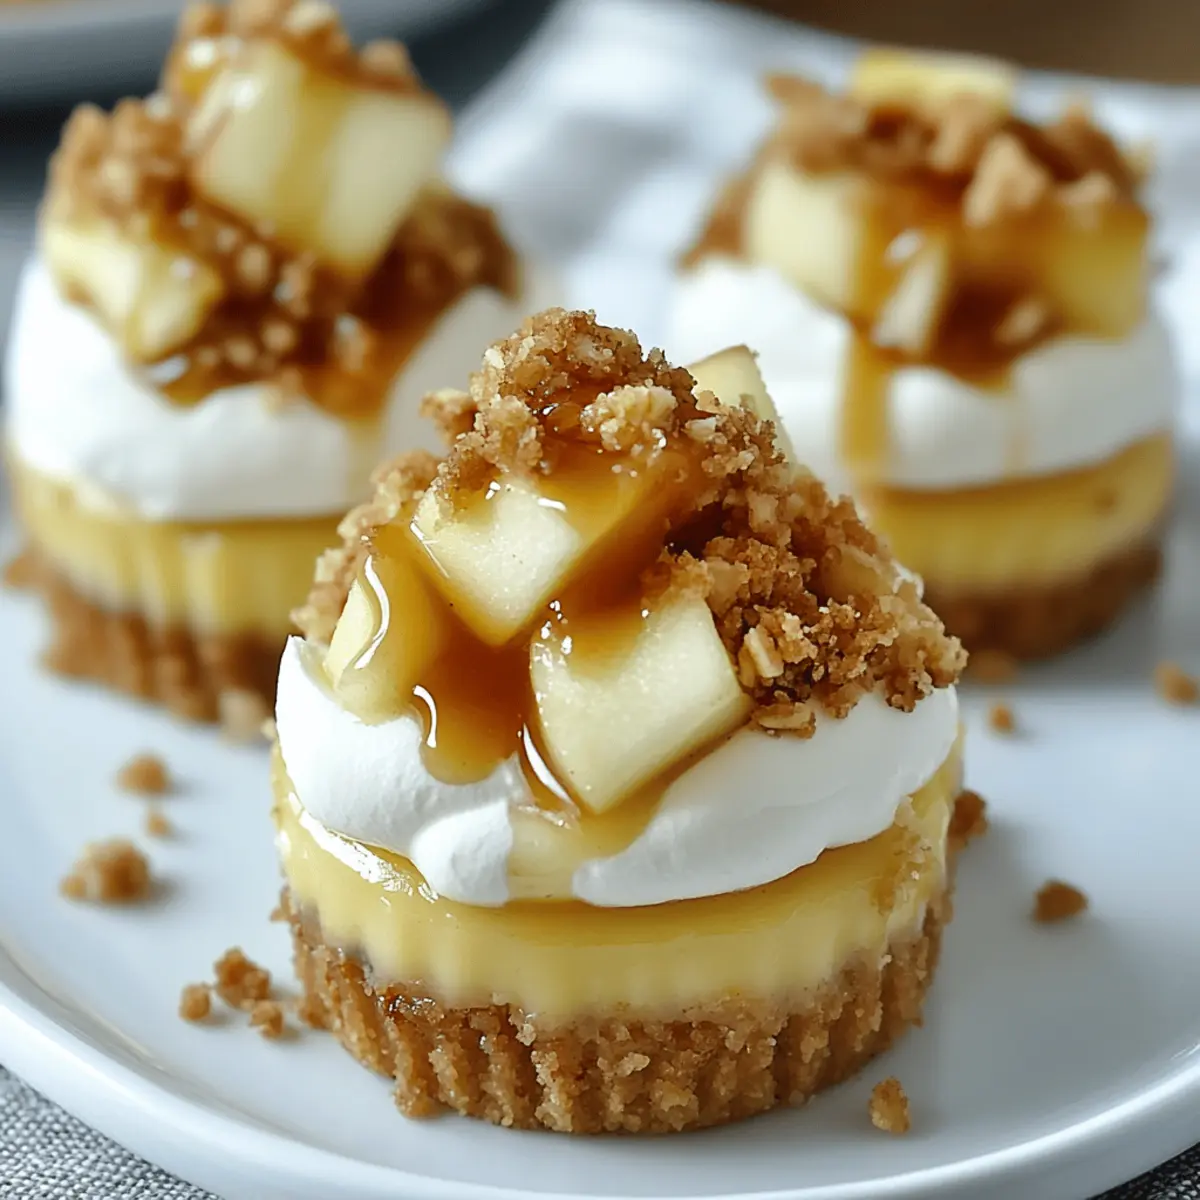
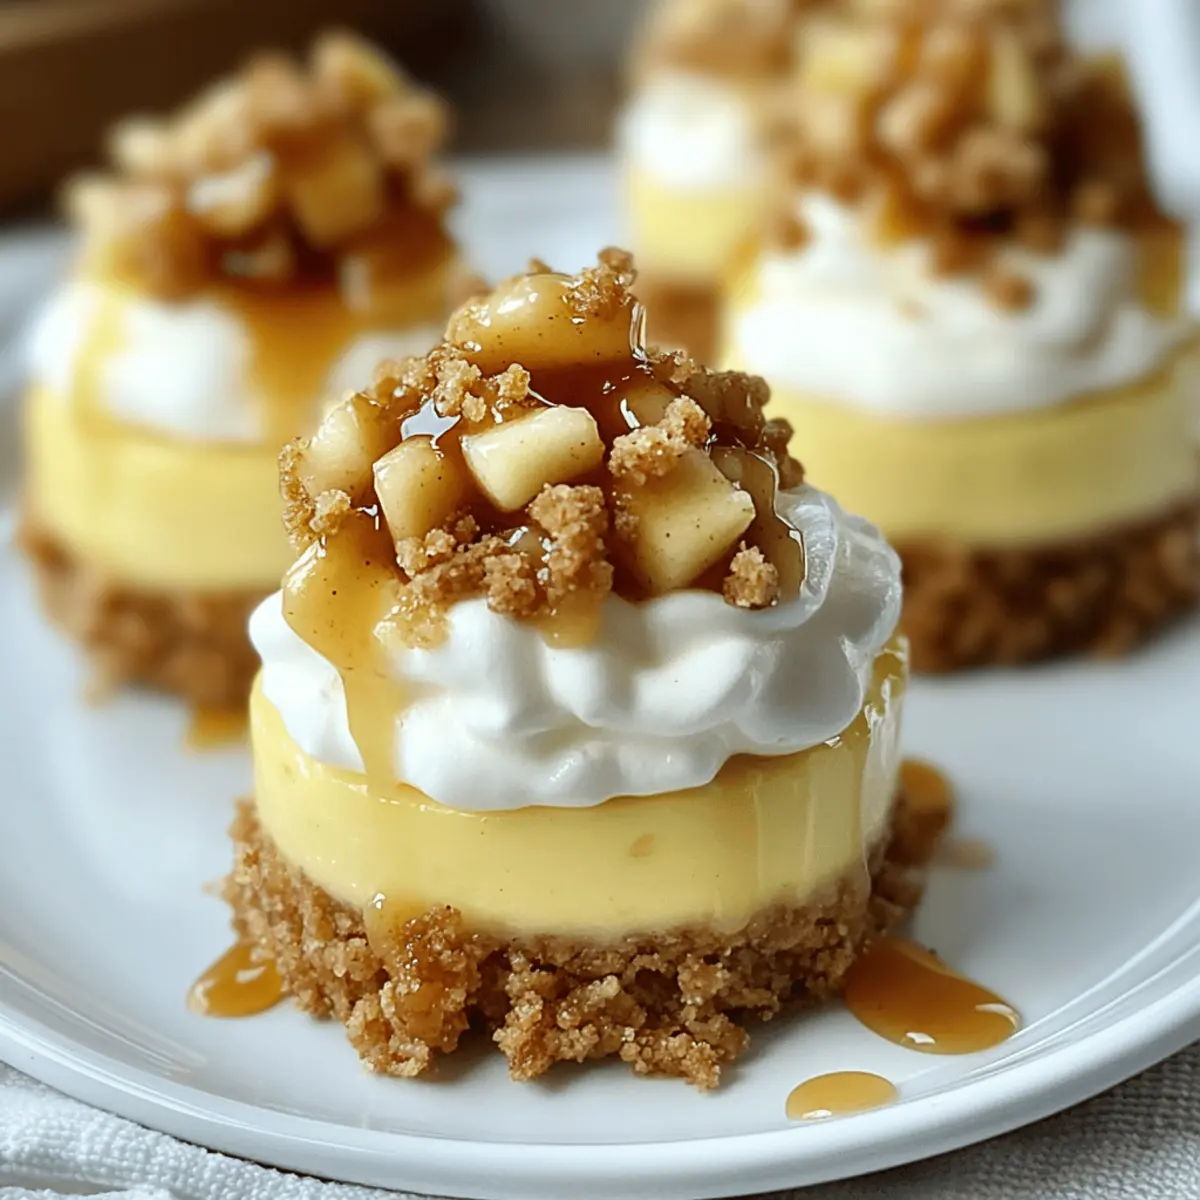
When ready to enjoy your Apple Crisp Mini Cheesecakes, remove them from the refrigerator. Drizzle with caramel sauce and top with a generous dollop of whipped cream for added indulgence. Present them on a lovely platter, and watch as your family and friends are delighted by these charming autumn desserts!
Expert Tips for Apple Crisp Mini Cheesecakes
Even Mixing: Mix the cream cheese filling just until combined after adding eggs. Overmixing can lead to cracks while baking.
Chill for Texture: Ensure to chill the crust before filling. This solidifies the base, creating a sturdy foundation for your Apple Crisp Mini Cheesecakes.
Adjust Sweetness: If using tart apples such as Granny Smith, feel free to reduce sugar in the apple topping to balance flavors.
Cornstarch Trick: Always toss your apples with cornstarch before layering. This secret helps avoid soggy bottoms, keeping your dessert delightful.
Serving Size Matters: These mini cheesecakes are perfectly portioned. If you wish for larger servings, consider doubling the recipe for a springform pan!
Make Ahead: Prepare these cheesecakes a day in advance. They taste even better after resting, making them perfect for a stress-free gathering!
Make Ahead Options
These Apple Crisp Mini Cheesecakes are perfect for meal prep enthusiasts! You can prepare the crust and filling up to 3 days in advance, storing the components separately in the refrigerator to maintain their texture and flavor. Simply press the crust into the liners and mix the cheesecake filling, then chill both until you’re ready to assemble. For the apple topping, you can also peel and dice the apples up to 24 hours prior, storing them in lemon juice to prevent browning. When you’re ready to serve, layer the apples over the filling, top with streusel, and bake as directed. This way, you’ll enjoy delicious, homemade desserts with minimal effort on busy days!
What to Serve with Apple Crisp Mini Cheesecakes
Indulging in the creamy layers of flavor from mini cheesecakes naturally invites the perfect companions to complete your cozy meal.
- Warm Spiced Cider: The rich flavors of apple and cinnamon in spiced cider enhance the comforting essence of these cheesecakes.
- Vanilla Bean Ice Cream: A scoop of creamy vanilla ice cream adds a delightful contrast, enriching each bite with extra sweetness.
- Chocolate Drizzle: A simple swirl of warm chocolate sauce over the tops offers an indulgent element while taking sweetness to new heights.
- Roasted Nuts: Crunchy roasted pecans or walnuts provide a delightful textural contrast, complementing the soft cheesecake and apples beautifully.
- Pumpkin Soup: Servings of creamy pumpkin soup as a starter bring a savory element to balance the rich dessert, setting the tone for fall flavors.
- Caramel Sauce: Drizzling extra caramel sauce on top adds both visual appeal and a luxurious touch that echoes the dessert’s sweetness.
- Chai Tea: The spiced notes of chai offer an aromatic pairing, expertly complementing the autumn flavors in your cheesecakes.
- Fresh Fruit Salad: A mix of seasonal fruits adds brightness and freshness, balancing the richness of cheesecake while brightening your plate!
- Coffee or Espresso: The bitterness of coffee or espresso pairs nicely with the sweet notes of the cheesecakes, enhancing a relaxing end to your meal.
- Pumpkin Pie Bars: For a full autumn feast, serving a slice of pumpkin pie alongside can create a delightful dessert tableau that celebrates the season.
How to Store and Freeze Apple Crisp Mini Cheesecakes
Fridge: Store the mini cheesecakes covered in the refrigerator for up to 3 days. Make sure they are cooled completely before wrapping to maintain texture.
Freezer: These Apple Crisp Mini Cheesecakes freeze beautifully for up to 3 weeks. Wrap each one tightly in plastic wrap and aluminum foil for best results.
Thawing: When ready to enjoy, simply transfer them to the refrigerator to thaw overnight. This gentle process helps maintain their creamy texture.
Reheating: If you prefer them slightly warmer, you can warm them in the microwave for about 10-15 seconds, but be careful not to overheat!
Apple Crisp Mini Cheesecakes Variations
Feel free to let your creativity shine as you customize these delicious mini cheesecakes to suit your tastes!
-
Nutty Crunch: Add chopped pecans or walnuts to the streusel topping for an extra layer of crunch and flavor. The added nuttiness complements the apples beautifully, making each bite a true delight.
-
Chocolate Indulgence: Incorporate chocolate chips into the cheesecake batter or drizzle melted chocolate over the top. This twist adds a rich chocolatey flavor that pairs incredibly well with the spiced apples.
-
Cranberry Twist: During fall, mix in dried cranberries with the apple filling for a tangy surprise. The tartness of the cranberries adds a delightful contrast to the sweetness of the apples, elevating these cheesecakes to seasonal perfection.
-
Bigger Batch: To serve a crowd, adjust your recipe to fit a larger springform or 9×13 pan, baking for about 45-50 minutes. This way, you can share the joy of these mini cheesecakes with even more friends and family.
-
Spice it Up: Swap out the cinnamon in the recipe for pumpkin spice to embrace a cozy fall flavor profile. A little bit of nutmeg alongside will also offer an aromatic twist that feels like a warm hug.
-
Dairy-Free Delight: Use vegan cream cheese and coconut oil for the crust to create a hearty, dairy-free version. It’s just as creamy and delicious, ensuring everyone can enjoy this treat.
-
Apple Variety: Swap Golden Delicious apples for Honeycrisp or Granny Smith apples, adjusting the sugar to your liking. These varieties can give a different texture and flavor, allowing you to tailor the taste to your preference.
For more seasonal flavors, don’t forget to check out our delightful Apple Cider Whoopie pies or the scrumptious Apple Cider Cheesecake cookies. Enjoy these cozy variations!
Apple Crisp Mini Cheesecakes Recipe FAQs
What type of apples should I use for the topping?
I recommend using Golden Delicious apples for their sweetness and tender texture. However, Honeycrisp or Granny Smith apples can also work beautifully—just remember to adjust sugar levels accordingly if you choose tart varieties like Granny Smith!
How should I store leftover mini cheesecakes?
Absolutely! Store the mini cheesecakes covered in the refrigerator for up to 3 days. It’s crucial to let them cool completely before wrapping, as this will help maintain their delightful texture.
Can I freeze the Apple Crisp Mini Cheesecakes?
Yes, these treat freeze wonderfully for up to 3 weeks! wrap each mini cheesecake tightly in plastic wrap, followed by aluminum foil for the best protection. When you’re ready to enjoy them, just transfer them to the fridge to thaw overnight for optimal texture.
What if my cheesecake filling cracks while baking?
No worries! To avoid cracks, mix your cream cheese filling just until combined after adding the eggs—overmixing can cause air bubbles that lead to cracks. If you do see some cracks, a drizzle of caramel sauce over the top will hide them beautifully!
Are there any dietary considerations for this recipe?
Definitely! If you’re looking to make these Apple Crisp Mini Cheesecakes dairy-free, feel free to substitute regular cream cheese with vegan cream cheese and unsalted butter with coconut oil. You can also opt for a flax egg instead of a traditional egg for a vegan option. Just ensure that any other ingredients you use are also compliant with your dietary needs.
Can I make these cheesecakes ahead of time?
For sure! You can prepare these mini cheesecakes up to 3 days in advance. Store them covered in the refrigerator until you’re ready to serve. They taste amazing after resting as the flavors meld together beautifully!
Delightful Apple Crisp Mini Cheesecakes for Cozy Gatherings
Ingredients
Equipment
Method
- Prepare the Crust: In a mixing bowl, combine graham cracker crumbs, granulated sugar, and cinnamon. Pour in the melted unsalted butter, mixing until the texture resembles wet sand. Evenly distribute the mixture into paper liners set in a muffin tin, pressing down firmly to form a solid crust. Refrigerate the crusts for at least 10 minutes to set while you prepare the filling.
- Make the Filling: Using an electric mixer, beat softened cream cheese and granulated sugar until creamy. Gradually add the vanilla extract and all-purpose flour, blending just until combined. Add the egg, mixing briefly but be careful not to overmix. The filling should be smooth and slightly airy, ready to dollop onto the chilled crusts.
- Prep Apples: Peel and dice the Golden Delicious apples into small cubes. In a separate bowl, toss the apples with lemon juice, brown sugar, cornstarch, and a sprinkle of cinnamon. Let sit for a few minutes to soften slightly before layering onto the cheesecakes.
- Combine Layers: Spoon the cream cheese filling into the crusts, filling each cup about two-thirds full. Gently layer the prepared apple mixture on top of the cheesecake filling.
- Prepare Streusel: In a separate bowl, mix together the oats, all-purpose flour, brown sugar, and melted butter until crumbly. Generously sprinkle this streusel over the apple layer.
- Bake: Preheat your oven to 325°F (160°C) and bake the mini cheesecakes for 28 to 30 minutes. They should jiggle slightly when ready.
- Cool: After baking, let them cool in the pan for 30 minutes, then transfer to the fridge for at least an hour to chill thoroughly.
- Serve: Remove from refrigerator and drizzle with caramel sauce and whipped cream before serving.
Leave a Reply