
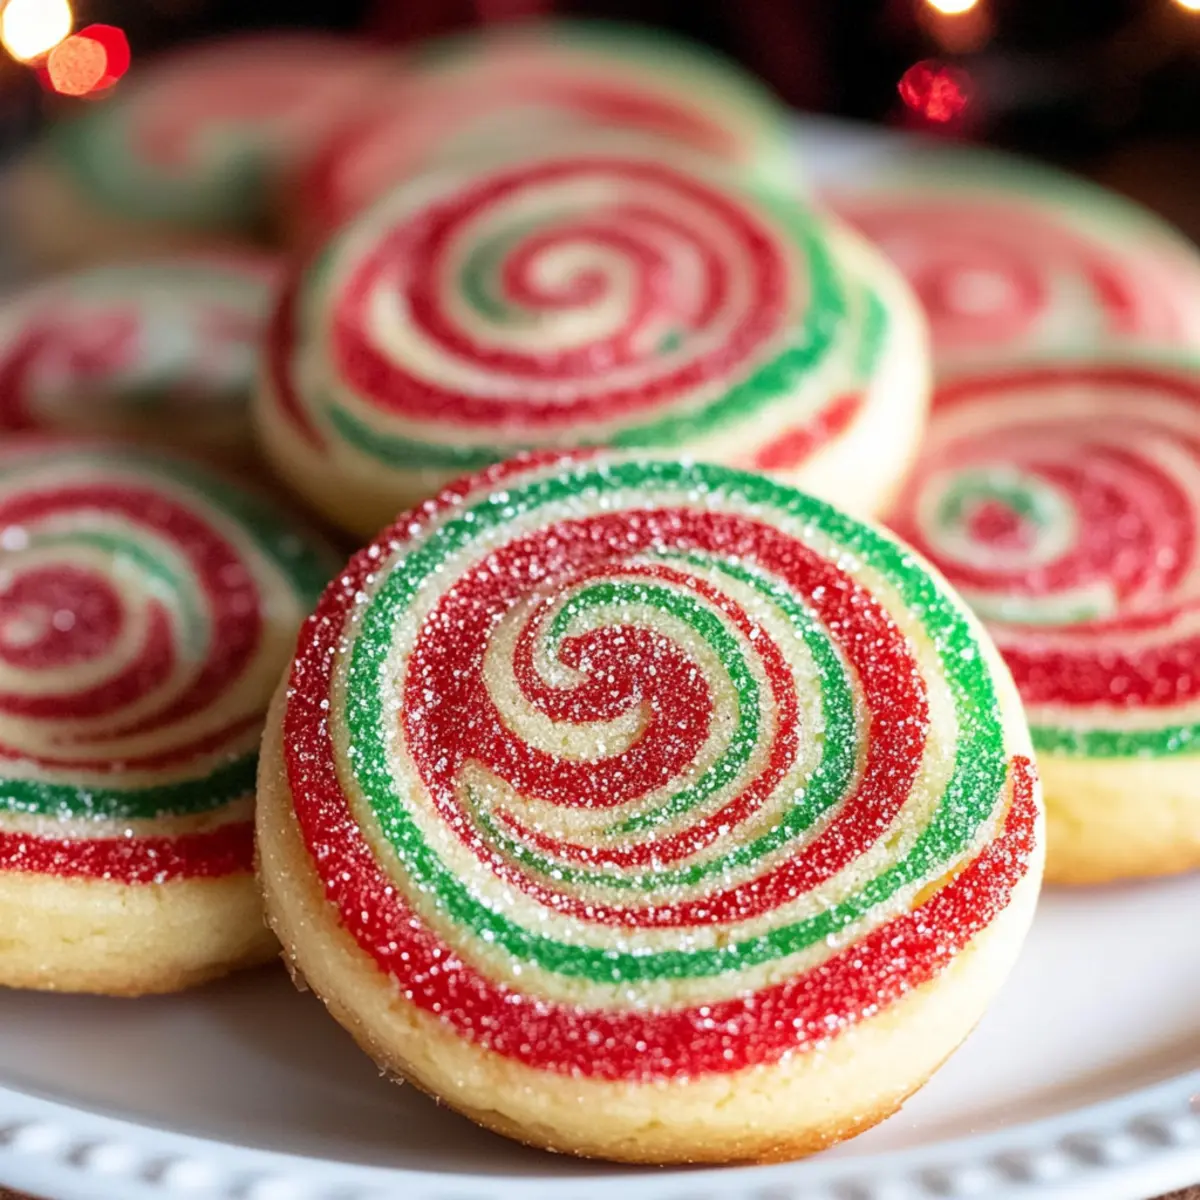
As I sifted through a vibrant rainbow of frosting and sprinkles, a thought struck me: holiday baking doesn’t have to be predictable! That’s how I stumbled upon the magic of Christmas Pinwheel Cookies, a whimsical delight that’s as fun to make as it is to eat. With their charming swirls and festive colors, these cookies bring joy to any gathering and are effortlessly customizable to capture the spirit of the season. Not only do they add a splash of color to your cookie platter, but their slice-and-bake method ensures minimal fuss for busy bakers. Whether you’re aiming for a heartfelt homemade gift or simply want to sweeten your holiday festivities, these soft, delicious treats are a perfect choice. What color combination will you try for your own holiday masterpiece?
Why are Christmas Pinwheel Cookies so special?
Customizable Colors: The possibilities are endless—use vibrant shades for Christmas, pastels for Easter, or spooky hues for Halloween!
Effortless Slice-and-Bake: No need for complicated shaping; just roll, chill, slice, and bake for perfect cookies every time.
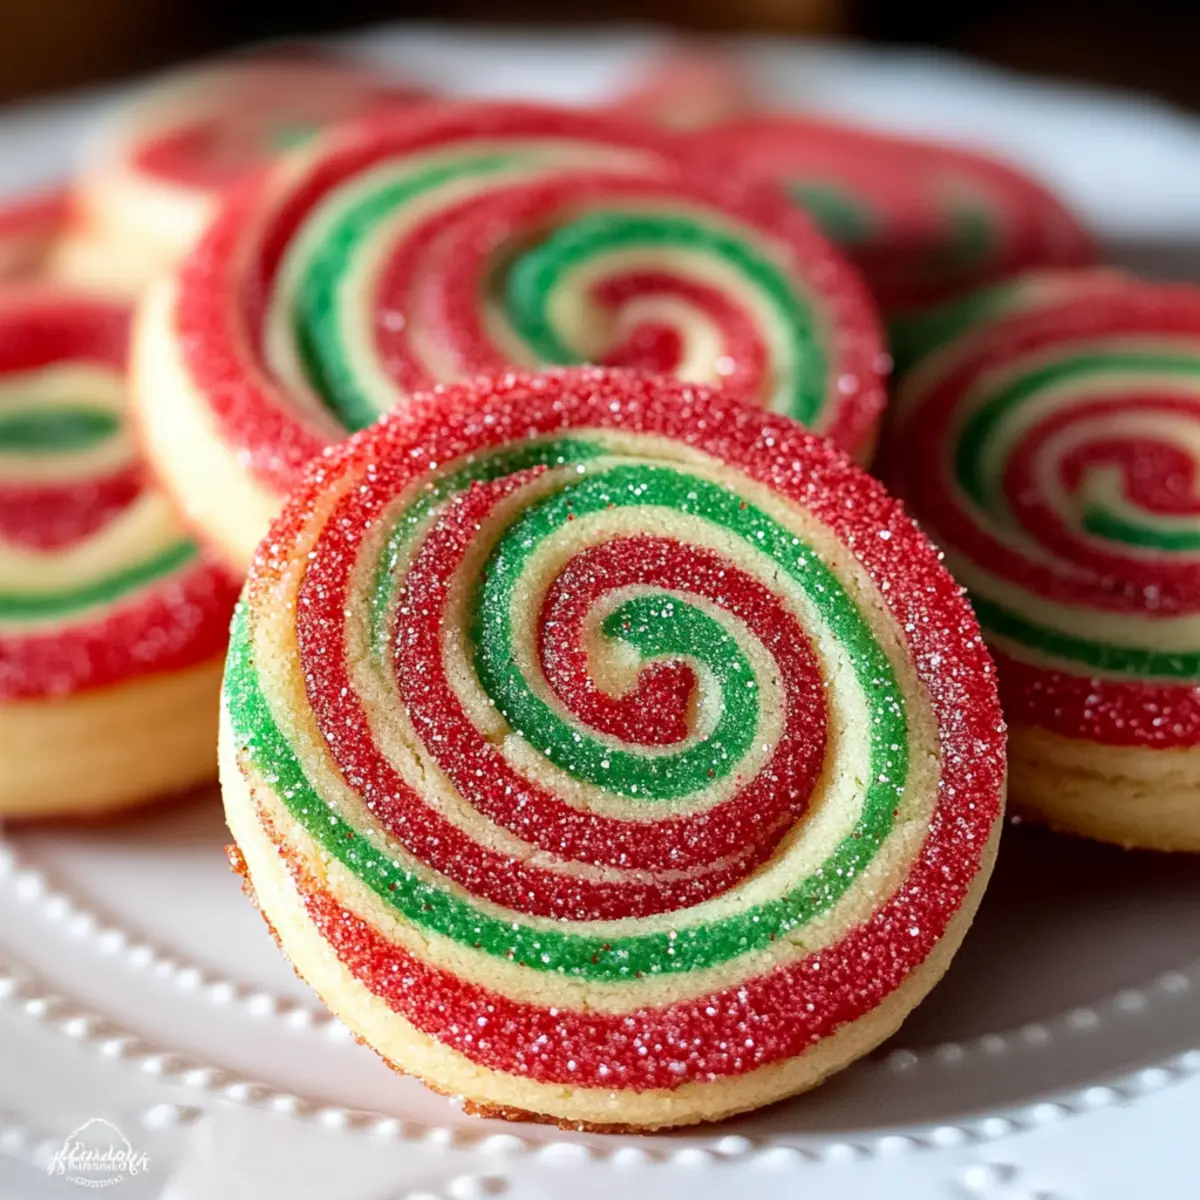
Delightful Textures: The soft, chewy interior paired with a slight crunch from sanding sugar creates a satisfying bite.
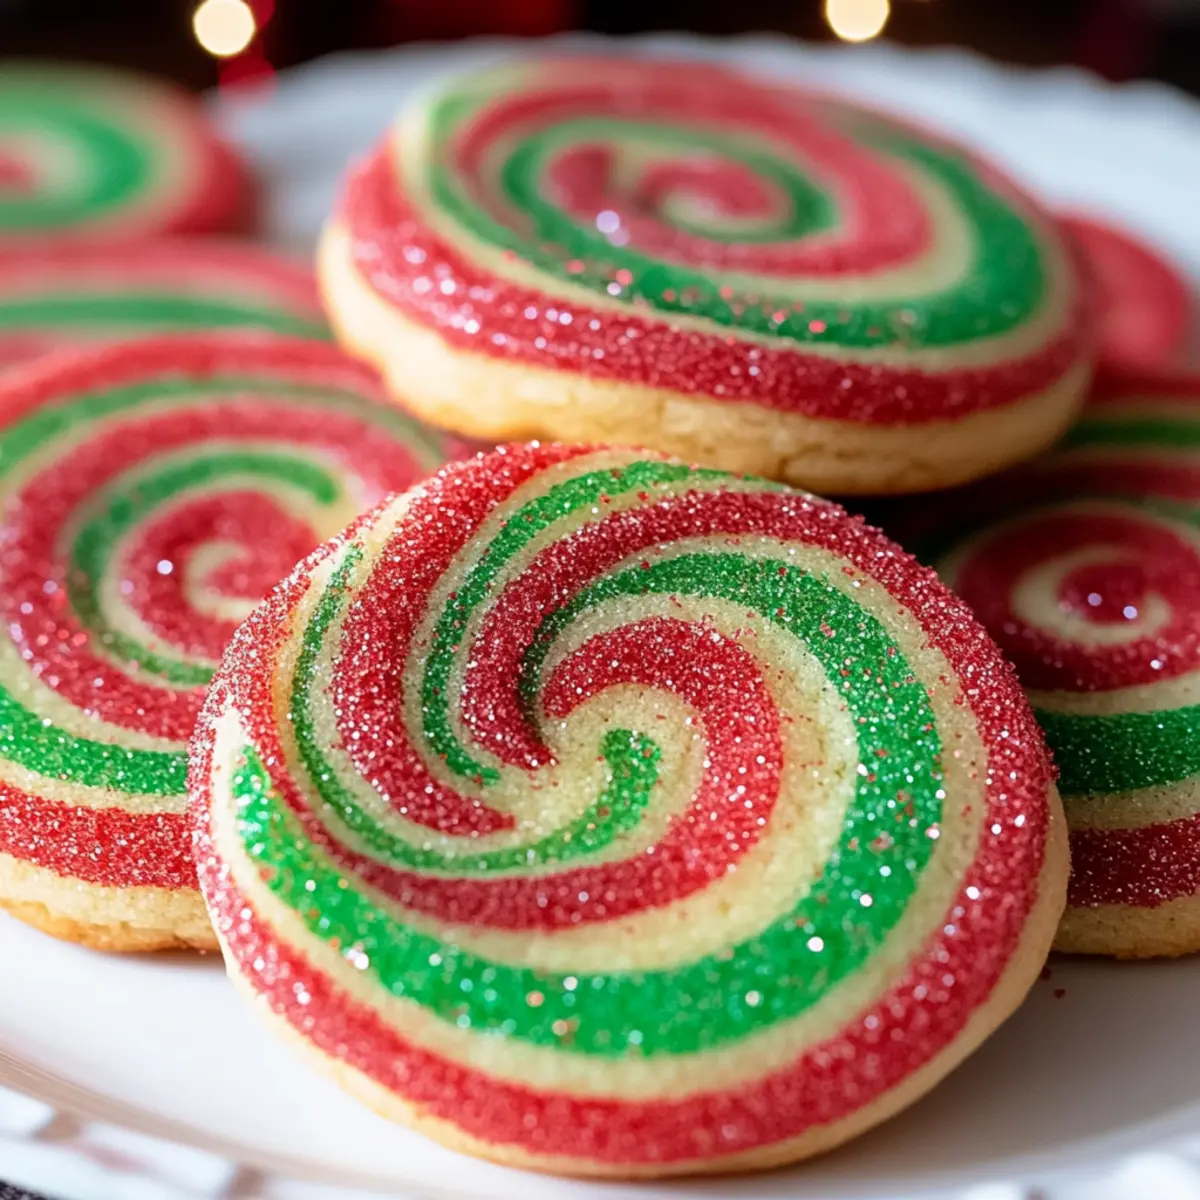
Festive Presentation: Your cookie platter will look eye-catching and inviting, making them a hit at any holiday gathering.
Perfect for Gifting: Package these colorful treats in festive tins for heartfelt homemade gifts that spread holiday cheer! For more fun ideas, check out my Pumpkin Sugar Cookies or Soft Pumpkin Cookies.
Christmas Pinwheel Cookies Ingredients
• Get ready to create delicious festive treats!
For the Cookie Dough
- Unsalted Butter – Provides richness and moisture; ensure it’s softened for easy mixing.
- Sugar – Sweetens the cookies, contributing to their tender texture.
- Egg – Binds the ingredients together while adding moisture.
- Vanilla Extract – Enhances flavor; consider using almond extract for a unique twist.
- All-Purpose Flour – The main structure of the cookies; try a gluten-free blend if needed.
- Kosher Salt – Balances sweetness and enhances flavors beautifully.
- Baking Soda – Helps the cookies spread and gives them a slight rise.
For the Colorful Swirls
- Red & Green Gel Food Coloring – Delivers vibrant colors for those stunning pinwheel designs; liquid coloring can alter dough consistency.
- Red Sanding Sugar – Add as a decorative touch; it gives a delightful crunch and festive sparkle.
Let your creativity shine with these Christmas Pinwheel Cookies and celebrate the season’s joy!
Step‑by‑Step Instructions for Christmas Pinwheel Cookies
Step 1: Cream Butter and Sugar
In a stand mixer, place 1 cup of softened unsalted butter and 1 cup of sugar. Beat on medium speed for about 3-4 minutes until the mixture becomes light and fluffy. Pause to scrape down the sides, then add 1 egg and 2 teaspoons of vanilla extract. Mix until fully incorporated and smooth, creating a rich base for your Christmas Pinwheel Cookies.
Step 2: Combine Dry Ingredients
In a separate bowl, whisk together 2 ½ cups of all-purpose flour, ½ teaspoon of kosher salt, and ½ teaspoon of baking soda. Gradually add this dry mixture to the creamed butter and sugar, mixing on low speed until just combined. The dough should come together nicely without being overly sticky, forming a soft texture that will hold your cookie’s shape.
Step 3: Color the Dough
Divide the dough into three equal portions. In two separate bowls, add a few drops of red gel food coloring to one portion and green gel food coloring to another, leaving the remaining portion plain. Knead each section until the colors are evenly distributed and vibrant, ensuring your Christmas Pinwheel Cookies will have a festive swirl that pops visually.
Step 4: Chill the Dough
Shape each colored portion of dough into a ball and wrap them separately in plastic wrap. Place them in the refrigerator for at least 1 hour. Chilling the dough is essential, as it helps firm up the butter, making the dough easier to roll and shape later while preventing the cookies from spreading excessively during baking.
Step 5: Roll and Stack
After chilling, take each portion out and place them between two sheets of parchment paper. Roll each colored dough into a 7-inch square, ensuring an even thickness for all pieces. Once rolled, return them to the refrigerator for an additional 15 minutes. This chilling step will make it simpler to stack the colors without them mixing together.
Step 6: Stack and Roll into a Log
Once slightly firm, peel away the parchment paper from the first layer of colored dough. Stack the next layer on top, aligning the edges carefully. Finally, top with the plain dough layer. Using the parchment to help, slowly roll the stacked dough into a tight log shape. Make sure to maintain a nice, uniform thickness throughout the roll for beautifully swirled Christmas Pinwheel Cookies.
Step 7: Slice and Bake
Preheat your oven to 350°F (175°C). Remove the log from the refrigerator and unwrap it. Using a serrated knife, slice the log into 1/3-inch thick rounds, taking care to keep the slices even. Roll the edges in red sanding sugar before placing them on a baking sheet lined with parchment paper. Bake for 8-10 minutes, until the edges are set but the centers remain soft, capturing that perfect chewy texture.
Step 8: Cool Before Serving
Once baked, allow your Christmas Pinwheel Cookies to cool on the baking sheet for about 5 minutes before transferring them to a wire rack. This cooling time allows the cookies to firm up slightly. Once cool, serve them at your festive gathering or package them in decorative tins to share the holiday cheer with friends and family!
Expert Tips for Christmas Pinwheel Cookies
• Soften Butter Properly: Make sure your unsalted butter is at room temperature for a smooth blend. Softened butter holds air better, creating fluffier cookies.
• Precise Baking Time: Keep a close eye on your cookies while they bake; they should be set at the edges but soft in the center. Overbaking can lead to dry cookies.
• Chill for Best Results: Don’t skip chilling the dough! It helps prevent excessive spreading and keeps the cookies’ shape intact.
• Use a Serrated Knife: For clean slices, use a serrated knife when cutting the dough log. A clean cut helps showcase the beautiful pinwheel patterns.
• Experiment with Colors: Feel free to get creative with gel food coloring. Different shades and combinations can tailor your Christmas Pinwheel Cookies for any festive season.
What to Serve with Christmas Pinwheel Cookies?
These festive treats are not just a delight on their own; pairing them with complementary dishes can elevate your holiday celebrations!
- Creamy Hot Cocoa: A rich, chocolatey beverage that balances the sweetness of the cookies perfectly—ideal for cozy gatherings.
- Spiced Eggnog: With its creamy texture and hint of nutmeg, this classic drink pairs beautifully with the vanilla flavors in the cookies.
- Gingerbread Muffins: The warm spices of gingerbread create a delightful contrast, enhancing your festive table with a charming twist.
- Peppermint Bark: This crunchy, minty treat adds a refreshing contrast and is visually appealing alongside your colorful cookies.
- Fruit Salad: A fresh mix of seasonal fruits cuts through the sweetness, adding bright flavors and a beautiful color contrast.
- Pecan Pie: The rich, nutty flavor of pecan pie complements the soft texture of the cookies wonderfully, creating a dessert table extravaganza.
Elevate your holiday cookie platter by incorporating these delicious pairings, and let the festivities begin!
Storage Tips for Christmas Pinwheel Cookies
Room Temperature: Store cookies in an airtight container at room temperature for up to 1 week for optimal freshness.
Fridge: If you prefer a longer shelf life, keep them in the fridge for up to 2 weeks, but the texture may change slightly.
Freezer: Unbaked dough can be frozen for up to 3 months. Wrap it tightly in plastic wrap and then place in a freezer-safe bag. When ready to bake, thaw in the fridge overnight before slicing and baking.
Reheating: To enjoy cookies warm, place them in a preheated oven at 300°F for about 5 minutes, bringing back that delightful chewy texture of your Christmas Pinwheel Cookies.
Make Ahead Options
These Christmas Pinwheel Cookies are perfect for busy home cooks who want to save time during the holiday season! You can prepare the dough up to 24 hours in advance by following the first five steps—after mixing and coloring the dough, simply wrap each colored portion tightly in plastic wrap and refrigerate. For longer storage, the unbaked log can be frozen for up to 3 months. To maintain quality, be sure to thaw the dough in the refrigerator overnight before slicing and baking. When you’re ready to enjoy these delightful cookies, simply slice the chilled log, roll the edges in sanding sugar, and bake according to the instructions for a fresh batch that’s just as delicious as if you made them that day!
Christmas Pinwheel Cookies: Fun Variations
Embrace your creativity with these delightful customizations that transform your Christmas Pinwheel Cookies into uniquely festive treats!
- Pastel Colors: Use pastel gel food coloring for a soft, dreamy look perfect for spring gatherings or Easter celebrations.
- Seasonal Sprinkles: Substitute red and green sanding sugar with fun, themed sprinkles to match holidays, like orange and black for Halloween.
- Chocolate Swirls: Incorporate cocoa powder into a dough portion for an irresistible chocolate-flavored pinwheel, adding a rich depth to your cookies.
- Nutty Texture: Fold in finely chopped nuts or chocolate chips to the plain dough for a delightful crunch that contrasts beautifully with the soft texture.
- Citrus Zing: Add lemon or orange zest for a bright, refreshing twist. The citrus aroma will make your kitchen smell heavenly while baking!
- Spiced Variation: Mix in warm spices like cinnamon or ginger to the dough for a cozy flavor that complements holiday moods perfectly.
- Edible Glitter: Dust the finished cookies with edible glitter to give them a magical sparkle, enchanting both kids and adults alike.
- Filling Surprise: Create a surprise filling by spreading a thin layer of jam between the colored dough layers before rolling up, giving each bite a fruity burst.
For more inspiration on festive treats, check out my Chewy Pumpkin Snickerdoodle Cookies or Pumpkin White Cookies. The holiday magic awaits!
Christmas Pinwheel Cookies Recipe FAQs
What type of butter should I use for Christmas Pinwheel Cookies?
Absolutely, I recommend using unsalted butter for these cookies. It provides the best flavor and moisture content. Ensure the butter is softened to room temperature, as this makes it easier to cream it with the sugar, resulting in a wonderfully fluffy texture.
How long can I store my Christmas Pinwheel Cookies?
You can store these colorful treats in an airtight container at room temperature for up to 1 week. If you want to extend their freshness, keep them in the fridge for up to 2 weeks. However, be aware that refrigeration may slightly change their texture.
Can I freeze the dough for later use?
Yes, you can freeze the unbaked dough for up to 3 months! Wrap each log tightly in plastic wrap and then place it inside a freezer-safe bag. When you’re ready to bake, simply thaw it in the fridge overnight before slicing and baking as normal.
What should I do if my dough is too sticky?
Very! If your dough feels a bit sticky after mixing, no worries! Just pop it in the refrigerator for an additional 30 minutes. This will firm up the butter and make it much easier to roll and slice into perfect rounds for your Christmas Pinwheel Cookies.
Are there any dietary considerations to keep in mind for this recipe?
Definitely! For a gluten-free version, simply substitute all-purpose flour with a gluten-free all-purpose blend. Also, be cautious with the food coloring and sanding sugar if you or your guests have dietary restrictions or allergies. Always check ingredient labels for any potential allergens.
What if my cookies are too thin after baking?
If your cookies spread too much during baking, it’s likely that the dough wasn’t chilled long enough. Next time, make sure to follow the chilling steps closely. A solid hour in the fridge is essential, and you can always refrigerate the dough longer if needed!

Christmas Pinwheel Cookies: Colorful Treats for Joyful Holidays
Ingredients
Equipment
Method
- Cream together the softened unsalted butter and sugar in a stand mixer until light and fluffy. Add egg and vanilla extract and mix until smooth.
- In a separate bowl, whisk together flour, kosher salt, and baking soda. Gradually add to the creamed mixture and mix until just combined.
- Divide the dough into three portions. Color two portions with red and green gel food coloring and leave one plain. Knead until colors are evenly distributed.
- Shape each portion into balls, wrap in plastic wrap, and chill in the refrigerator for at least 1 hour.
- Roll each colored dough between parchment paper into 7-inch squares and chill for an additional 15 minutes.
- Stack the colored layers, rolling them into a tight log. Maintain uniform thickness throughout the roll.
- Preheat the oven to 350°F (175°C). Slice the log into 1/3-inch thick rounds and roll edges in sanding sugar. Bake for 8-10 minutes.
- Cool the cookies on the baking sheet for 5 minutes before transferring to a wire rack.
Leave a Reply