
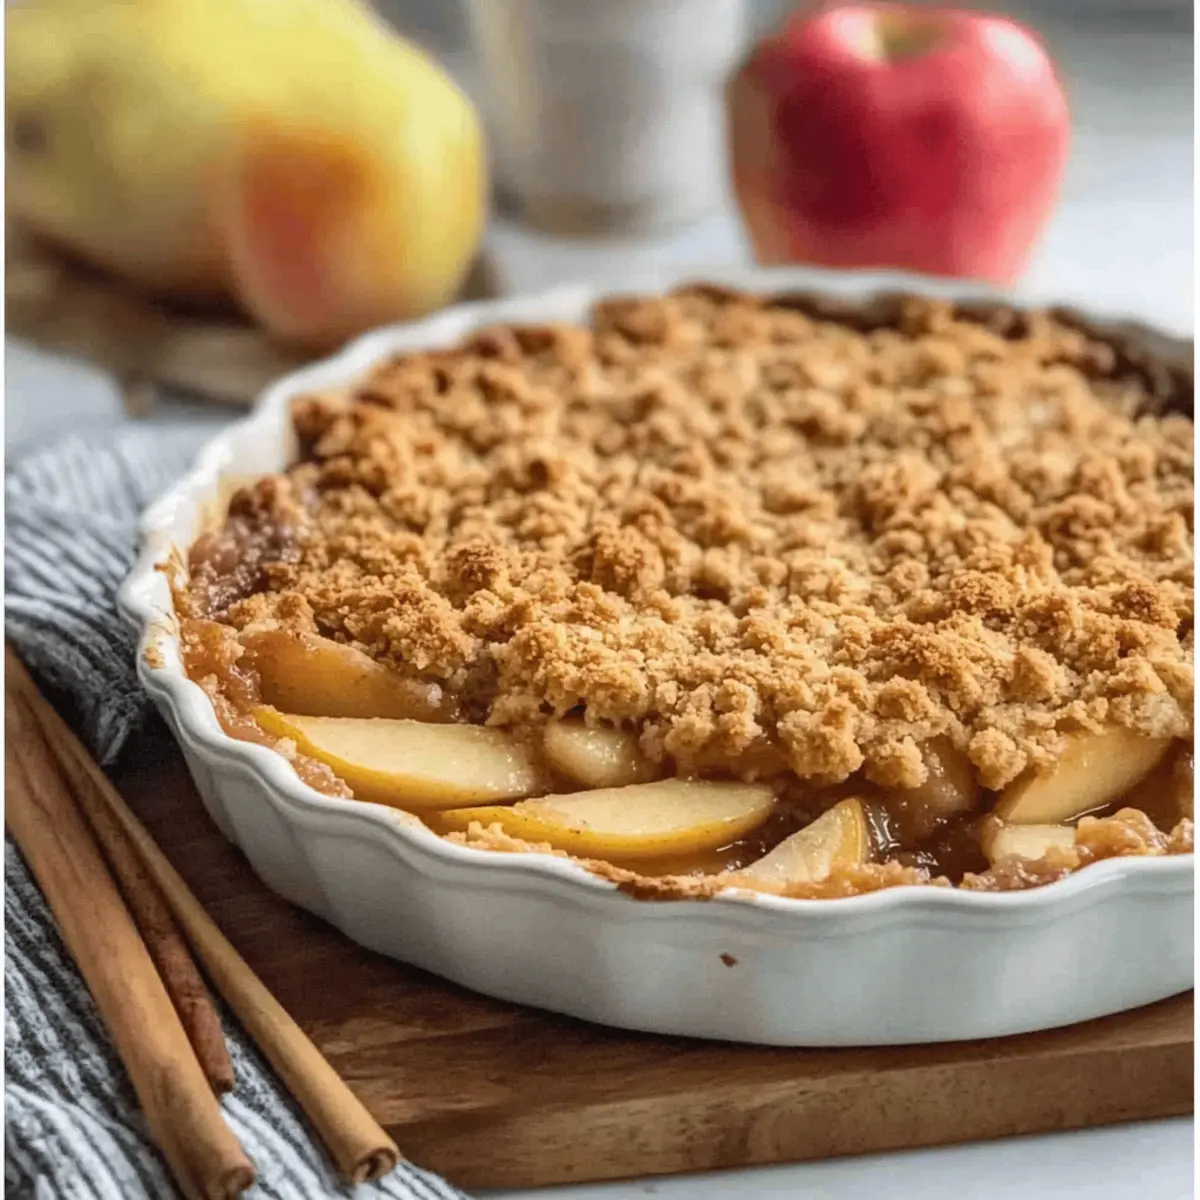
As the aroma of cinnamon wafts through my kitchen, I’m transported to chilly autumn days spent with family, indulging in a warm bowl of Classic Apple Crisp. This delightful comfort dessert features tender, spiced apples resting under a golden-brown oat topping that’s as easy to make as it is satisfying. In just about an hour, you can whip up this heartwarming dish, perfect for a cozy weeknight treat or a gathering with friends. Not only is it customizable with gluten-free options, but it also invites fun variations by adding your favorite fruits. Are you ready to dive into a slice of nostalgia? Let’s get cooking!
Why Is Classic Apple Crisp So Loved?
Nostalgic Taste: The comforting flavor profile of sweet apples combined with warm spices will remind you of family gatherings and cozy fall evenings.
Quick Prep Time: Ready in just about an hour, this delectable dessert is perfect for when you need a delightful treat in a pinch.
Versatile Options: Feel free to experiment with different fruits or spices—whether you want to add berries or peaches, the choice is yours!
Gluten-Free Friendly: Easily swap in a gluten-free flour blend without losing any of the richness in flavor, making it accessible for everyone.
Delightful Texture: Enjoy the amazing contrast between the tender apple filling and the crunchy oat topping that creates a satisfying bite every time.
Treat yourself with this classic, and if you’re looking for more apple-inspired recipes, don’t miss my Apple Cider Whoopie or Apple Cinnamon Streusel options for a delightful twist!
Classic Apple Crisp Ingredients
• Get ready to whip up a cozy dessert!
For the Filling
- Sliced Apples – Use fresh apples for the best flavor; a mix of sweet and tart varieties enhances the experience.
- All-Purpose Flour – Helps thicken the apple mixture and can be swapped with a gluten-free blend if needed.
- Granulated Sugar – Sweetens the apples and balances the tartness beautifully.
- Brown Sugar – Adds moisture and a rich, caramel-like depth to the filling.
- Cinnamon – This warm spice enhances the apple flavor; feel free to adjust to your taste.
- Nutmeg – A pinch adds a warm, comforting aroma; use sparingly for a delightful hint.
- Lemon Juice – Brightens the flavors and prevents browning of the apples.
- Vanilla Extract – Enriches the overall flavor of the apple filling.
For the Topping
- Rolled Oats – Provide a hearty crunch; be sure they are certified gluten-free if necessary.
- All-Purpose Flour – Adds structure to the topping; you can also use a gluten-free blend for a suitable option.
- Brown Sugar – Adds moisture and richness; don’t skip this ingredient for maximum flavor.
- Cold Butter – Ensures a crumbly texture for the topping; keep this chilled until you’re ready to mix.
Whether you’re catering to gluten-free friends or simply craving that classic comfort, this Classic Apple Crisp is aimed to please everyone at your table!
Step‑by‑Step Instructions for Classic Apple Crisp
Step 1: Prepare the Apples
Preheat your oven to 375°F (190°C) to create the perfect baking environment for your classic apple crisp. In a large mixing bowl, combine the sliced apples with all-purpose flour, lemon juice, vanilla extract, granulated sugar, cinnamon, nutmeg, and a pinch of salt. Toss everything together until the apples are beautifully coated and slightly glossy, then set this delicious mixture aside to let the flavors meld.
Step 2: Make the Topping
In a separate bowl, mix together the remaining all-purpose flour, rolled oats, brown sugar, and a pinch of salt. Cut in the cold butter using a pastry blender or your fingers until the mixture resembles coarse crumbs. This step is crucial for achieving that crispy topping in your classic apple crisp, so ensure the butter remains cold throughout to maximize texture.
Step 3: Assemble the Crisp
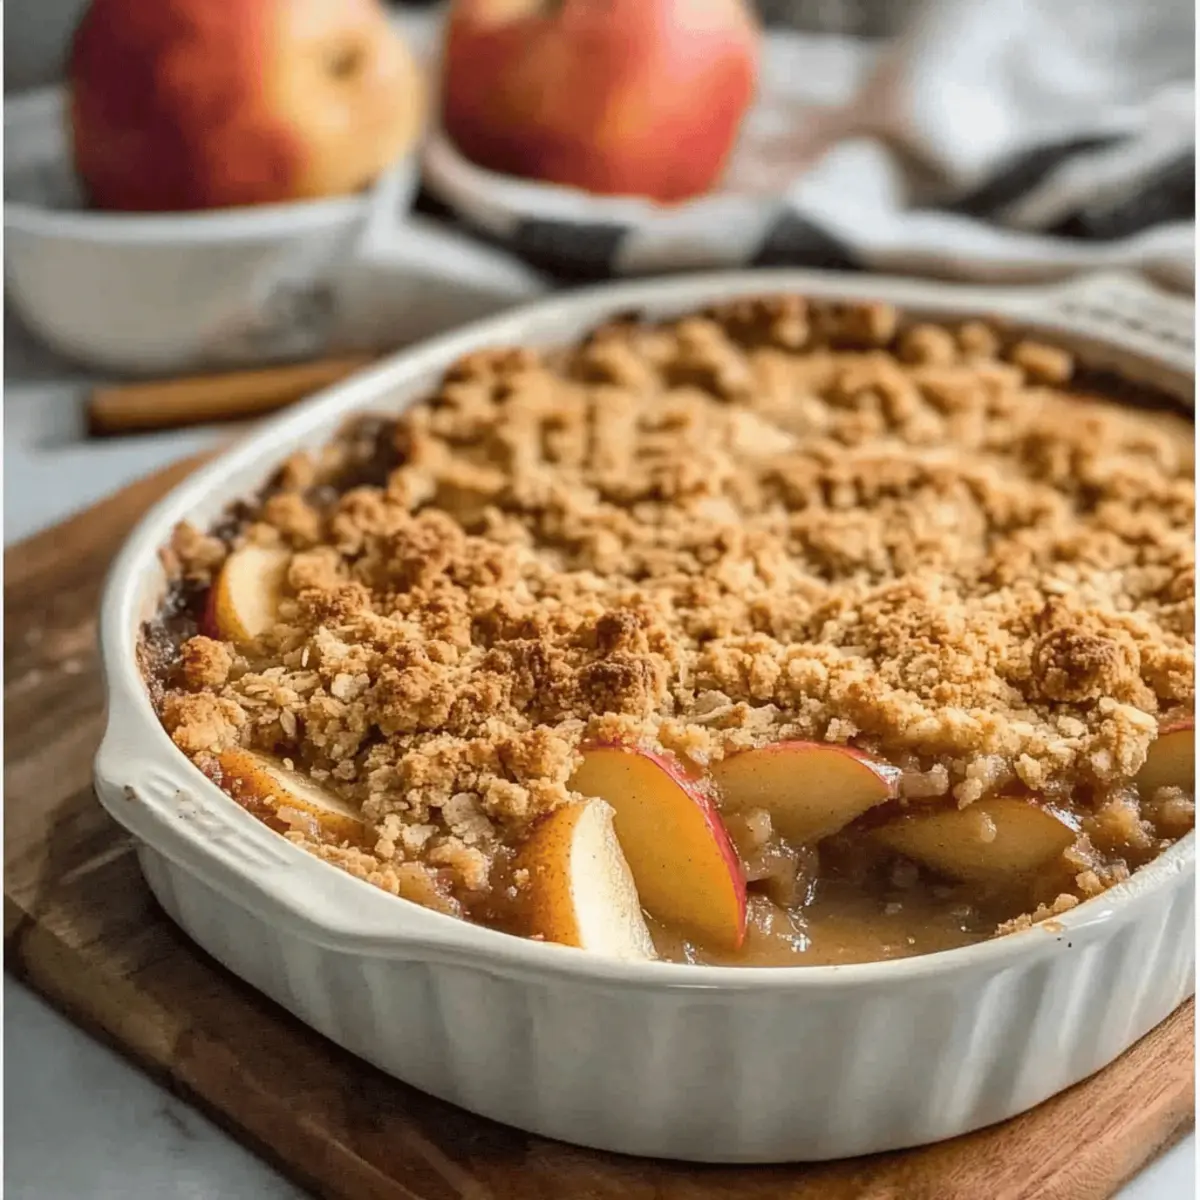
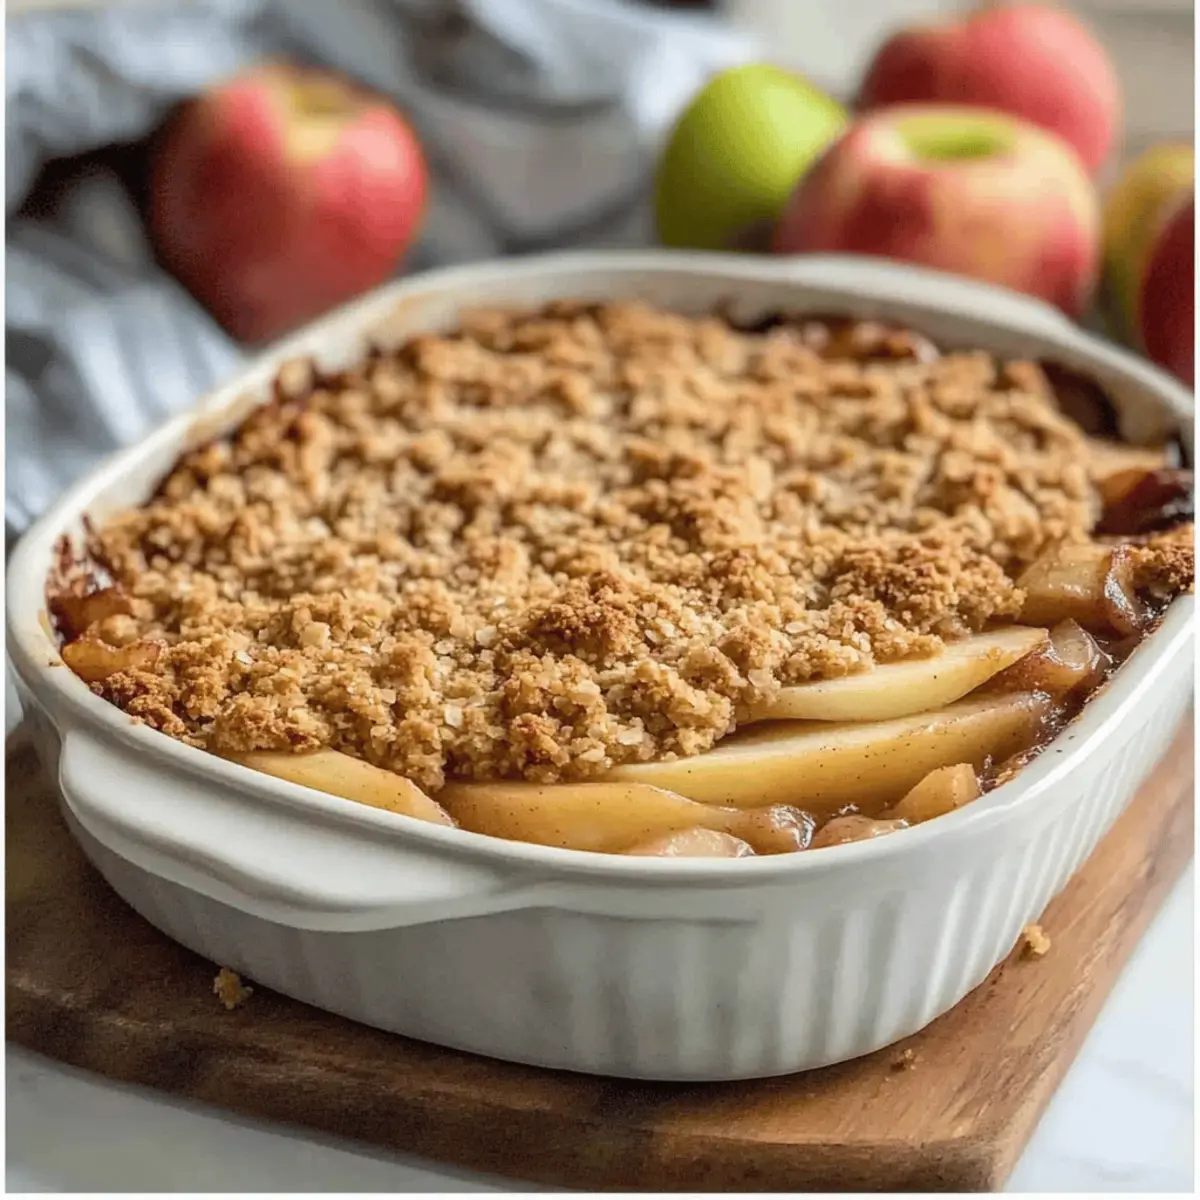
Pour the seasoned apple mixture into an 8×8 inch baking dish or a 9-inch pie plate, spreading it evenly to ensure even baking. Take the oat topping you prepared and sprinkle it generously over the apples, being careful not to pack it down. This allows for a lovely, crunchy top when baked, creating a perfect contrast to the tender apple layer underneath.
Step 4: Bake
Place the assembled classic apple crisp in the preheated oven and bake for 35-40 minutes. Keep an eye on it during the last few minutes—look for a golden-brown topping and bubbling juice from the apples to know it’s ready. If the topping begins to brown too quickly, loosely cover it with aluminum foil to prevent burning while the apples finish cooking.
Step 5: Cool and Serve
Once baked, remove the apple crisp from the oven and allow it to cool for about 10-15 minutes. This cooling period lets the flavors meld beautifully and makes it easier to serve. Scoop out generous portions into bowls and enjoy your classic apple crisp warm, perhaps with a scoop of vanilla ice cream or a dollop of whipped cream for added indulgence.
Expert Tips for the Best Classic Apple Crisp
- Choose the Right Apples: Use a mix of sweet and tart apples, such as Granny Smith and Honeycrisp, for a balanced flavor. Avoid mealy apples that won’t hold their texture.
- Keep Butter Cold: For a perfectly crispy topping, always use cold butter. This prevents the mixture from becoming too greasy.
- Don’t Pack the Topping: Sprinkle the oat mixture instead of packing it down; this ensures a light and crunchy topping for your classic apple crisp.
- Add Lemon Juice: Not only does lemon juice brighten the apple flavor, but it also helps keep the apples from browning before baking.
- Customize with Fruits: Feel free to mix in additional fruits like berries or pears. Just be cautious with moisture; adjust sugar accordingly.
- Storage Tips: Store leftovers in a sealed container in the fridge for up to three days. Reheat in the oven for the best texture and warmth.
What to Serve with Classic Apple Crisp
Pair your dessert with delightful accompaniments that elevate the comforting experience and tantalize your taste buds.
- Vanilla Ice Cream: A scoop of creamy vanilla ice cream melts beautifully over warm apple crisp, creating a luscious contrast.
- Whipped Cream: Light and airy, a dollop of freshly whipped cream adds a delightful texture and sweetness to the dish.
- Caramel Sauce: Drizzling warm caramel over the crisp enriches the flavor profile, adding a luxurious, sweet touch.
- Cinnamon Sugar Doughnuts: Serve alongside soft, fluffy doughnuts for a comforting treat that echoes the spices in your apple crisp.
- Chia Seed Pudding: A homemade chia seed pudding brings a light, fruity contrast that complements the richness of the crispy topping.
- Warm Spiced Cider: Infuse a bit of fall with steaming spiced cider to sip as you indulge in your homemade classic apple crisp.
- Coffee or Tea: Brew a cup of your favorite coffee or herbal tea to enhance the cozy atmosphere and balance the sweetness.
- Mixed Fall Fruit Salad: A refreshing fruit salad with seasonal apples, pears, and citrus ensures a bright burst of freshness on the side.
- Chocolate Chip Cookies: Sweet, chewy cookies serve as delicious companions, adding texture and nostalgia to your dessert experience.
Indulge in the warmth of these serving suggestions alongside your classic apple crisp for a comforting and memory-filled meal.
Classic Apple Crisp Variations & Substitutions
Customize your classic apple crisp to make it uniquely yours and add an exciting twist to this beloved dessert!
- Gluten-Free: Substitute all-purpose flour with a gluten-free flour blend for a comforting dessert accessible to everyone.
- Dairy-Free: Use coconut oil or a vegan butter substitute to replace regular butter, ensuring a plant-based treat for your friends.
- Berries Galore: Toss in some fresh or frozen berries—like blueberries or cranberries—for a delightful burst of flavor and color.
- Nutty Crunch: Add chopped nuts such as pecans or walnuts to the topping for an extra layer of crunch and a rich nuttiness.
- Spice it Up: Swap cinnamon and nutmeg for a blend of spices like cardamom or ginger to elevate the flavor and warmth.
- Zesty Twist: Include a splash of orange juice or zest in the apple filling for a bright, citrusy contrast to the sweetness.
- Cinnamon Swirl: Mix in a few teaspoons of cinnamon or a sprinkle of cinnamon sugar between the apple filling and topping for a double dose of spice.
- Seasonal Variations: In place of apples, try using pears, peaches, or even cherries to explore a whole new world of warm, fruit-filled delights.
Take a moment to explore the different ways to enjoy your classic apple crisp. And don’t miss out on other apple treats like my delicious Apple Cider Cheesecake or the irresistible Apple Crumb Cake!
How to Store and Freeze Classic Apple Crisp
Room Temperature: Allow the apple crisp to cool completely, then cover it loosely with foil or a kitchen towel. It can be kept at room temperature for up to 1 day.
Fridge: Store leftover classic apple crisp in a sealed container in the refrigerator for up to 3 days. Reheat individual portions in the oven or microwave for best flavor and texture.
Freezer: For longer storage, freeze the unbaked apple crisp. Wrap it tightly in aluminum foil or place it in an airtight container. It can be frozen for up to 3 months. Bake from frozen, adding an extra 10-15 minutes to the cooking time.
Reheating: For best results, reheat in the oven at 350°F (175°C) until warmed through and the topping is crispy, approximately 20-25 minutes.
Make Ahead Options
These Classic Apple Crisp preparations are perfect for busy home cooks looking to save time without sacrificing flavor! You can assemble the apple filling and topping up to 24 hours in advance; just refrigerate the filling in an airtight container to keep the apples from browning. When you’re ready to indulge, simply sprinkle the topping over the apples and bake straight from the fridge for about 5 extra minutes—this ensures that each bite is just as delicious and warm as if you made it fresh. For any leftovers, store in a sealed container in the refrigerator for up to 3 days, reheating in the oven to maintain that delightful crispness!

Classic Apple Crisp Recipe FAQs
Can I use different types of apples for the filling?
Absolutely! A mix of sweet and tart apples, such as Granny Smith and Honeycrisp, enhances the flavor beautifully. Just make sure to choose firm varieties that won’t turn mushy during baking.
How should I store leftovers of the Classic Apple Crisp?
Store leftover classic apple crisp in a sealed container in the refrigerator for up to 3 days. It’s best to reheat individual portions in the oven for optimal texture, ensuring the topping remains crispy.
Can I freeze Classic Apple Crisp for later use?
Yes, you can! For the best results, freeze the unbaked apple crisp. Wrap it tightly in aluminum foil or use an airtight container, and it will last for up to 3 months. To bake from frozen, simply add an extra 10-15 minutes to your cooking time.
What’s the best way to prevent the apple filling from browning?
Adding lemon juice to the apple mixture not only enhances the flavor but also prevents browning. It’s a simple trick that ensures your apples stay vibrant until they meet that warm oat topping!
How can I customize the recipe for dietary restrictions?
If you need gluten-free options, simply substitute all-purpose flour with a gluten-free flour blend in both the filling and topping. This classic apple crisp can easily cater to your dietary needs without sacrificing flavor.
What should I do if my topping is too crumbly?
If your topping is too crumbly, consider adding a touch more melted butter until you achieve the desired consistency. Mixing with your fingers ensures that the butter coats the oats and flour well, creating that perfect crisp topping!
Classic Apple Crisp: Cozy Comfort in Every Delicious Bite
Ingredients
Equipment
Method
- Preheat your oven to 375°F (190°C). In a large mixing bowl, combine the sliced apples with all-purpose flour, lemon juice, vanilla extract, granulated sugar, cinnamon, and nutmeg. Toss until the apples are coated.
- In a separate bowl, mix the remaining all-purpose flour, rolled oats, brown sugar, and a pinch of salt. Cut in the cold butter until the mixture resembles coarse crumbs.
- Pour the seasoned apple mixture into an 8x8 inch baking dish, spreading it evenly. Sprinkle the oat topping over the apples without packing it down.
- Bake in the preheated oven for 35-40 minutes, until the topping is golden brown and juices are bubbling. Cover loosely with foil if it browns too quickly.
- Allow to cool for 10-15 minutes before serving warm, optionally with ice cream or whipped cream.
Leave a Reply