
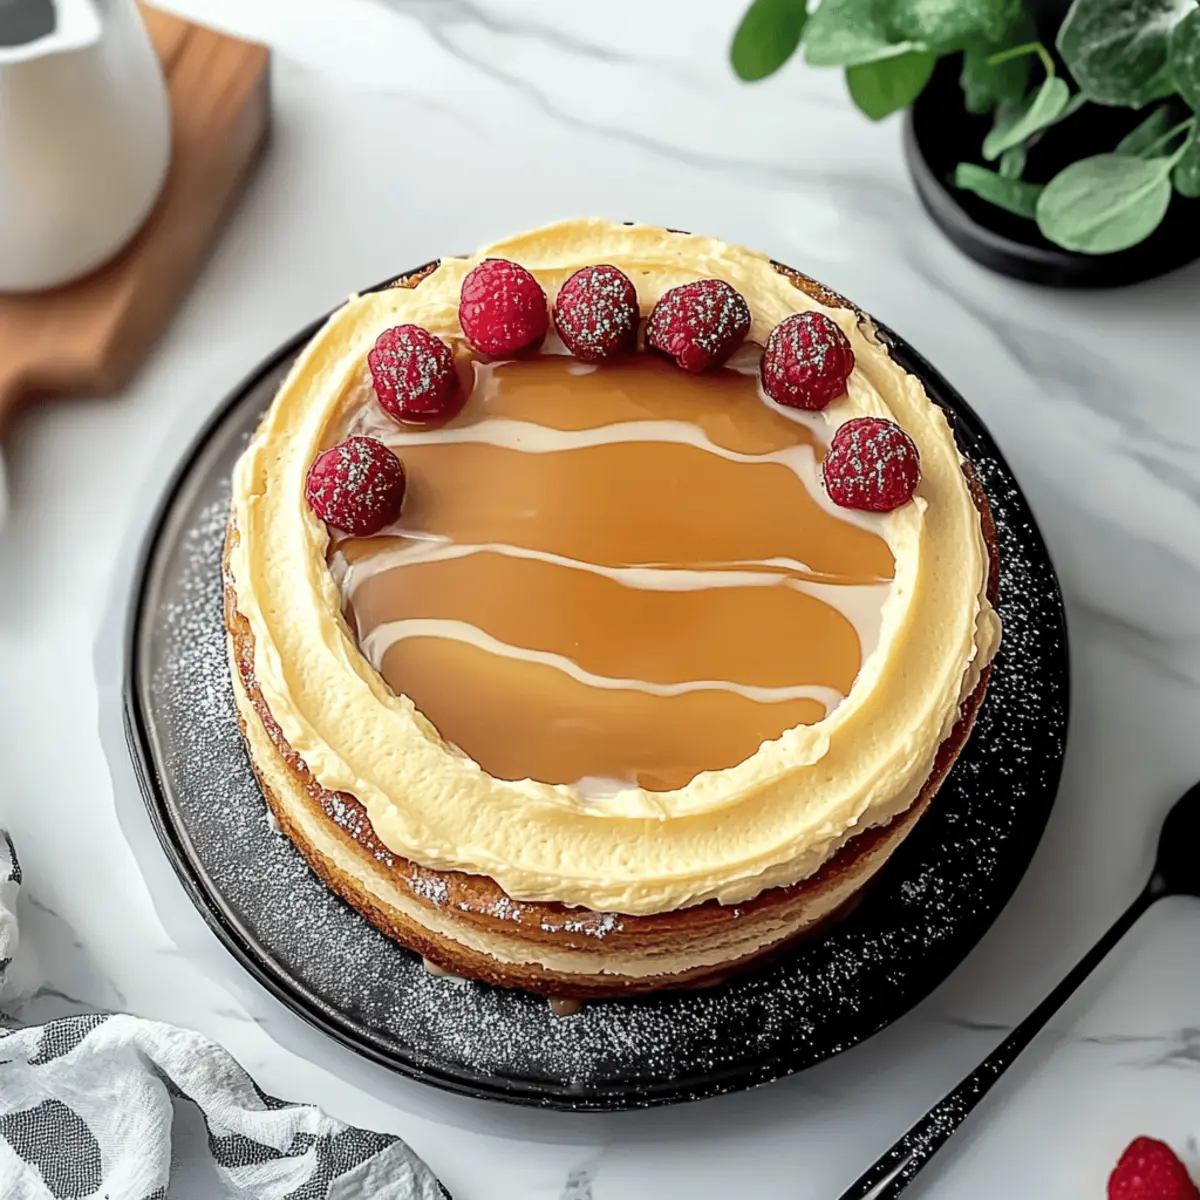
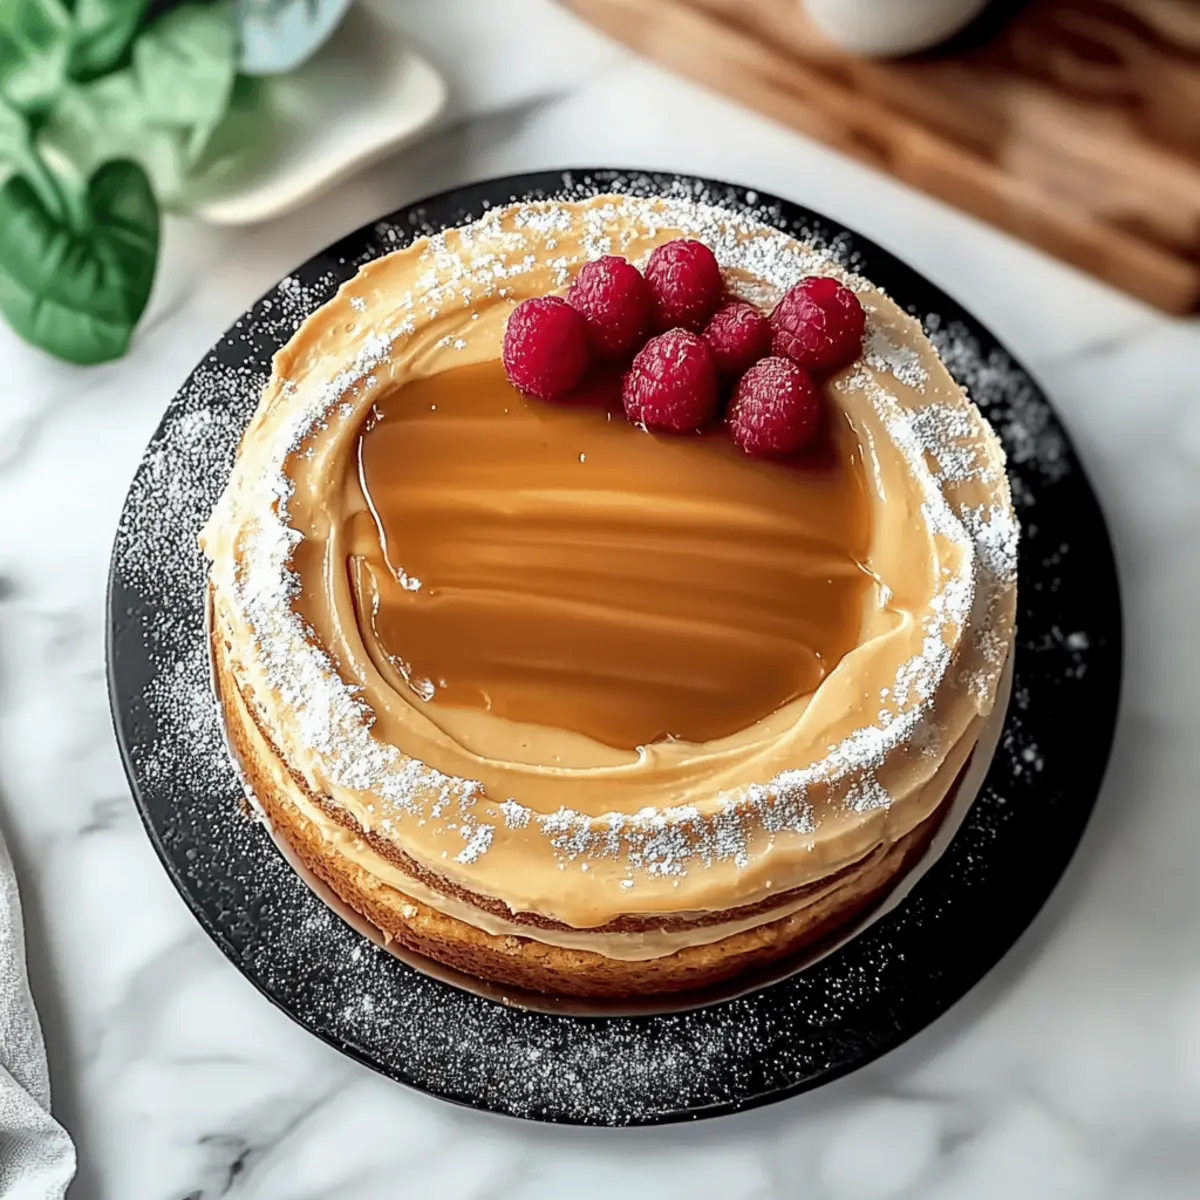
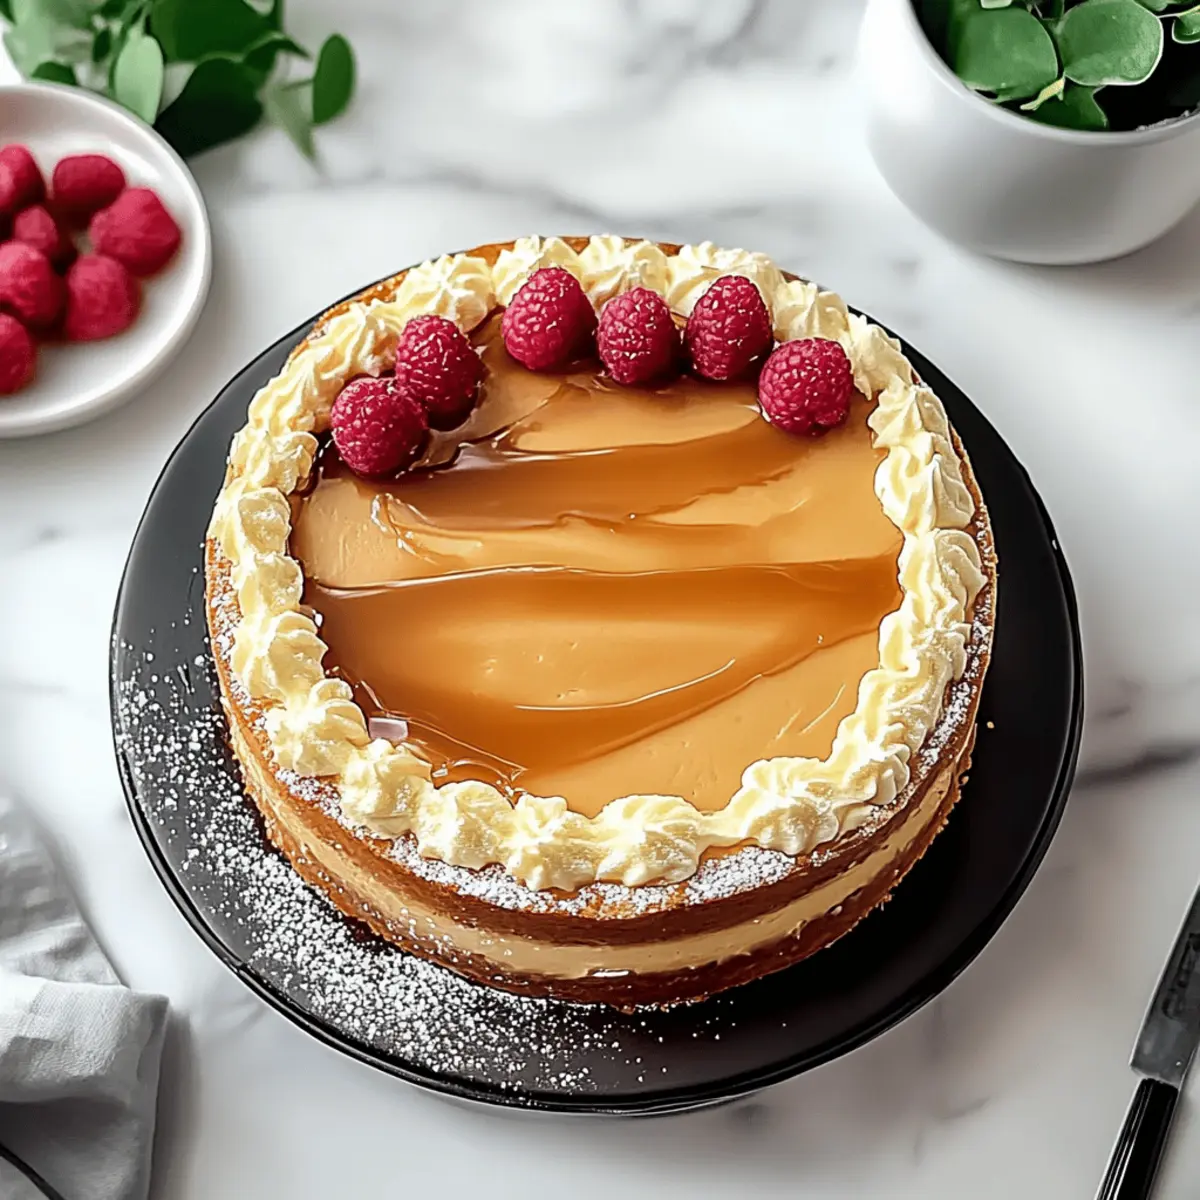
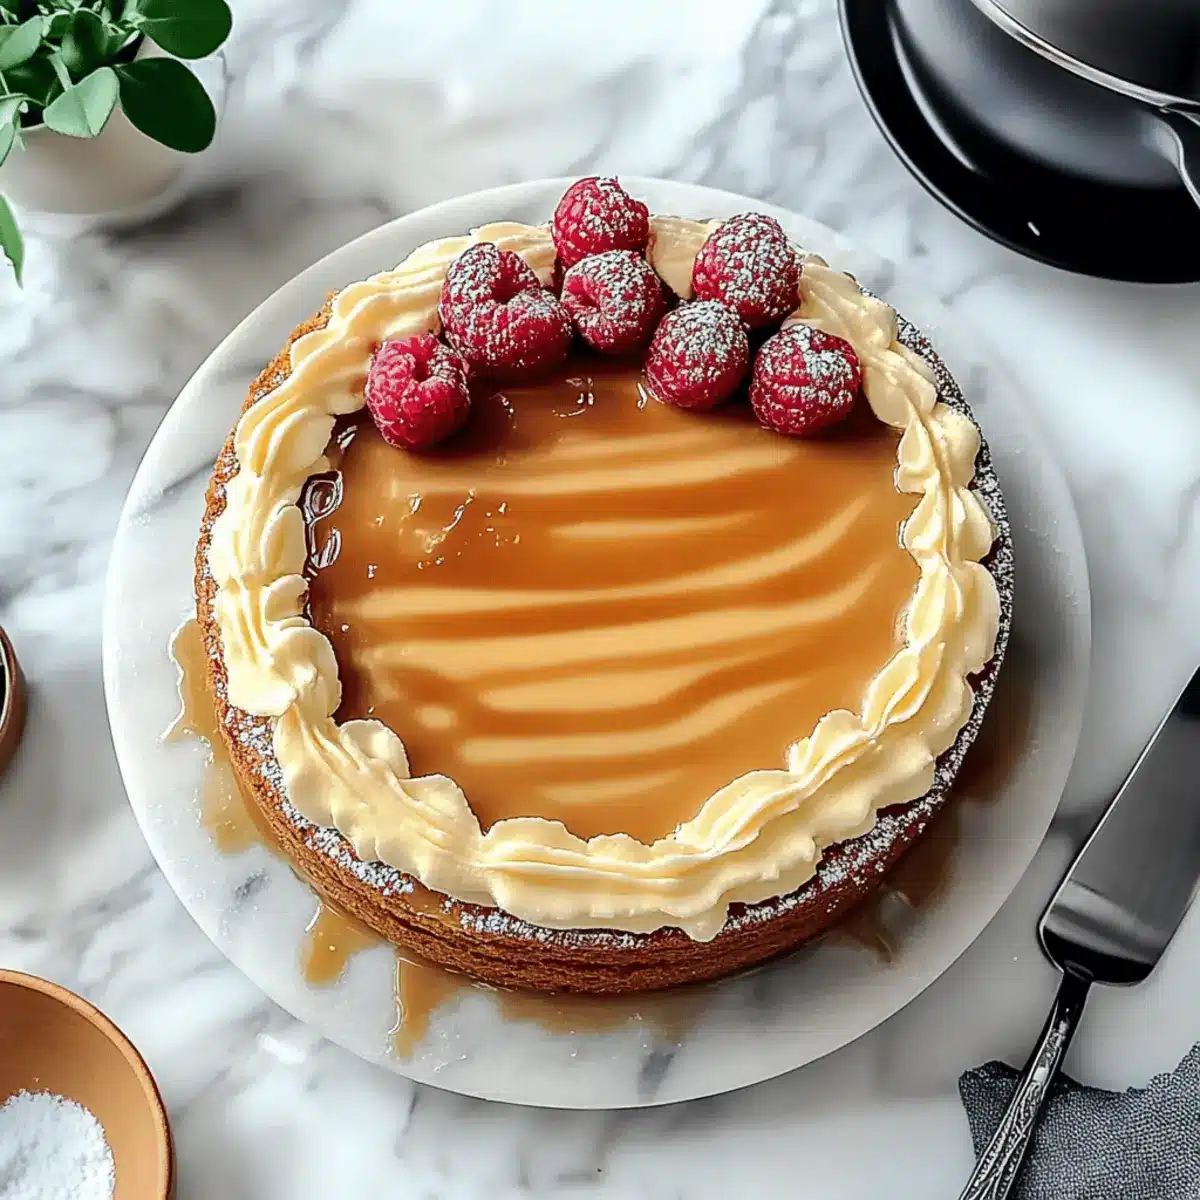
The aroma of freshly baked cake wafted through my kitchen like a warm hug, instantly lifting my spirits. Nothing beats the satisfaction of whipping up a delightful Creamy Caramel Cake, especially when it’s as simple and rewarding as this recipe. Perfect for any gathering, this cake strikes the right balance between rich creamy layers and a luscious caramel glaze, making it a favorite among friends and family alike. One of the best perks? It’s incredibly easy to prepare, and with a few simple ingredient swaps, you can even make it gluten-free! Whether you’re raising the bar at a casual get-together or impressing guests at a celebration, this cake is sure to shine on your dessert table. Are you ready to discover the secret to baking your own velvety indulgence?
Why is this cake so irresistible?
Decadent layers of creamy caramel and rich butter cake blend together for an unforgettable treat. Easy preparation means you can whip up this delight even on a busy day! Versatile enough to adapt for gluten-free ingredients, it caters to all dietary needs. Crowd-pleasing flavor makes this a go-to dessert for gatherings or family celebrations. Lastly, the beautiful presentation ensures your cake not only tastes great but also looks stunning on any table! For more delightful baking ideas, don’t forget to check out my Almond Flour Cake or Apple Cider Pound Cake.
Creamy Caramel Cake Ingredients
For the Cake
- All-Purpose Flour – Provides structure and texture for the cake; for gluten-free options, use a gluten-free blend with xanthan gum.
- Baking Powder – Leavening agent to help the cake rise; make sure yours is fresh for optimal fluffiness.
- Salt – Enhances the flavors of the cake; can be omitted if using salted butter.
- Unsalted Butter – Adds richness and allows you to control salt levels; substitute with salted butter but reduce the added salt.
- Granulated Sugar – Sweetens the cake and aids in creating its delightful texture; consider using half brown sugar for a deeper flavor.
- Large Eggs – Imparts moisture and structure; bring to room temperature for easier mixing.
- Vanilla Extract – Introduces a lovely natural sweetness; feel free to add a bit more for a richer flavor.
- Milk – Keeps the cake batter moist; swap with almond or soy milk for a dairy-free version.
For the Caramel Sauce
- Heavy Cream – Contributes essential richness to the caramel; coconut cream can be used for a non-dairy alternative.
- Brown Sugar – This ingredient gives the caramel its deep flavor; white sugar works too, but the taste will vary.
- Additional Butter – Enhances the richness of the sauce; you can replace it with margarine if necessary.
Make this Creamy Caramel Cake for a dessert that will melt in your mouth and leave your guests raving!
Step‑by‑Step Instructions for Creamy Caramel Cake
Step 1: Preheat the Oven
Begin by preheating your oven to 350°F (175°C). While the oven warms, take the time to grease and flour two 9-inch round cake pans. This will ensure that your Creamy Caramel Cake layers release effortlessly after baking, achieving a flawless finish for your dessert.
Step 2: Prepare the Dry Ingredients
In a medium mixing bowl, whisk together all-purpose flour, baking powder, and salt. This crucial step not only combines your dry ingredients but also ensures that baking powder is evenly distributed throughout, contributing to a light and fluffy cake. Set this bowl aside as you move on to the next phase.
Step 3: Cream Butter and Sugar
Grab a large mixing bowl and use a hand mixer or stand mixer to cream the softened unsalted butter and granulated sugar together. Beat them on medium speed for about 3-5 minutes, or until the mixture turns light and fluffy. This aeration is essential, as it will help your Creamy Caramel Cake rise beautifully in the oven.
Step 4: Incorporate the Eggs and Vanilla
Add large eggs one at a time to the creamed mixture, ensuring you mix well after each addition. Then, stir in the vanilla extract. This will infuse the batter with wonderful flavor. The consistency should be smooth and creamy, setting the stage for a rich and delightful cake.
Step 5: Combine Dry Ingredients and Milk
Gradually add your pre-mixed dry ingredients to the wet ingredients, alternating with milk. Start and end with the dry ingredients, mixing gently until just combined to avoid overmixing. This careful combination will bless your layers with the perfect texture that characterizes the Creamy Caramel Cake.
Step 6: Bake the Cake Layers
Evenly divide the batter between the two prepared cake pans, smoothing the tops with a spatula. Place the pans in your preheated oven and bake for 25-30 minutes. The cakes are done when a toothpick inserted into the center comes out clean. Allow them to turn a golden hue while their aroma fills your kitchen.
Step 7: Cool the Cake Layers
Once baked, remove the pans from the oven and let them cool for about 10 minutes. Afterward, gently flip the cakes onto a wire rack to cool completely. This step is crucial; cooling ensures the cakes maintain their integrity, making the assembly process smooth and easy.
Step 8: Prepare the Caramel Sauce
In a saucepan over medium heat, combine brown sugar, additional butter, and heavy cream to create the luscious caramel sauce. Stir continuously until melted and the sugar has fully dissolved. This should take about 3-5 minutes; the mixture should bubble gently as it thickens into a rich caramel.
Step 9: Finish the Caramel Sauce
Bring the caramel to a light simmer, then lower the heat and continue cooking for another 3-5 minutes. Watch closely as the caramel thickens slightly; remove the saucepan from heat and stir in a touch of vanilla extract for added depth of flavor.
Step 10: Assemble the Cake
Once the cake layers have cooled completely, place one layer on a serving plate and spread a generous amount of caramel sauce on top. Then, stack the second cake layer on top and drizzle the remaining caramel over the entire cake. This ensures that every bite of your Creamy Caramel Cake is bursting with rich flavor.
Step 11: Serve and Delight
Your Creamy Caramel Cake is now ready to impress! Serve it to friends and family, watching their faces light up with delight. This cake is perfect for gatherings or special occasions, and it pairs beautifully with a scoop of vanilla ice cream for an extra touch of indulgence.
Make Ahead Options
These Creamy Caramel Cakes are perfect for busy home cooks looking to save time! You can bake the cake layers up to 3 days in advance. Just cool them completely, then wrap them tightly in plastic wrap and refrigerate. The caramel sauce can also be prepared up to 24 hours ahead; simply allow it to cool, cover it, and store it in the fridge. When you’re ready to serve, reheat the caramel gently on the stove until warmed through, then assemble your cake by stacking the layers with the caramel in between and drizzling the remaining sauce on top. This simple prep will result in a dessert that tastes just as delicious while freeing up your day!
Storage Tips for Creamy Caramel Cake
Room Temperature: Store your cake at room temperature for up to 1 day, tightly wrapped in plastic wrap to keep it moist and fresh.
Fridge: If not consumed, refrigerate the cake in an airtight container for up to 5 days. This helps maintain the creamy texture of the caramel sauce.
Freezer: For longer storage, wrap individual slices or the entire cake in plastic wrap, then foil, and freeze for up to 3 months. Thaw overnight in the fridge when ready to enjoy.
Reheating: If you prefer your cake warm, lightly microwave a slice for about 10-15 seconds; this will enhance the creamy caramel experience without losing its delightful texture.
Creamy Caramel Cake Variations & Substitutions
Feel free to play with this recipe and create a unique version that tantalizes your taste buds!
- Gluten-Free: Substitute all-purpose flour with a gluten-free blend coupled with xanthan gum for perfectly fluffy layers.
- Chocolate Delight: Add cocoa powder to the batter or use chocolate ganache instead of caramel for a decadent twist. Imagine the rich flavors complementing the cake!
- Dairy-Free: Use almond or soy milk and coconut cream to replace dairy ingredients, allowing everyone to enjoy this treat.
- Caramelized Banana: Top the cake with sliced caramelized bananas for added sweetness and a delightful texture contrast. The bananas add a unique spin you’ll love!
- Toast the Nuts: Sprinkle some toasted pecans or walnuts between layers for a delightful crunch that deepens the taste experience.
- Spicy Kick: Add a pinch of cayenne pepper to the caramel for a thrilling heat that will surprise and delight your palate.
- Citrus Zest: Brighten the cake with a touch of lemon or orange zest in the batter, adding a refreshing zing that complements the creamy flavors beautifully.
- Apple Infusion: Add pureed apples or finely diced apples to the batter or layer the cake with a spiced apple filling for a seasonal touch.
Don’t forget, if you’re looking for more exquisite baked treats, check out my Apple Crumb Cake or try the rich Cajun Chicken Pasta for a delightful savory option!
Expert Tips for Creamy Caramel Cake
- Egg Temperature Matters: Beat eggs at room temperature until they’re pale yellow. This helps create a light and fluffy texture in your creamy caramel cake.
- Don’t Rush Cooling: Ensure your cake layers are completely cooled before frosting. Frosting on warm cake can cause the caramel sauce to melt, leading to a messy presentation.
- Caramel Consistency: If your caramel sauce thickens too much, gently reheat it with a splash of milk or cream to restore that velvety texture.
- Use Fresh Ingredients: Check the freshness of your baking powder and use high-quality vanilla extract. Fresh ingredients can dramatically elevate the flavor of your cake.
- Layer Generously: Don’t be shy when spreading caramel between the cake layers! A generous amount ensures each bite of your creamy caramel cake is rich and satisfying.
What to Serve with Creamy Caramel Cake
When crafting the perfect meal, consider these delightful pairings to elevate your Creamy Caramel Cake experience.
-
Vanilla Ice Cream: The creamy coldness balances the warm, rich flavors, creating a heavenly contrast. A classic choice that enhances every bite.
-
Fresh Berries: Light and tart, fresh strawberries or raspberries cut through the sweetness, adding a refreshing touch to your dessert platter.
-
Whipped Cream: A dollop of homemade whipped cream brings airy lightness, complementing the decadent caramel layers beautifully.
-
Coffee or Espresso: A warm cup adds depth to the sweetness of the cake, its rich bitterness enhancing the overall flavor experience.
-
Chocolate Ganache: Drizzle decadent chocolate on top for a luxurious twist that works well with the caramel. This combination never disappoints!
-
Caramel Drizzle: For those who can’t get enough caramel, additional caramel sauce on the plate adds a touch of elegance that ties the dessert together.
Elevate your gatherings with delightful combinations that hint at warmth, comfort, and pure indulgence!
Creamy Caramel Cake Recipe FAQs
How do I select the best ingredients for this cake?
Absolutely! For the best results, choose ingredients that are fresh. For the eggs, aim for large, room-temperature eggs; this aids in creating a smoother batter and a fluffier cake. When selecting all-purpose flour, a high-quality brand makes all the difference. If you can, opt for unsalted butter to better control the salt levels in your cake, and always choose fresh vanilla extract for vibrant flavor!
How should I store my Creamy Caramel Cake?
To maintain its delicious moisture, store your Creamy Caramel Cake at room temperature, wrapped tightly in plastic wrap, for up to 1 day. If you have leftovers, transfer the cake to an airtight container and refrigerate it for up to five days. This helps keep the creamy texture of the caramel sauce intact while preserving the cake’s flavor.
Can I freeze my Creamy Caramel Cake?
Yes! To freeze your cake, slice it or leave it whole, depending on your preference. Wrap it securely in plastic wrap, then in foil to prevent freezer burn. Your cake will stay fresh for up to three months. When you’re ready to enjoy it, simply transfer the wrapped cake to the fridge to thaw overnight, and it will be just as delightful as the day you baked it!
What if my caramel sauce is too thick?
No worries! If your caramel sauce thickens more than you want, gently reheat it in a saucepan over low heat. Add a splash of milk or heavy cream to loosen the texture, stirring until you reach your desired consistency. This simple step ensures that your caramel remains smooth and pourable, enhancing the overall experience of your Creamy Caramel Cake.
Are there any dietary considerations for this recipe?
Very! If you’re making this cake gluten-free, simply swap the all-purpose flour for a certified gluten-free blend, ensuring it contains xanthan gum for the best texture. Additionally, you can substitute heavy cream with coconut cream for a dairy-free version. Just be sure to check ingredient labels if you’re concerned about allergies and choose substitutes that fit your dietary needs.
Creamy Caramel Cake That Melts in Your Mouth Every Time
Ingredients
Equipment
Method
- Preheat your oven to 350°F (175°C) and grease and flour two 9-inch round cake pans.
- Whisk together all-purpose flour, baking powder, and salt in a medium mixing bowl and set aside.
- Cream the softened unsalted butter and granulated sugar together until light and fluffy.
- Add eggs one at a time to the mixture, mixing well after each addition, then stir in vanilla extract.
- Gradually add dry ingredients to the wet ingredients, alternating with milk, mixing gently.
- Divide the batter between the two prepared cake pans and bake for 25-30 minutes.
- Cool the cakes in the pans for about 10 minutes, then transfer to a wire rack to cool completely.
- In a saucepan, combine brown sugar, additional butter, and heavy cream to create the caramel sauce.
- Bring the caramel to a light simmer, lower the heat, and cook for another 3-5 minutes, then stir in vanilla extract.
- Assemble the cake by spreading caramel sauce between the layers and drizzling it over the top.
- Serve and enjoy your Creamy Caramel Cake!
Leave a Reply