
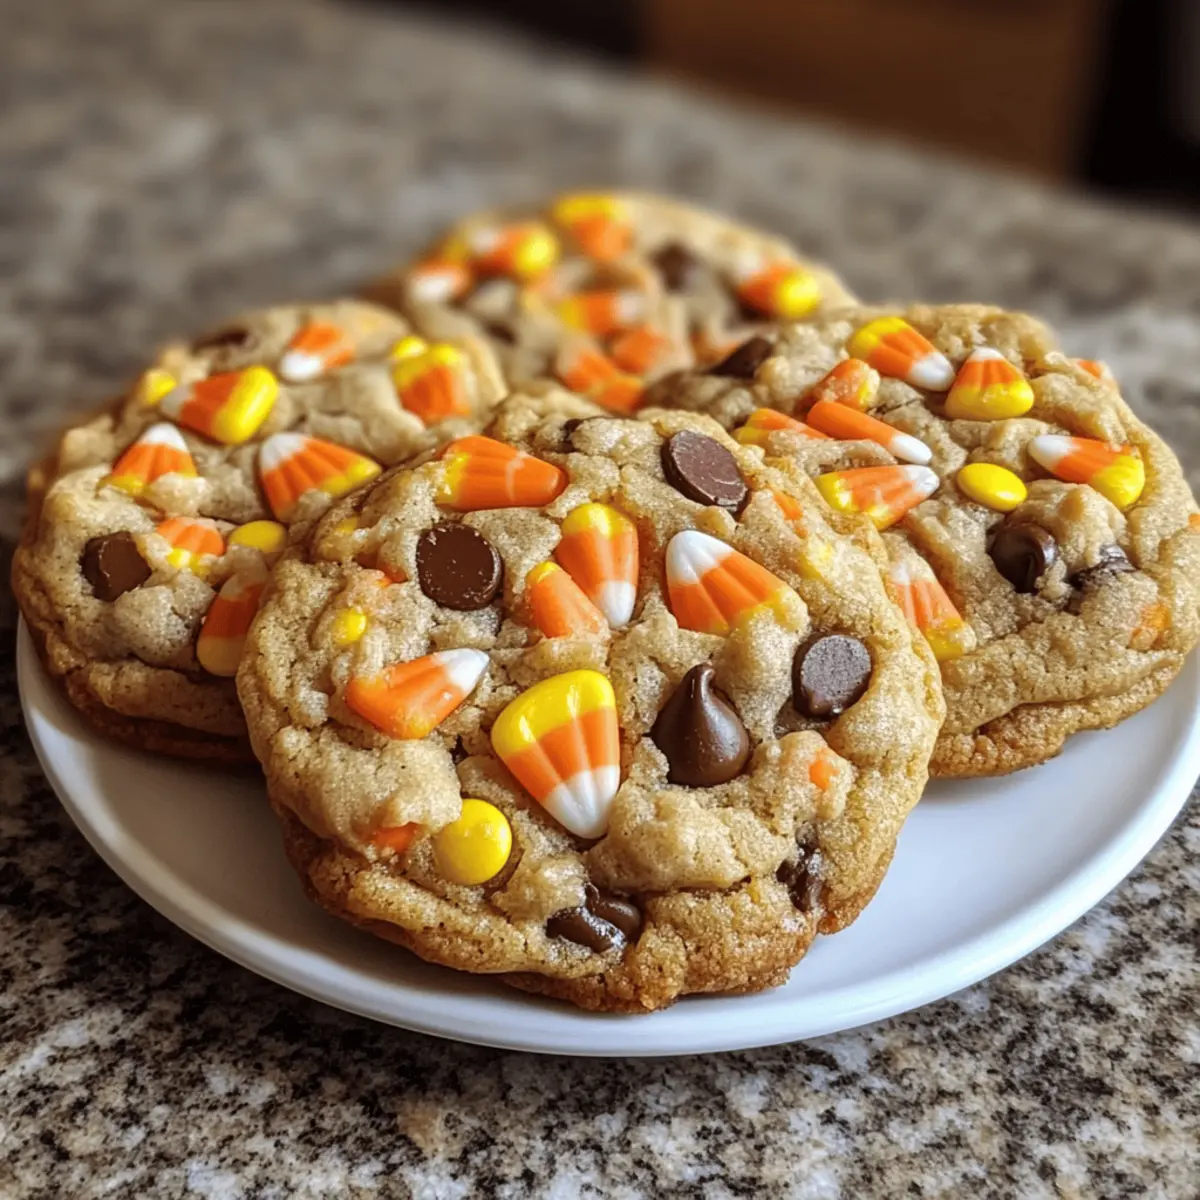
As the first leaves fall and pumpkins start to appear, my kitchen transforms into a hub of Halloween creativity. This year, I’m excited to whip up some Spooky Halloween Cauldron Cookies, which are perfect for indulging kids (and adults!) in festive fun. These cookies are not just a treat; they’re a chance to let your imagination run wild with colorful candy bursts and a rich, chewy texture that beckons for a second (or third) bite. The best part? They’re quick to prepare and easily customizable, meaning you can swap in your favorite chocolates or seasonal goodies for a unique twist. So, ready to stir up a cauldron of sweetness and delight in the kitchen? Let’s dive into this magical recipe!
Why Are These Cookies So Irresistible?
Festive Fun: These Halloween Cauldron Cookies are not just delicious; they double as a playful activity for the whole family. Get the kids involved in mixing, decorating, and, of course, tasting!
Quick Preparation: With simple steps and under 30 minutes of baking time, you can whip these up between other Halloween festivities!
Versatile Options: Customize with your favorite chocolates or seasonal goodies. Why not try adding nuts or using Pumpkin White Cookies as an alternative base?
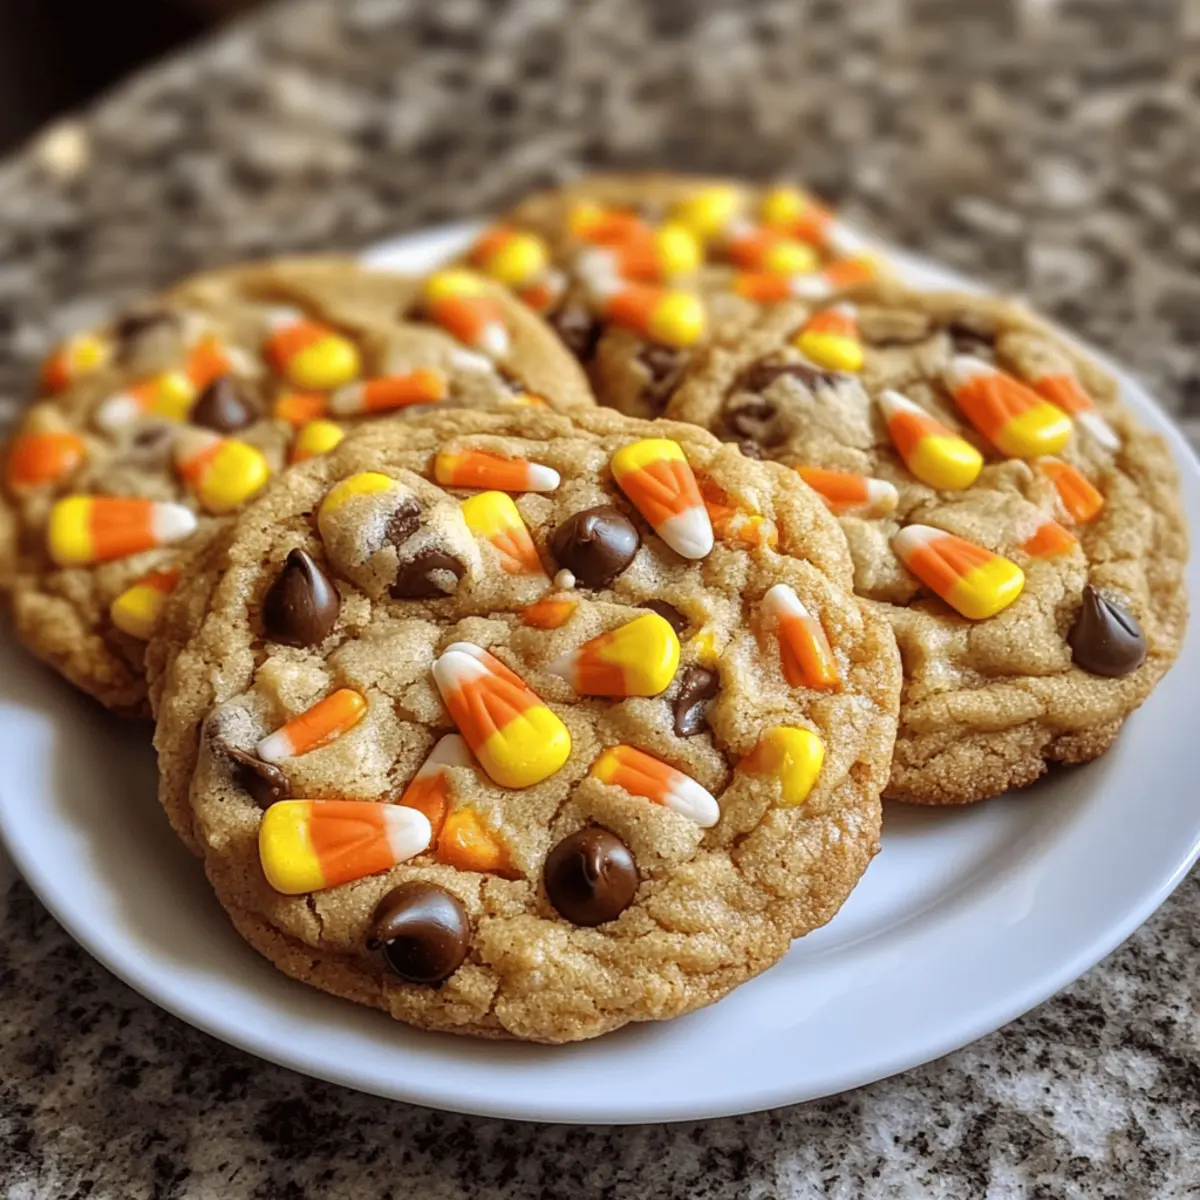
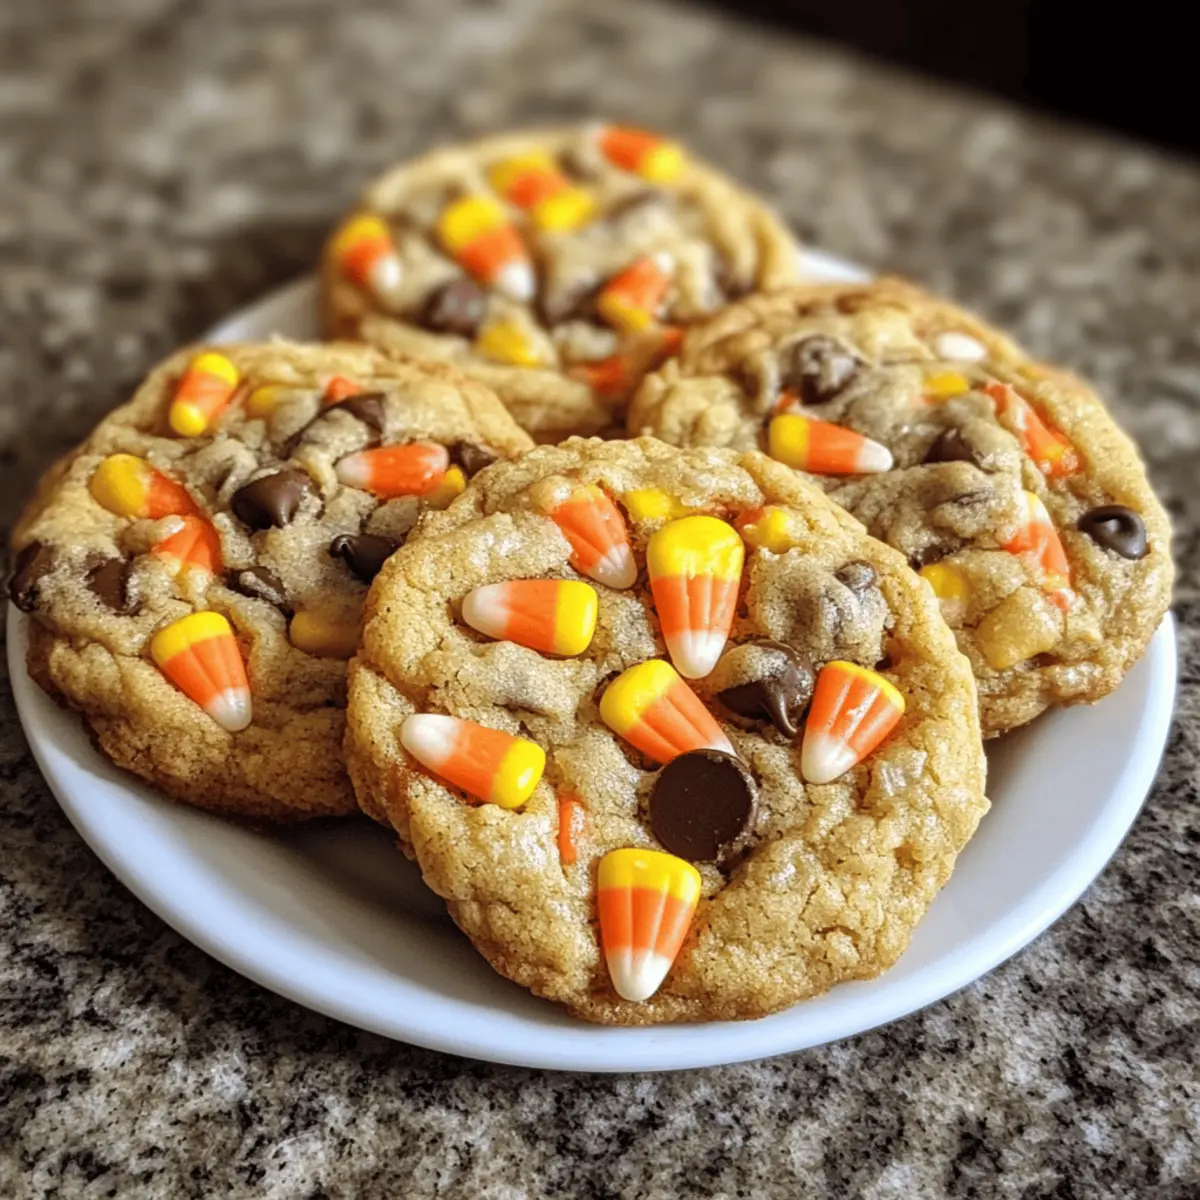
Chewy Perfection: Each bite of these cookies delivers a delightful gooeyness combined with bursts of sweetness from candy corn and chocolate, making them an instant hit.
Perfect for Sharing: These cookies are ideal for Halloween parties, bake sales, or cozy family gatherings. Imagine their delight when they see these spooky treats!
Halloween Cauldron Cookie Ingredients
For the Cookie Dough
- Unsalted Butter – Provides richness and moisture; substitute with margarine for a dairy-free option.
- Granulated Sugar – Sweetens the cookies and helps them brown beautifully.
- Brown Sugar – Adds a deeper flavor and extra moisture to create a rich, chewy cookie.
- Eggs – Binds ingredients and contributes to texture; substitute with 1/4 cup applesauce or mashed banana per egg for a vegan option.
- Vanilla Extract – Enhances the overall flavor with its warm aroma.
- All-Purpose Flour – Forms the structure of the cookies, but can be replaced with a gluten-free flour blend if needed.
- Baking Soda – Ensures the cookies rise; can substitute with baking powder using three times the amount.
- Salt – Balances the sweetness to enhance all flavors.
For Extra Sweetness
- Chocolate Chips – Adds delicious chocolatey flavor; experiment with dark, white, or milk chocolate varieties.
- Candy Corn – Brings colorful festivity to your cookies; feel free to swap in any favorite Halloween candy.
Dive into making these Halloween Cauldron Cookie creations—your kitchen will be brimming with warmth, love, and the joy of baking!
Step‑by‑Step Instructions for Halloween Cauldron Cookie Creation
Step 1: Preheat the Oven
Begin by preheating your oven to 350°F (175°C). This important step allows your cookies to bake evenly and achieve that perfect golden-brown color. While the oven warms up, gather all your ingredients and equipment like mixing bowls, a whisk, and cookie sheets lined with parchment paper.
Step 2: Cream the Butters and Sugars
In a large mixing bowl, combine softened unsalted butter, granulated sugar, and brown sugar. Using a hand mixer or stand mixer, beat the mixture on medium speed for 2–3 minutes until it becomes light and fluffy. This process incorporates air into the butter, giving your Halloween Cauldron Cookies their delightful texture.
Step 3: Add the Eggs and Vanilla
Next, crack in the eggs one at a time, mixing thoroughly after each addition. Pour in the vanilla extract and continue to beat the mixture until everything is well combined, about 1 minute. You want a smooth, creamy batter that will serve as the base for your cookie dough.
Step 4: Combine Dry Ingredients
In a separate bowl, whisk together the all-purpose flour, baking soda, and salt. This ensures your dry ingredients are evenly distributed and helps prevent any clumps. Gradually add this mixture to your wet ingredients, mixing gently until just combined to avoid overmixing, which could affect the chewiness of your Halloween Cauldron Cookies.
Step 5: Fold in Chocolate and Candy Corn
Once the dough is formed, it’s time to add in the fun parts! Gently fold in the chocolate chips and candy corn until they are evenly dispersed throughout the dough. The colorful candy will give a festive touch to your Halloween Cauldron Cookies, making them even more exciting for everyone.
Step 6: Prepare the Baking Sheets
Line your baking sheets with parchment paper to prevent sticking and ensure even baking. Using a tablespoon or cookie scoop, drop spoonfuls of dough onto the prepared sheets, leaving about 2 inches of space between each mound. This space allows the cookies to spread while baking, ensuring they don’t merge together.
Step 7: Bake the Cookies
Place the baking sheets in the preheated oven and bake your Halloween Cauldron Cookies for 10–12 minutes. Keep an eye on them; they should turn golden at the edges while remaining soft in the center. Don’t worry if they look slightly underbaked; they will continue to firm up as they cool.
Step 8: Cool and Transfer
Once baked, remove the cookies from the oven and let them cool on the baking sheet for 5 minutes. This resting time allows them to set properly. Afterward, carefully transfer the cookies to a wire rack to cool completely, ensuring they achieve that perfect chewy texture.
Step 9: Store and Enjoy
After cooling, store your delightful Halloween Cauldron Cookies in an airtight container at room temperature for up to 5 days. If you want them to last longer, feel free to freeze them for enjoying later. Now you’re all set to share these spooky treats with family and friends!
Halloween Cauldron Cookie Variations
Feel free to customize your Halloween Cauldron Cookies with these delightful additions and substitutions that will make them even more magical!
-
Dairy-Free: Replace unsalted butter with margarine or coconut oil for a delicious alternative that keeps these cookies rich and tasty.
-
Vegan Twist: Swap eggs for 1/4 cup of applesauce or mashed bananas to create a vegan-friendly version without sacrificing flavor.
-
Gluten-Free: Use a gluten-free flour blend instead of all-purpose flour, allowing everyone to enjoy these spooky treats.
-
Chocolate Mix-Up: Experiment with different types of chocolate like dark chocolate chips or even crushed up candy bars for a unique flavor profile in each bite.
-
Nutty Addition: Add 1/2 cup of chopped nuts, like walnuts or pecans, for a crunchy texture that contrasts beautifully with the chewy cookie base.
-
Seasonal Sprinkles: Top your cookie dough with Halloween-themed sprinkles or colored sugars before baking to kick up the festive fun!
-
Extra Sweetness: Mix in additional candies like mini M&Ms or chocolate-covered raisins for layers of flavor that will have everyone coming back for more.
-
More Spice: A pinch of cinnamon or nutmeg can be added to the cookie dough, bringing extra warmth and coziness to these delightful treats, perfect for the autumn season.
Once your cookies are ready, you can also serve them alongside warm milk or a scoop of ice cream for an unforgettable treat experience that feels like a Halloween celebration!
Storage Tips for Halloween Cauldron Cookies
Room Temperature: Store your Halloween Cauldron Cookies in an airtight container for up to 5 days to keep them fresh and chewy.
Freezer: For longer storage, freeze individually wrapped cookies in a freezer-safe bag for up to 2-3 months. Thaw at room temperature when ready to enjoy.
Reheating: If you prefer warm cookies, quickly reheat them in the microwave for about 10-15 seconds or in the oven at 350°F (175°C) for a few minutes.
Cooling: Allow cookies to cool completely on a wire rack before storing. This helps maintain their delightful chewy texture!
Make Ahead Options
These Halloween Cauldron Cookies are perfect for meal prep enthusiasts! You can prepare the cookie dough up to 24 hours in advance and refrigerate it in an airtight container to maintain freshness and prevent browning. Additionally, you can portion out the dough into individual mounds and freeze them for up to 3 months. When you’re ready to bake, simply transfer the frozen dough balls directly to a baking sheet, adding a couple of extra minutes to the baking time. This way, you can enjoy warm, freshly baked cookies with minimal effort, making your busy weeknights a little sweeter and more enjoyable!
Expert Tips for Halloween Cauldron Cookies
Softened Butter: Ensure butter is softened, not melted; this is key for properly creaming and achieving the perfect cookie texture.
Careful Mixing: Avoid overmixing after adding flour to maintain the chewy goodness of your Halloween Cauldron Cookie Creation.
Perfect Baking Time: Keep an eye on your cookies as they bake. They should be golden at the edges but still soft in the center when you take them out.
Storage Tips: Use an airtight container to store cookies. This keeps them fresh and delightful for up to 5 days.
Creative Variations: Don’t be afraid to experiment with different chocolate types or seasonal candies—this adds a unique twist to your Halloween treats!
What to Serve with Halloween Cauldron Cookies?
Indulging in these festive cookies is made even better when paired with delightful accompaniments that enhance the Halloween fun.
-
Spooky Hot Chocolate: A rich, velvety drink, perfect for dunking your cookies while keeping cozy on chilly nights.
-
Ghoulish Fruit Salad: A mix of seasonal fruits like oranges and grapes adds a refreshing contrast to the sweetness of your cookies.
-
Caramel Apple Slices: Tart apples drizzled with caramel provide a delightful crunch and a classic fall flavor that complements the cookies beautifully.
-
Vanilla Ice Cream: The creaminess of vanilla ice cream balances the chewy texture of the cookies, making every bite feel like a special treat.
-
Pumpkin Spice Latte: This warm, spiced coffee drink adds an aromatic flair that enhances the holiday spirit while you enjoy your cookies.
-
Halloween-themed Milkshakes: Whip up a quick milkshake garnished with spooky sprinkles for an interactive dessert that’s both fun and delicious.
Let your creativity run wild as you mix and match these suggestions, crafting the ultimate spooky snack experience for family and friends!
Halloween Cauldron Cookie Creation Recipe FAQs
How do I know if my ingredients are ripe or fresh enough?
Absolutely! For the best flavor and texture, use fresh ingredients. Ensure your butter is softened and easy to cream. If you’re using eggs, make sure they are uncracked and clean. For flour, check that it’s free from lumps and has a light texture; if it has a strange odor or has been opened for a long time, it might not be fresh.
How should I store my Halloween Cauldron Cookies?
To keep your cookies fresh, store them in an airtight container at room temperature for up to 4–5 days. If you have leftovers, feel free to freeze them! Wrap each cookie individually in plastic wrap, place them in a freezer-safe bag or container, and they can last for up to 2-3 months. Just remember to thaw them at room temperature before enjoying!
Can I freeze the cookie dough for later?
Very much! You can make the dough ahead and freeze it for later use. Simply scoop the dough into tablespoon-sized portions and place them on a baking sheet to freeze for a few hours. Once they are firm, transfer the frozen dough balls into a freezer bag. They can be stored in the freezer for about 3 months. When ready to bake, no need to thaw; just add a couple of extra minutes to the baking time.
What if my cookies spread too much while baking?
If you find that your cookies spread excessively, it could be due to soft butter used in the creaming stage. Always ensure the butter is just softened, not melted. You can also try chilling the dough for about 30 minutes before baking, which helps solidify the fats and prevent spreading. Also, make sure to measure your flour accurately—too little can lead to spreading as well.
Are these Halloween Cauldron Cookies suitable for people with allergies?
While these cookies are a delightful treat, they do contain standard allergens like eggs and wheat. For a vegan or gluten-free option, you can substitute eggs with 1/4 cup applesauce or mashed banana, and use a gluten-free flour blend as mentioned in the ingredients. Always remember to check labels on chocolate chips and candies to ensure they’re allergen-free!
What can I do if my cookies are too crumbly?
Crumbly cookies can sometimes indicate that the flour was over-measured or that another ingredient might be missing. For fixes, you could add a tablespoon of milk or water to the dough to help bind it. Alternatively, make sure you are properly measuring your flour using the spoon-and-level method instead of scooping directly from the bag, which can pack in too much flour. Remember, the more the merrier! A little patience and tweaking can lead to delicious results.

Halloween Cauldron Cookie Creation for Spooky Family Fun
Ingredients
Equipment
Method
- Preheat your oven to 350°F (175°C).
- In a large mixing bowl, cream together softened unsalted butter, granulated sugar, and brown sugar until light and fluffy.
- Add the eggs one at a time, mixing thoroughly after each addition. Pour in the vanilla extract and mix until well combined.
- In a separate bowl, whisk together the all-purpose flour, baking soda, and salt. Gradually add to the wet ingredients and mix gently until just combined.
- Fold in the chocolate chips and candy corn until evenly dispersed.
- Line baking sheets with parchment paper. Drop spoonfuls of dough onto prepared sheets, leaving space between each mound.
- Bake for 10–12 minutes until golden at the edges but soft in the center.
- Cool on the baking sheet for 5 minutes, then transfer to a wire rack to cool completely.
- Store cookies in an airtight container at room temperature for up to 5 days.
Leave a Reply