
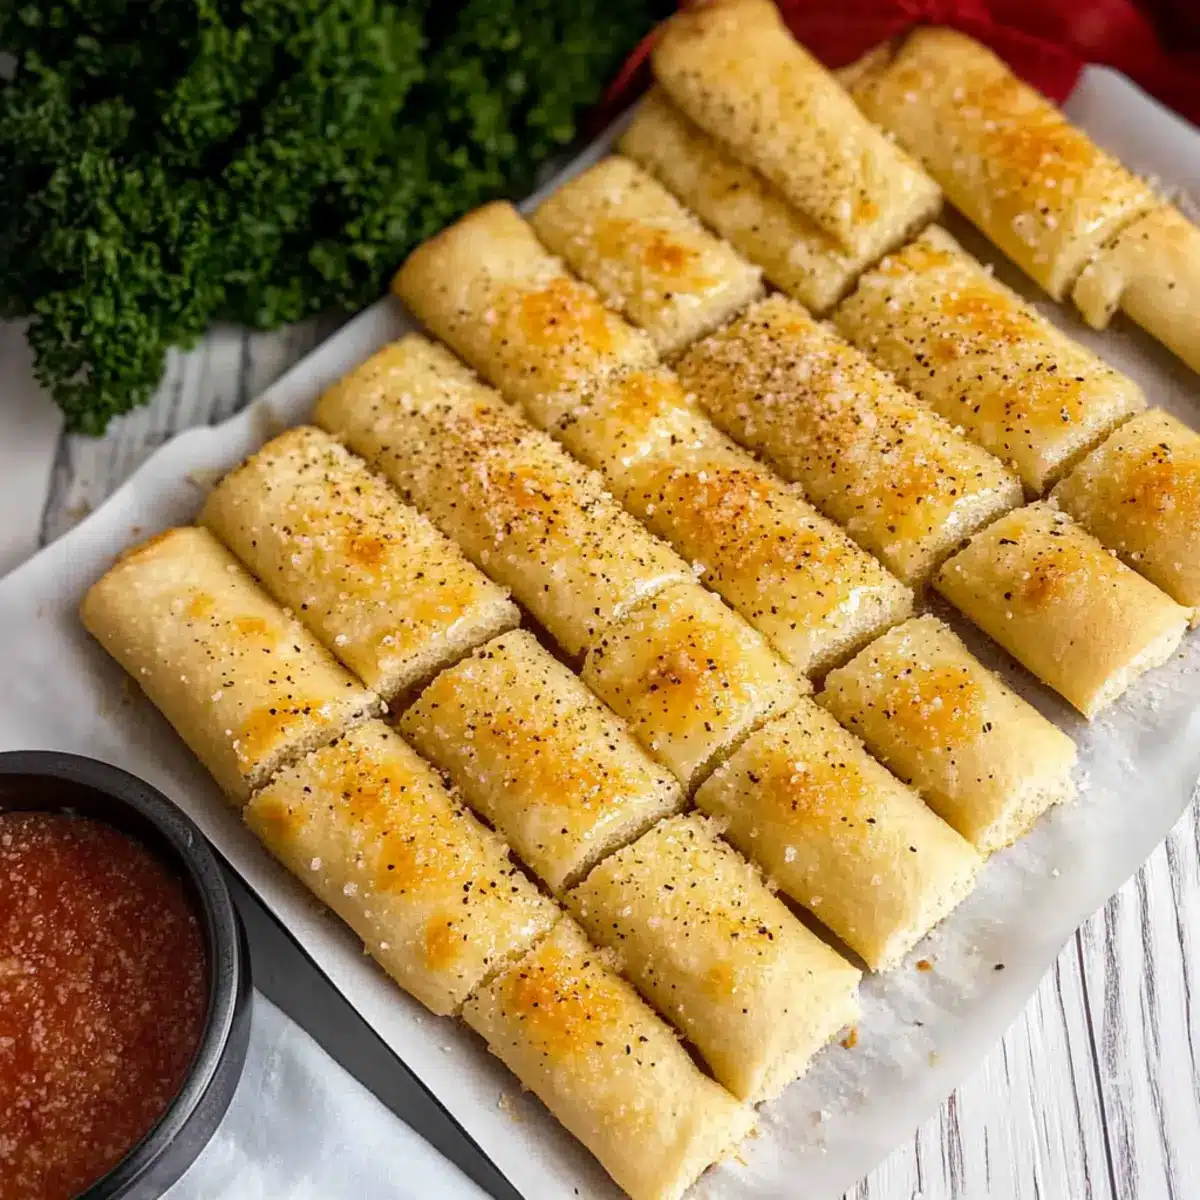
As the aroma of warm garlic wafts through my kitchen, I can’t help but feel a rush of nostalgia for family gatherings and cozy dinners. These Quick & Easy Sheet Pan Breadsticks come together in just about 20 minutes, making them the ideal complement to any meal you whip up on a busy weeknight. With fewer than ten simple ingredients, they are not only a perfect crowd-pleaser but also freezer-friendly for those moments when you crave a little homemade goodness without the fuss. I love serving these delightful breadsticks warm, often accompanied by a rich marinara sauce for dipping. Ready to transform your next dinner into something special? Let’s dive into this easy recipe that will surely become a favorite!
Why Are These Breadsticks So Appealing?
Simplicity: Only a handful of ingredients are required for these garlic sheet pan breadsticks, making it easy for anyone to whip them up—perfect for beginner and seasoned cooks alike.
Speedy Preparation: In just 20 minutes, you can enjoy warm, freshly baked breadsticks, making them ideal for busy weeknights when time is of the essence.
Freezer-Friendly: These breadsticks can be stored for future meals. You can easily freeze extras to have homemade flavors ready on demand!
Crowd-Pleaser: Light, soft, and bursting with flavor, these breadsticks are a hit at family gatherings, complementing everything from hearty soups to elegant dishes, just like my Cheeseburger Soup Cozy.
Versatile Flavor: Feel free to customize with your favorite herbs or cheese; try adding some cheddar or making a batch with freshly minced garlic for a flavorful twist.
With these fantastic qualities, it’s no wonder you’ll fall in love with these quick and easy sheet pan breadsticks!
Sheet Pan Breadsticks Ingredients
For the Dough
- Warm Water – Activates the yeast for proper dough rise; aim for a temperature of 105°F to 115°F.
- Granulated Sugar – A touch of sweetness that helps the yeast thrive and provides a golden crust.
- Salt – Enhances and balances the flavor of the breadsticks.
- Yeast – The key to fluffy breadsticks; don’t skip this essential ingredient!
- All-Purpose Flour – The foundation for structure; other flours may alter the texture.
For Topping
- Melted Butter – Adds richness and flavor; use half for greasing the pan and half for drizzling on top.
- Parmesan Cheese (finely grated) – Imparts a savory note and a delightful crispiness to the top.
- Garlic Salt – Delivers that flavorful garlic essence; substitute with fresh minced garlic for a more intense taste.
- Italian Seasoning – Broadens flavor complexity; adjust according to your palate.
With these simple ingredients, you’ll be well on your way to creating mouthwatering sheet pan breadsticks that are sure to impress!
Step‑by‑Step Instructions for Quick & Easy Sheet Pan Breadsticks
Step 1: Activate Yeast
In a small bowl, combine 1 cup of warm water (between 105°F and 115°F) with 2 teaspoons of yeast, 1 tablespoon of granulated sugar, and 1 teaspoon of salt. Stir gently and let the mixture sit for 5–10 minutes until it becomes bubbly and frothy, indicating that the yeast is activated and ready to work its magic in your sheet pan breadsticks.
Step 2: Mix Dough
In a large mixing bowl, slowly add 2 ½ cups of all-purpose flour to the activated yeast mixture using a dough hook attachment. Mix on medium speed until a loose dough ball forms. The dough should be slightly sticky but hold its shape well; if it’s too wet, gradually add a bit more flour until the desired consistency is achieved.
Step 3: Proof Dough
Cover the bowl with a clean kitchen towel and place it in a warm area. Let the dough rise for 30–45 minutes, or until it has doubled in size. This crucial step helps develop the fluffy texture you want in your sheet pan breadsticks, so be patient and let the dough work its magic!
Step 4: Prepare for Baking
Preheat your oven to 350°F (175°C) and line a large sheet pan with parchment paper for easy cleanup. Melt 4 tablespoons of butter and spread half of it over the parchment-lined pan. This will not only grease the surface but also impart rich flavor to the bottom of your breadsticks as they bake.
Step 5: Form Breadsticks
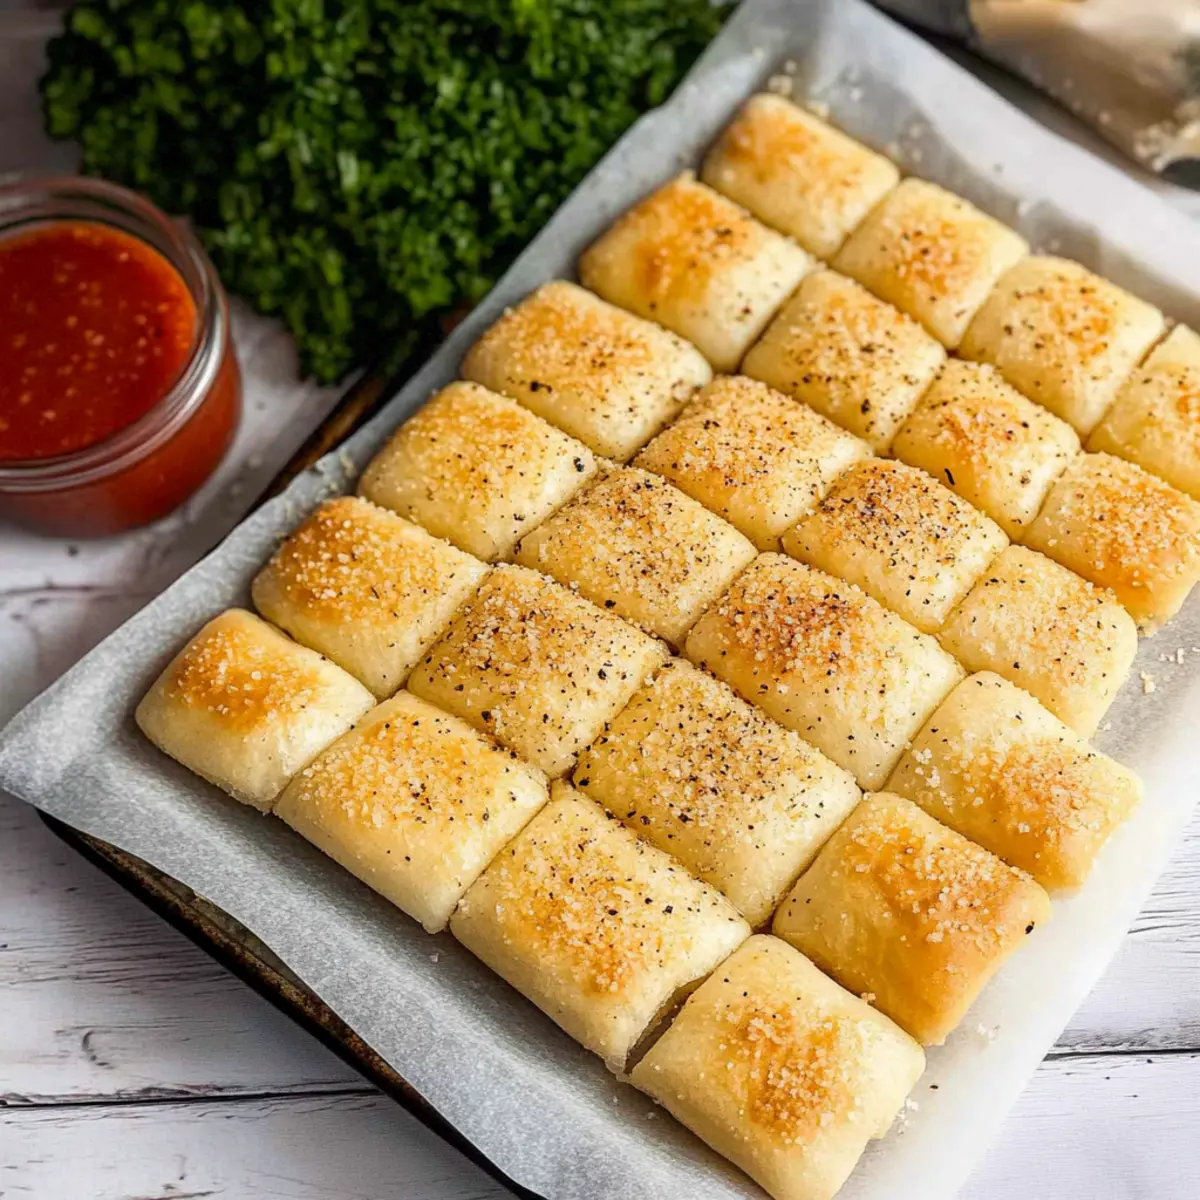
Once the dough has risen, transfer it to the prepared sheet pan. Use your hands to spread the dough evenly across the pan. Drizzle the remaining melted butter over the top and sprinkle with ½ cup of finely grated Parmesan cheese, followed by garlic salt and Italian seasoning to taste. Visualize a beautiful, golden-brown finish as you prepare these delicious sheet pan breadsticks!
Step 6: Final Proofing
Allow the seasoned dough to rise for another 15–20 minutes, uncovered, while the oven continues to preheat. This second rise ensures your breadsticks are light and airy. You’ll know they’re ready when the dough puffs up slightly, creating a lovely, pillowy texture for baking.
Step 7: Cut & Bake
With a pizza cutter, gently slice the dough into your desired sizes, making sure not to cut all the way through. Bake in the preheated oven for 18–20 minutes or until the edges are golden brown and the aroma of garlic fills your kitchen. Keep an eye on them—you want that perfect, inviting color!
Step 8: Cool & Serve
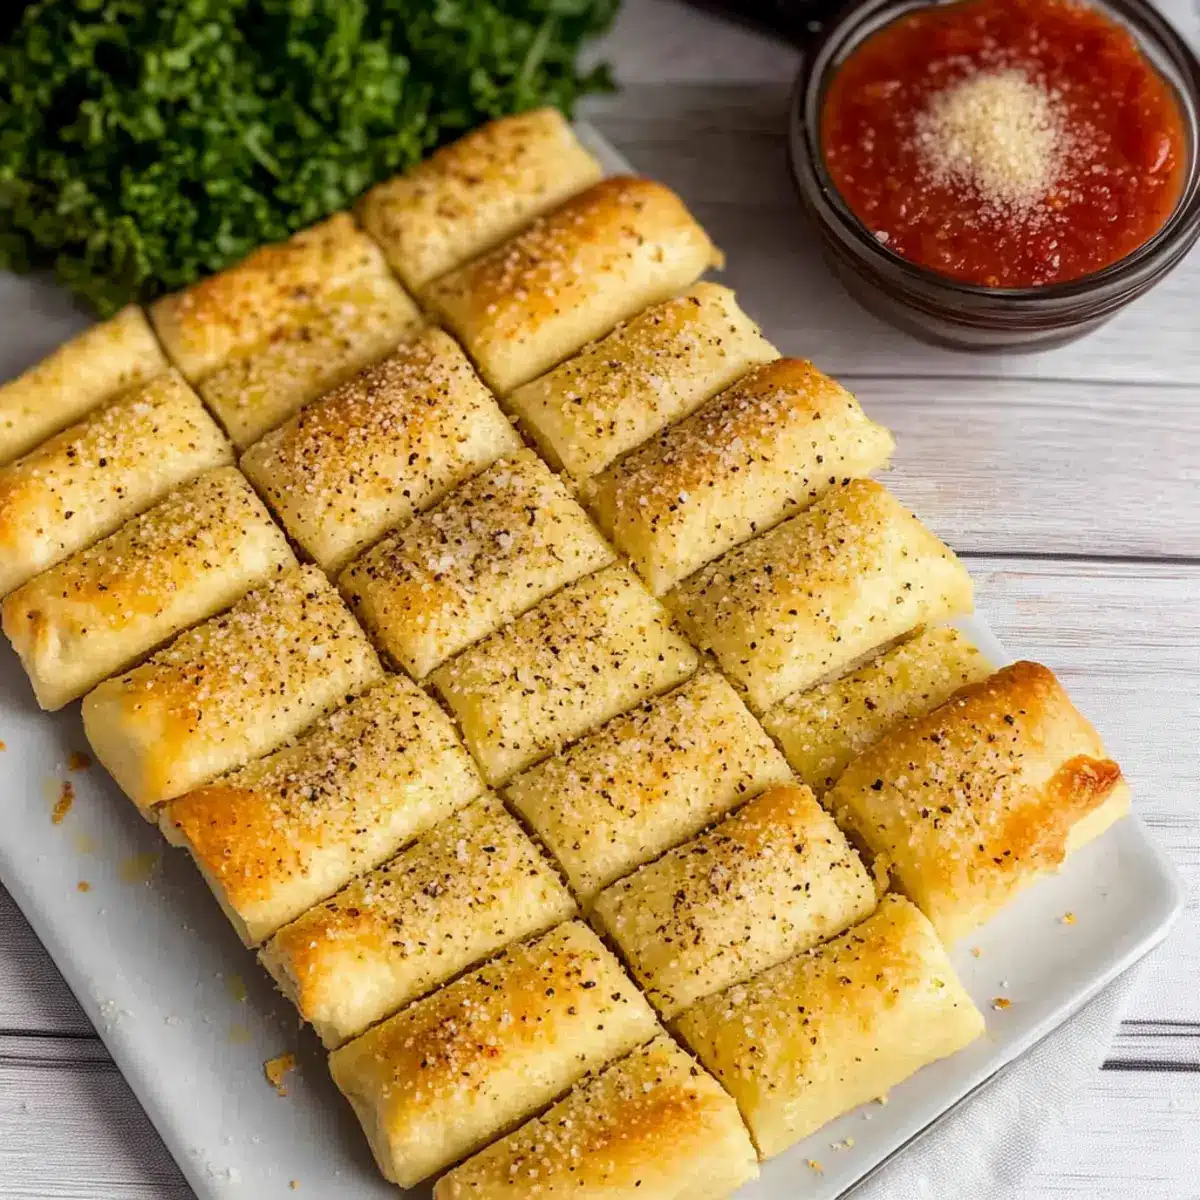
Once baked, carefully remove the sheet pan breadsticks from the oven and let them cool for a few minutes on the pan. This short cooling period helps the cheesy top set slightly, making them easier to handle. Serve warm alongside your favorite marinara sauce or as a delicious companion to any meal!
Expert Tips for Sheet Pan Breadsticks
Perfect Water Temp: Ensure your warm water is between 105°F and 115°F to properly activate the yeast and achieve fluffy breadsticks.
Use Pizza Cutter: For clean, even slices of your dough, a pizza cutter is your best tool. It gives you perfectly portioned sheet pan breadsticks every time!
Proper Dough Rising: Be patient during both proofing stages. Keeping the dough covered and in a warm spot helps it rise beautifully, ensuring a light texture.
Mind Garlic Moisture: If using fresh minced garlic, remember it adds moisture. Adjust flour slightly if the dough seems too wet, maintaining the right consistency.
Freezer Tip: To enjoy later, freeze baked sheet pan breadsticks in an airtight container for up to 3 months. Just reheat and enjoy!
Make Ahead Options
These Quick & Easy Sheet Pan Breadsticks are fantastic for meal prep, allowing you to save time on busy weeknights! You can prepare the dough up to 24 hours in advance by completing steps one through three (activating the yeast, mixing the dough, and letting it rise). After the first rise, simply cover the bowl tightly with plastic wrap and refrigerate to keep it fresh. When you’re ready to bake, let the dough come to room temperature for about 30 minutes, then continue with the remaining steps. This method ensures your breadsticks will be just as delicious and fluffy, making your weeknight dinners even more manageable with minimal effort!
What to Serve with Quick & Easy Sheet Pan Breadsticks
Imagine a cozy dinner setup with the aroma of garlic wafting through your home—it’s the perfect moment to enhance your meal with delightful pairings.
-
Creamy Tomato Soup: The rich and tangy flavors perfectly complement the garlic notes, making for an irresistible dip for your breadsticks.
-
Italian Salad: A fresh, vibrant mix of greens, tomatoes, and olives offers a crisp contrast that balances the warmth of the breadsticks.
-
Garlic Butter Shrimp: Elevate your meal with luscious garlic butter shrimp, echoing the breadsticks’ flavor profile and adding a touch of elegance.
-
Spinach Artichoke Dip: Creamy and cheesy, this dip will have everyone reaching for a breadstick, creating a fun and interactive appetizer experience.
-
Marinara Sauce: A classic companion, this tangy sauce is perfect for drizzling or dipping, enhancing the breadsticks’ garlicky goodness.
-
Fresh Basil Pesto: The fragrant, herbaceous flavor of pesto not only complements the breadsticks but also adds a pop of color and taste to your plate.
Pair your Quick & Easy Sheet Pan Breadsticks with these delightful options, and you’ll create a warm and inviting meal that will leave your family and friends asking for seconds!
Sheet Pan Breadsticks Variations
Explore these delightful twists that will make your sheet pan breadsticks uniquely yours!
-
Cheesy Delight: Add a generous layer of shredded mozzarella on top before baking for an extra cheesy experience that’ll melt hearts.
-
Herbed Infusion: Mix in fresh or dried herbs such as rosemary or oregano into the dough for a fragrant twist. The aroma alone will entice everyone!
-
Spicy Kick: Sprinkle red pepper flakes on top before baking to bring some heat—perfect for those who love a little spice in their life!
-
Garlic Lover’s Dream: Add fresh minced garlic to the dough for an intense garlic flavor, ensuring that every bite packs a punch.
-
Gluten-Free Option: Replace all-purpose flour with a gluten-free flour blend for a suitable option that everyone at the table can enjoy, making it inclusive for all guests.
-
Sweet Addition: For a fun dessert option, incorporate a sprinkle of cinnamon sugar on top for a sweet finish that pairs well with coffee or tea.
-
Pesto Surprise: Drizzle pesto sauce over the dough before baking. This herby, flavorful addition will elevate your breadsticks significantly!
-
Vegan Alternative: Substitute melted butter with olive oil or a dairy-free butter alternative to create a vegan-friendly version of this classic favorite.
These creative variations will make your breadsticks versatile and cater to different tastes, similar to how I’ve served alongside my favorite Southwest Chicken Salad. Enjoy customizing!
How to Store and Freeze Sheet Pan Breadsticks
Room Temperature: Store leftover breadsticks in an airtight container at room temperature for up to 1 week. This keeps them fresh and soft for enjoying any time.
Freezer: For long-term storage, freeze cooled breadsticks in a single layer on a baking sheet before transferring them to an airtight container. They keep well for up to 3 months.
Reheating: To reheat, thaw the frozen sheet pan breadsticks in the fridge overnight, then warm in the oven at 350°F for approximately 10 minutes until heated through.
Tips: If you plan to serve the breadsticks later, consider wrapping them individually in plastic wrap before freezing to make reheating even easier!

Quick & Easy Garlic Sheet Pan Breadsticks Recipe FAQs
How do I choose the right ripeness for my ingredients?
Absolutely! For the best garlic sheet pan breadsticks, ensure your yeast is fresh and active. Check the expiration date on the package; if it’s within the date range, you can test its potency by mixing it with warm water and sugar as described in the recipe. Additionally, make sure to use flour that is free from clumps and stale smells. As for the garlic, using fresh bulbs rather than pre-minced or powdered garlic will yield a more vibrant flavor.
How should I store leftover breadsticks?
I recommend storing any leftover breadsticks in an airtight container at room temperature for up to 1 week. Make sure they cool completely before sealing to help maintain their soft texture. If you want to enjoy them later, you can even refrigerate them for improved freshness. Just remember not to stack them to avoid squishing!
Can I freeze these sheet pan breadsticks?
Yes, you can absolutely freeze your sheet pan breadsticks! To do this, allow them to cool completely, then place them in a single layer on a baking sheet to freeze briefly. Once frozen, transfer them to an airtight container or a freezer-safe bag, where they’ll stay fresh for up to 3 months. When you’re ready to enjoy them, simply thaw them in the fridge overnight and reheat in the oven at 350°F for about 10 minutes.
What should I do if my dough doesn’t rise properly?
Very! If your dough doesn’t rise as expected, there are several factors to check. First, ensure that your water temperature was correct (between 105°F and 115°F) when activating the yeast. If the water is too hot, it can kill the yeast, and if it’s too cold, the yeast may not activate. Secondly, be sure to let the dough rise in a warm, draft-free spot; sometimes, placing it in the oven with the light on can keep it cozy and help it rise better. If it seems overly sticky, you could also add a wee bit more flour during mixing, but avoid overworking it.
Are there any dietary considerations I should keep in mind?
Absolutely! If you’re cooking for someone with dietary restrictions, you can modify the recipe to suit their needs. For example, you can substitute the all-purpose flour with a gluten-free flour blend for those avoiding gluten. If you or someone you know has a dairy allergy, swap the melted butter with a dairy-free alternative like olive oil or coconut oil, and use a vegan Parmesan cheese substitute. Just be sure to check any labels for hidden allergens!
Irresistible Sheet Pan Breadsticks You Can Whip Up Fast
Ingredients
Equipment
Method
- In a small bowl, combine warm water, yeast, granulated sugar, and salt. Stir gently and let sit for 5-10 minutes until bubbly.
- In a large mixing bowl, add flour to the activated yeast mixture and mix on medium speed until a loose dough ball forms.
- Cover the bowl and let the dough rise for 30-45 minutes in a warm area until doubled in size.
- Preheat oven to 350°F and line a large sheet pan with parchment paper. Grease with half the melted butter.
- Transfer risen dough to sheet pan and spread evenly. Drizzle remaining melted butter, sprinkle with Parmesan, garlic salt, and Italian seasoning.
- Allow dough to rise for an additional 15-20 minutes uncovered while the oven preheats.
- Using a pizza cutter, slice dough into desired sizes and bake for 18-20 minutes until golden brown.
- Let cool for a few minutes before serving warm with marinara sauce.
Leave a Reply