
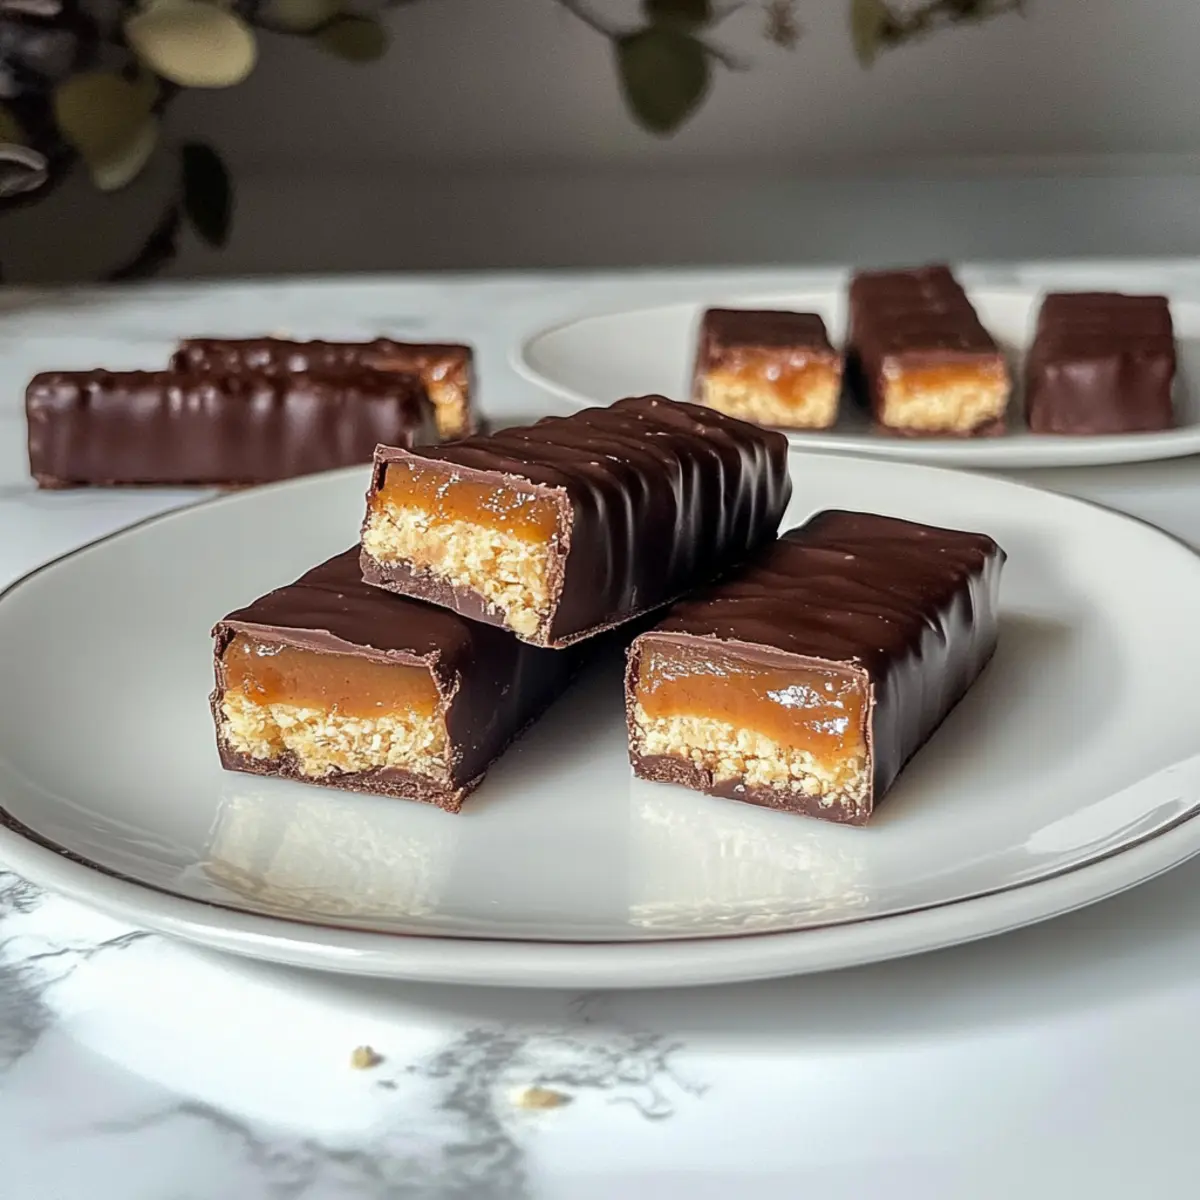
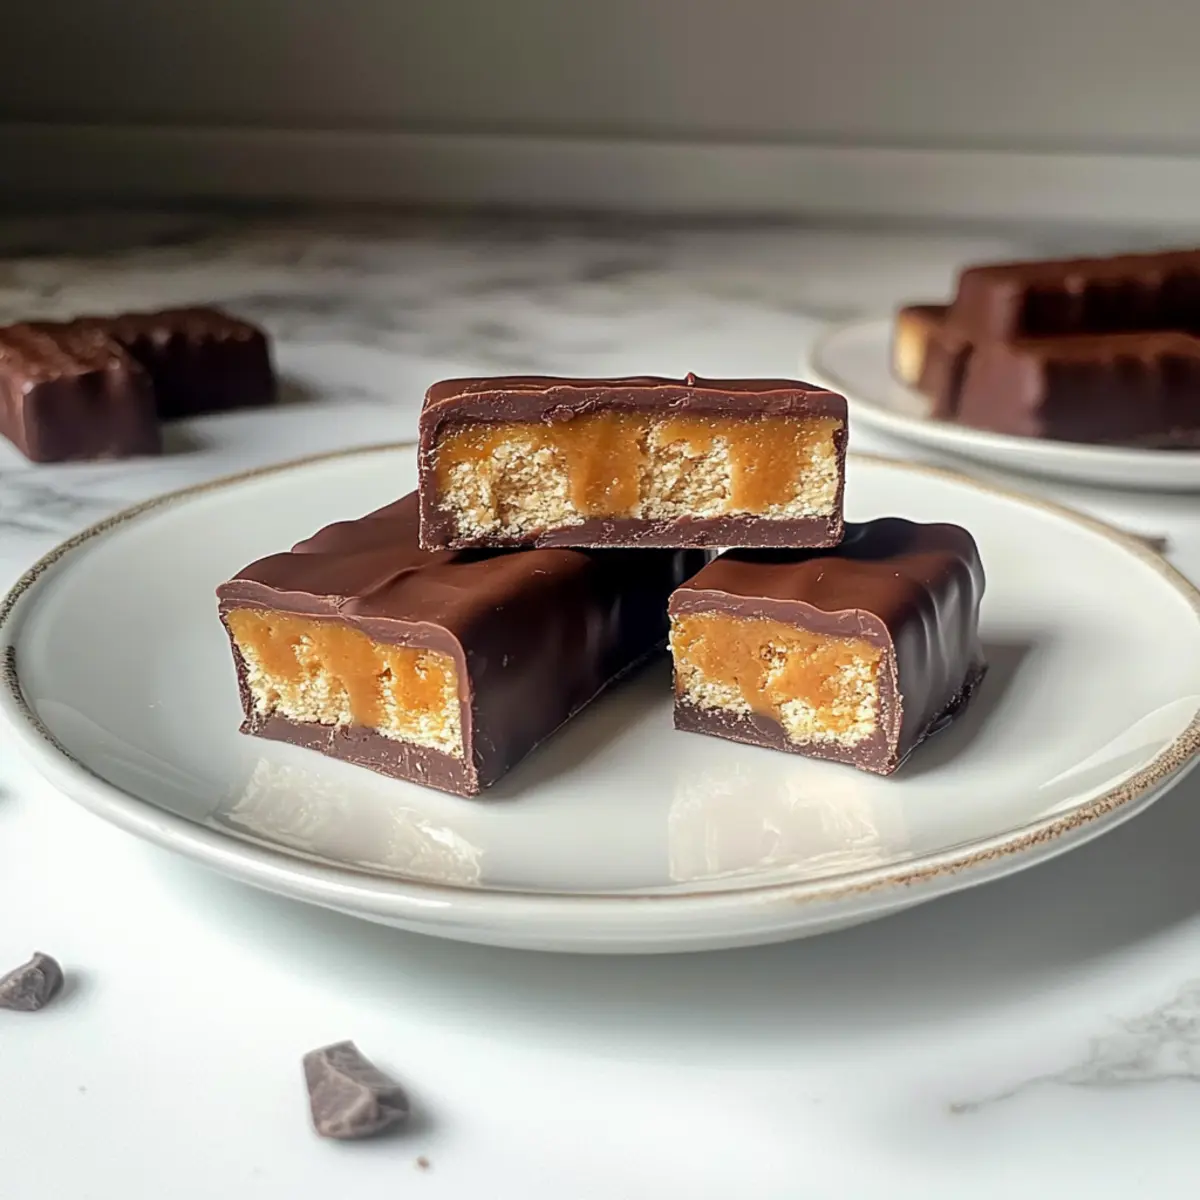
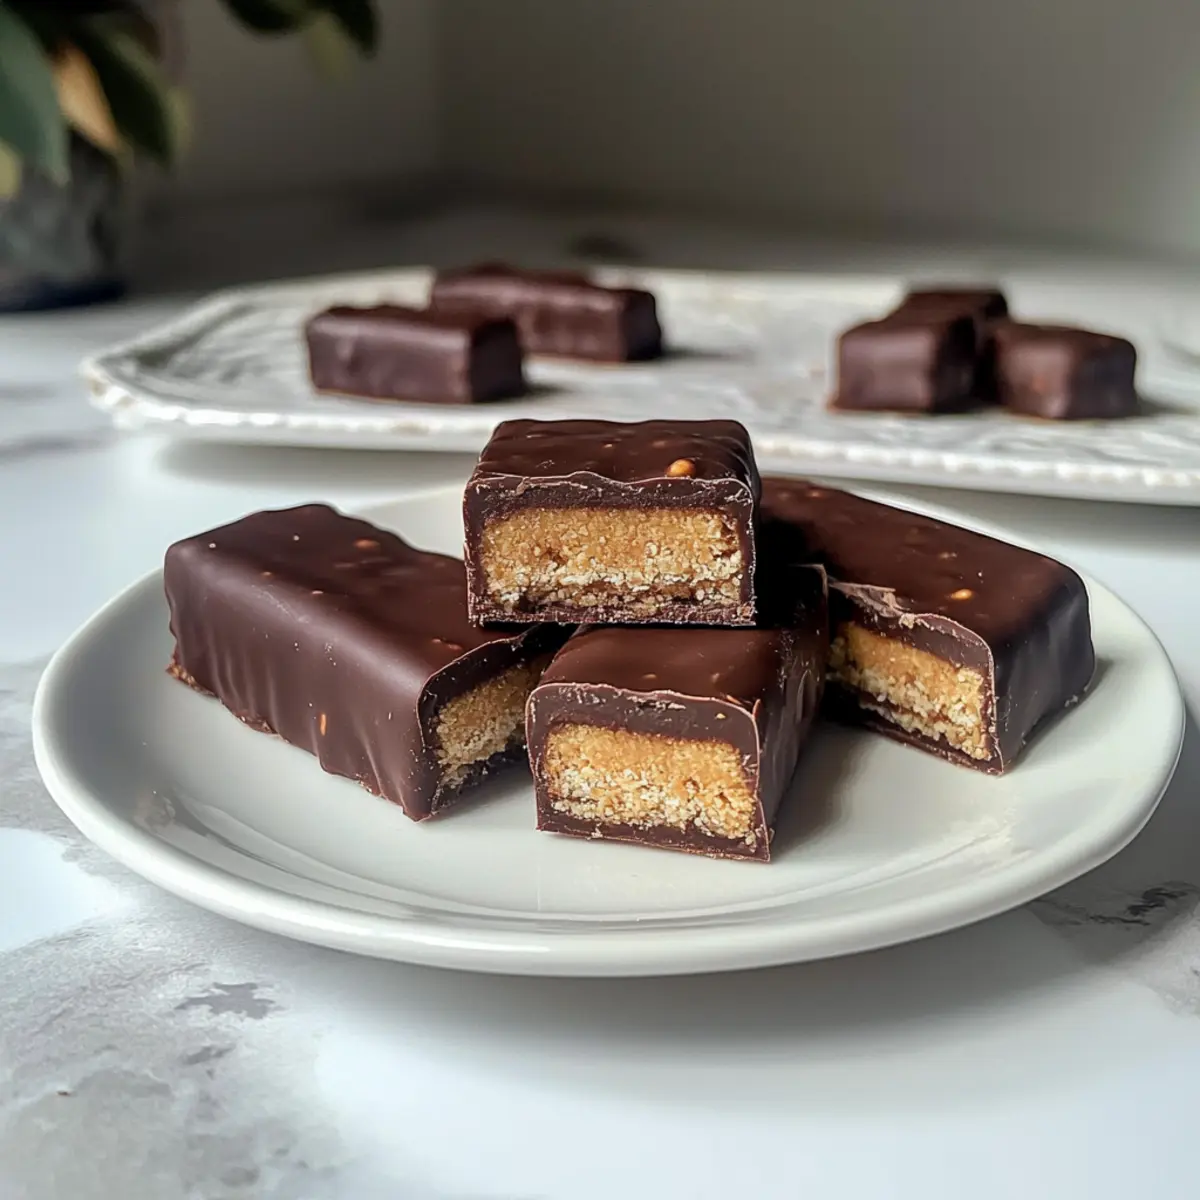
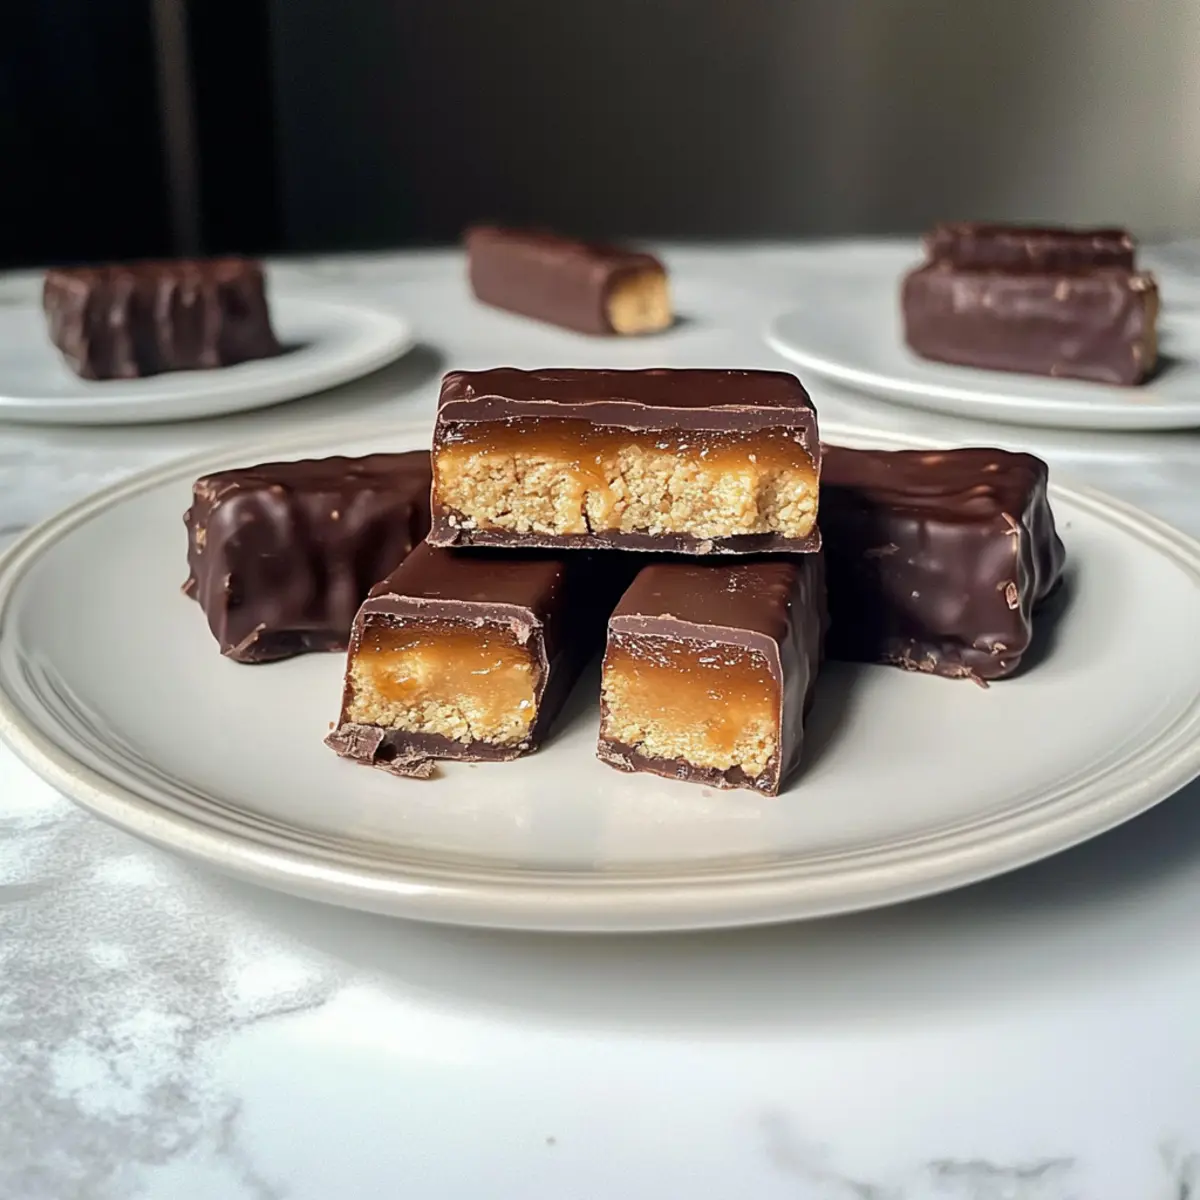
There’s something magical about transforming classic treats into healthier versions that still satisfy your cravings. Today, I’m sharing my take on a beloved favorite: Healthy Gluten-Free Twix Bars! With a delightful almond flour base, luscious peanut butter caramel, and a decadent chocolate coating, these bars are perfect for anyone looking to indulge without the guilt. They’re not just a tasty bite; they also pack wholesome ingredients and are a breeze to make, offering you both convenience and comfort. Plus, their gluten-free nature and the possibility of a vegan option make them suitable for a variety of dietary needs. Ready to see how you can make these delectable snacks at home?
Why are Healthy Twix Bars a must-try?
Irresistible Flavor: Each layer combines decadent chocolate, creamy peanut butter, and a crunchy almond flour base for a heavenly experience.
Guilt-Free Indulgence: These bars are lower in sugar and higher in protein, making them a perfect treat for snack time.
Easy & Quick: The simple preparation steps mean you can whip these up in no time. If you’re looking for more easy snacks, check out my other quick recipes.
Versatility Galore: Customize with different nut butters or toppings to suit your taste.
Crowd-Pleaser: Perfect for sharing at parties or enjoying as a midday pick-me-up. Who wouldn’t love a scoop of joy that’s healthy too?
Healthy Twix Bars Ingredients
For the Shortbread Base
• Almond Flour – Provides structure and a nutty flavor; swapping with oat flour or ground sunflower seeds works too.
• Butter – Adds richness and moisture; for a dairy-free option, use coconut oil or plant-based butter.
• Maple Syrup – Offers natural sweetness; honey or date syrup can be great alternatives.
• Vanilla Extract – Enhances the overall flavor; almond extract can be a delightful substitute.
• Salt – Balances the sweetness; use sea salt or Himalayan pink salt.
For the Caramel Filling
• Creamy Peanut Butter – Acts as the main source of flavor; almond or cashew butter are delicious alternatives.
For the Chocolate Coating
• Chocolate Chips – Create a rich coating; dark chocolate chunks offer a deeper flavor profile.
• Coconut Oil – Used for melting chocolate smoothly; can be exchanged for butter or avocado oil.
These Healthy Twix Bars come together beautifully and are perfect for delicious guilt-free snacking!
Step‑by‑Step Instructions for Healthy Twix Bars
Step 1: Preheat the Oven
Begin by preheating your oven to 350°F (175°C). While the oven warms up, line an 8×8 inch baking pan with parchment paper, allowing for easy removal later. This preparation is crucial for getting the base ready for your Healthy Twix Bars, ensuring they bake evenly and release effortlessly.
Step 2: Prepare the Shortbread Base
In a mixing bowl, combine almond flour, melted butter, maple syrup, vanilla extract, and a pinch of salt. Use a spatula or your hands to mix until you achieve a dough-like consistency. Once well combined, press the mixture firmly into the prepared baking pan, smoothing the top. Bake for 10-12 minutes or until it turns golden brown. Once done, remove it from the oven and let it cool completely.
Step 3: Make the Caramel Filling
For the luscious caramel filling, blend together creamy peanut butter, maple syrup, vanilla extract, and a bit more almond flour in a clean bowl. Mix until smooth and creamy. Once your shortbread base has cooled, spread this caramel mixture evenly over the top. To allow the layers to set nicely, place it in the freezer for approximately 1 hour.
Step 4: Prepare the Chocolate Coating
While the caramel layer sets, melt your chocolate chips and coconut oil together. You can do this over a water bath or in a microwave-safe bowl, microwaving in short bursts and stirring in between until the mixture is silky and smooth. This rich chocolate coating is the final touch that makes these Healthy Twix Bars truly indulgent.
Step 5: Assemble the Bars
After the caramel filling is firm, carefully lift the set mixture out of the pan using the parchment paper edges. On a cutting board, slice it into 16 bars using a sharp knife, ensuring clean edges. This step is essential for creating those iconic bar shapes that appeal to all snack lovers.
Step 6: Coat the Bars
One by one, dip each bar into the melted chocolate, ensuring it’s fully coated. Gently tap off the excess chocolate to prevent pooling. Place each coated bar back onto a parchment-lined tray, which will help keep them from sticking as they set. This process lends a deliciously glossy finish to your Healthy Twix Bars.
Step 7: Final Touch
To elevate your treats, drizzle any remaining melted chocolate over the bars and sprinkle a touch of sea salt on top for that perfect flavor contrast. Once completed, return the tray to the freezer for an additional 10 minutes to allow the chocolate to harden completely, transforming your delectable creations into a chilled, sweet treat perfect for enjoying anytime.
Healthy Twix Bars: Personalize Your Treats
Feel free to make these Healthy Twix Bars your own with delicious twists that’ll awaken your creativity in the kitchen!
-
Nut Butter Swap: Swap creamy peanut butter for almond or cashew butter for a unique flavor and texture.
-
Sweetness Variation: Adjust the level of sweetness by using honey or agave syrup instead of maple syrup, enhancing the taste to your liking.
-
Add Crunch: Mix in some chopped nuts or seeds into the shortbread base for an extra delightful crunch! Adding sunflower seeds or walnuts can make these bars even more satisfying.
-
Chocolate Choices: Experiment with different chocolate types; try using white chocolate for a sweeter version or dark chocolate for a richer one! Each option brings a new taste experience.
-
Protein Boost: Stir a scoop of your favorite protein powder into the caramel filling for an extra nutritional punch without compromising flavor. This makes it a great post-workout snack!
-
Gourmet Topping: Drizzle melted peanut butter or almond butter over the top for additional flavor dimensions and a mouthwatering presentation.
-
Spice It Up: Add a pinch of cinnamon or a splash of espresso powder into the caramel to deepen the flavor profile, giving an unexpected twist that your taste buds will adore.
-
Vegan Delight: Replace butter with coconut oil and chocolate with dairy-free varieties for a vegan-friendly version. Everyone deserves to enjoy a sweet treat!
For more ideas on customizing your snacks, check out my guide on healthy substitutions. Let’s embrace our culinary flair and create something truly special!
How to Store and Freeze Healthy Twix Bars
Fridge: Keep your Healthy Twix Bars in an airtight container in the refrigerator for up to 2 weeks. This way, they’ll remain fresh and ready for snacking whenever the craving strikes!
Freezer: For longer storage, freeze individually wrapped bars for up to 3 months. This makes them perfect for enjoying later—just grab a bar whenever you want a guilt-free treat!
Thawing: When you’re ready to indulge, simply remove a bar from the freezer and let it thaw at room temperature for about 10-15 minutes before enjoying. This will ensure perfect texture and flavor.
Reheating: If you prefer a warm treat, pop the thawed bars in the microwave for about 10-15 seconds—just enough to soften the chocolate without melting it entirely!
Expert Tips for Healthy Twix Bars
• Press Firmly: Ensure you press the shortbread mixture firmly into the pan for a solid base; this prevents it from crumbling later.
• Chill Layers: Allow each layer to chill completely before adding the next one. This step helps maintain distinct layers and enhances the texture of your Healthy Twix Bars.
• Quality Chocolate: Opt for high-quality dark chocolate (70% cocoa or more) for deeper flavor and smooth melting. It genuinely elevates the taste experience!
• Customizations Galore: Feel free to experiment with different nut butters and toppings; just remember that this may alter the final flavor and texture slightly.
• Cook Time Caution: Keep an eye on your shortbread in the oven. Overbaking can lead to a dry base, so aim for a golden hue to achieve the best results.
• Vegan Substitutes: For a vegan version, swap in plant-based butter and dairy-free chocolate; this way, everyone can enjoy these delightful bars!
Make Ahead Options
These Healthy Twix Bars are a lifesaver for meal prep enthusiasts! You can easily prepare the shortbread base and the caramel filling up to 24 hours in advance, making your busy weeknights a breeze. Simply follow steps 1 through 3 of the instructions, then store the cooled shortbread base and caramel layer separately wrapped in the refrigerator. To maintain their delicious quality, ensure they are sealed tightly to prevent drying out. When you’re ready to enjoy, just complete the assembly by melting your chocolate and coating the bars as outlined in steps 4 through 7. You’ll have an indulgent, guilt-free snack ready to satisfy your cravings in no time!
What to Serve with Healthy Twix Bars
These delicious bars deserve a full meal experience that delights the senses and complements their rich flavors.
- Creamy Cashew Yogurt: This light and tangy yogurt adds a refreshing contrast, providing a smooth texture perfect for dipping.
- Fresh Berries Medley: A mix of strawberries, blueberries, and raspberries brightens your plate, enhancing flavors with their natural sweetness and acidity.
- Crunchy Apple Slices: The crisp texture of apple slices offers a satisfying crunch alongside the chewy Twix bars, creating a delightful textural contrast.
- Nutty Granola Clusters: A handful of nutty granola adds extra crunch and can serve as a topping to elevate the healthy indulgence experience.
- Dairy-Free Smoothie: Blend together spinach, banana, and almond milk for a nutrient-packed drink that balances the sweetness of the treats.
- Homemade Chocolate Oatmeal: A warm bowl of chocolate oatmeal topped with banana slices echoes the flavors in your Healthy Twix Bars while remaining comforting.
- Dark Roast Coffee: A cup of rich, dark roast coffee enhances the chocolate flavors, elevating your snack experience into a moment of indulgence.
- Coconut Chia Pudding: This light and creamy pudding can be made ahead, featuring a hint of vanilla that pairs wonderfully with the bars’ flavor profile.
- Vegan Ice Cream: For an extra indulgent treat, enjoy a scoop of dairy-free ice cream alongside your Healthy Twix Bars for a satisfying dessert.
Healthy Gluten-Free Twix Bars Recipe FAQs
What kind of almond flour should I use?
You should use blanched almond flour for a finer texture, which provides a smooth shortbread base. If you have it, feel free to substitute with finely ground oat flour, but keep in mind that this may change the consistency a bit. For nut allergies, ground sunflower seeds can work as a nut-free alternative.
How can I store Healthy Twix Bars?
Store your Healthy Twix Bars in an airtight container in the fridge for up to 2 weeks. This keeps them fresh and delicious! If you want to store them for longer, wrap each bar individually and freeze for up to 3 months. Just remember to let them thaw for about 10-15 minutes at room temperature when you’re ready to enjoy.
Can I freeze Healthy Twix Bars?
Absolutely! Freezing these bars is a great option. After you’ve made them, wrap each bar tightly in plastic wrap, or place them in an airtight freezer-safe container. This will help maintain their texture and taste while frozen for up to 3 months. When you’re ready to eat, let them thaw at room temperature for a perfect snack.
What if my shortbread base crumbles?
If your shortbread base crumbles, it may not have been pressed firmly enough into the pan or could be undercooked. To fix this, try pressing it down more firmly next time before baking, ensuring it’s even and flat. If it crumbles still, consider using a bit more melted butter to help bind the ingredients better.
Is this recipe suitable for vegan diets?
Yes, it can easily be made vegan! Simply substitute the butter with plant-based butter or coconut oil, and choose dairy-free chocolate chips for the coating. With these swaps, everyone can indulge in these Healthy Twix Bars!
How can I adjust the sweetness in my Healthy Twix Bars?
If you prefer a sweeter treat, you can increase the amount of maple syrup in the caramel filling by one to two tablespoons. Conversely, if you want to reduce sweetness, consider using less syrup or opting for unsweetened chocolate for the coating. Adjustments can cater to your sweetness preference, making it very customizable!
Deliciously Guilt-Free Healthy Twix Bars You’ll Love
Ingredients
Equipment
Method
- Preheat your oven to 350°F (175°C) and line an 8x8 inch baking pan with parchment paper.
- In a mixing bowl, combine almond flour, melted butter, maple syrup, vanilla extract, and salt. Mix until dough-like and press into the prepared pan. Bake for 10-12 minutes until golden brown and let cool.
- Blend together peanut butter, maple syrup, vanilla extract, and almond flour for the caramel filling until smooth. Spread over the cooled shortbread base and freeze for about 1 hour.
- Melt chocolate chips and coconut oil together until smooth.
- Lift the set mixture out of the pan and slice into 16 bars.
- Dip each bar into the melted chocolate, tap off excess, and place back on a parchment-lined tray.
- Drizzle remaining melted chocolate over the bars and sprinkle with sea salt. Freeze for an additional 10 minutes to set.
Leave a Reply