
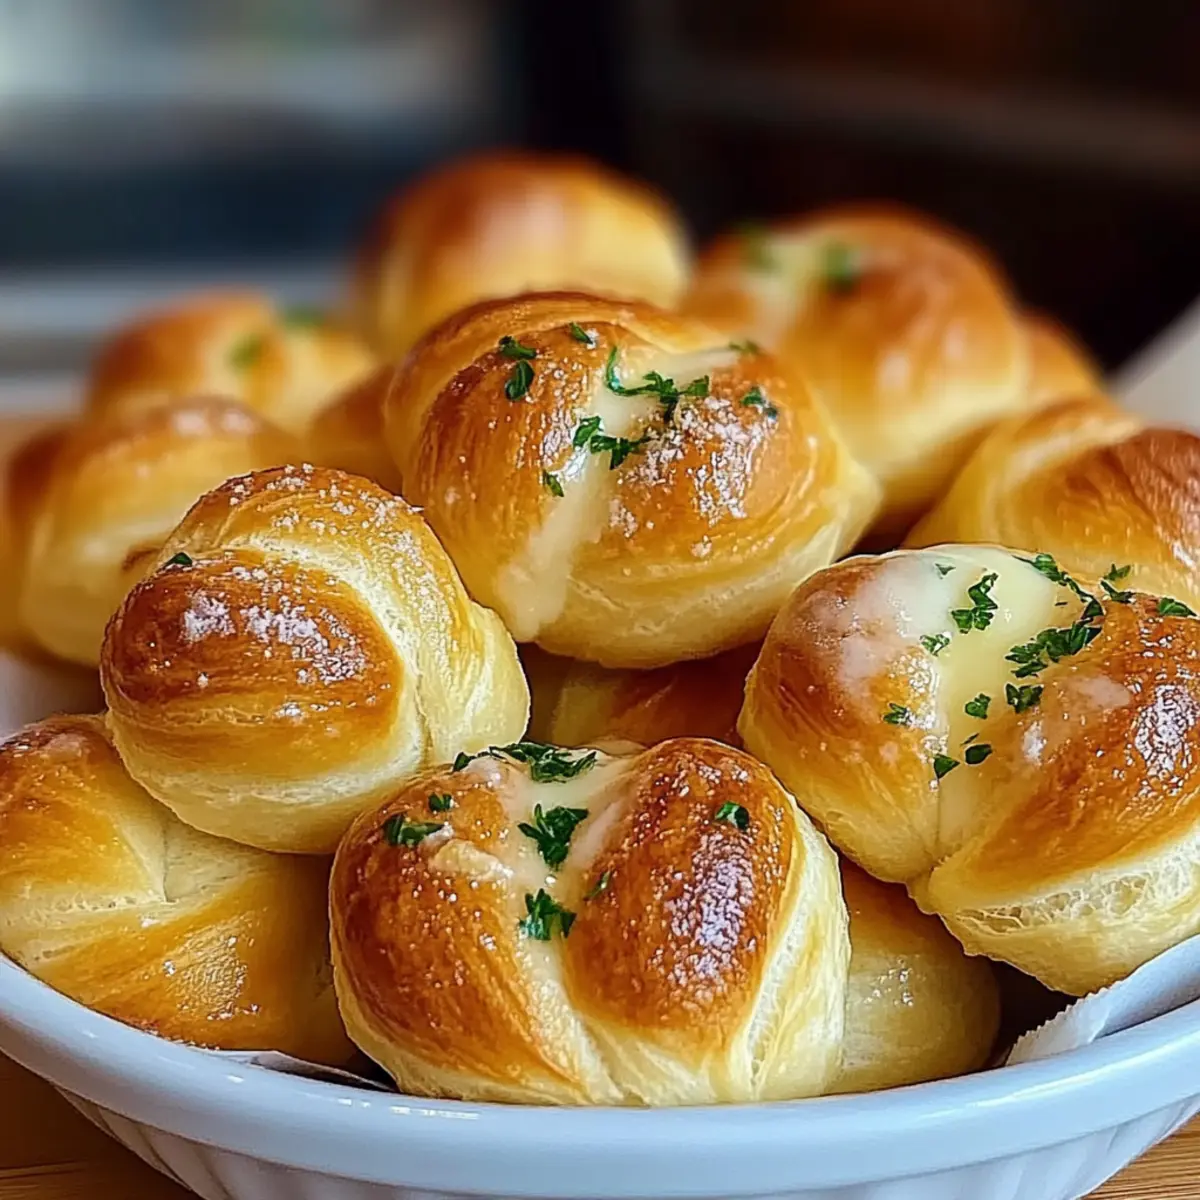
The moment I pull these Gluten Free Garlic Knots from the oven, the fragrance of garlic and butter envelops my kitchen, instantly transforming the space into a warm, inviting haven. These fluffy knots are not just a delicious side dish; they’re a testament to the fact that gluten-free cooking can be both easy and incredibly flavorful. Perfect for gatherings or cozy dinners at home, they come together in no time and are sure to impress your guests (even those who aren’t gluten-sensitive!). And if you’re looking for a fun twist, the recipe offers plenty of room for creativity with herb variations or cheesy surprises. Curiosity piqued? Let’s dive into the process of creating these irresistible bites!
Why Choose Gluten Free Garlic Knots?
Irresistible aroma: The moment they come out of the oven, the enticing scent of garlic and butter will have everyone racing to the table.
Easy to make: With just a few simple ingredients, you’ll have these fluffy knots ready in no time!
Creative variations: Feel free to swap herbs or add cheese for a delightful twist—your taste buds will thank you!
Crowd-pleaser: These knots will impress everyone, even those who aren’t gluten-sensitive. They’re perfect as a side dish, especially when paired with Garlic Sauce Potatoes or for dipping in marinara sauce.
Versatile side: Serve them alongside soups or salads for an amazing meal upgrade!
Gluten Free Garlic Knots Ingredients
For the Dough
• Gluten-Free All-Purpose Flour – Provides structure; look for blends that mimic traditional flour for the best results.
• Yeast – Active dry yeast adds lift and an airy texture; essential for dough rising.
• Warm Water – Activates the yeast; ensure it’s around 110°F (43°C) for optimal performance.
• Olive Oil – Adds moisture and richness; extra virgin is preferred for better flavor.
• Garlic Powder – Imparts a deep garlic flavor throughout the knots.
• Salt – Enhances the overall flavor; flaky sea salt is recommended for finishing.
For Topping
• Butter – Melts to create a glossy finish; enriches flavor when brushed over the baked knots.
• Fresh Parsley – Adds color and a fresh taste; substitute with herbs like rosemary or thyme for variety.
Enjoy crafting these delicious gluten free garlic knots that are as delightful to eat as they are to make!
Step‑by‑Step Instructions for Gluten Free Garlic Knots
Step 1: Prepare the Dough
Begin by preheating your oven to 400°F (200°C) to create a warm environment for the yeast. In a bowl, combine 1 cup of warm water (around 110°F/43°C) with 2 teaspoons of active dry yeast. Allow the mixture to sit for about 5 minutes until it becomes frothy, indicating that the yeast is activated and ready to create fluffy gluten free garlic knots.
Step 2: Mix Ingredients
Once the yeast is frothy, gradually incorporate 2 ¼ cups of gluten-free all-purpose flour, 2 tablespoons of olive oil, 1 teaspoon of garlic powder, and 1 teaspoon of salt into the yeast mixture. Stir vigorously until a sticky dough forms. This dough won’t feel like traditional bread dough, but its stickiness is key to achieving the soft texture of the garlic knots you desire.
Step 3: Knead Gently
Transfer the sticky dough onto a floured surface, ensuring you have extra gluten-free flour on hand to prevent sticking. Gently knead the dough for about 2 minutes until it becomes smooth. Since gluten-free dough is different, avoid over-kneading; you want a well-combined yet tender consistency that ensures your garlic knots will rise nicely.
Step 4: Shape the Knots
Divide the dough into 10 equal pieces. Roll each piece into a long rope, roughly 6-8 inches in length. To form each knot, take one end of the rope and loop it over the other while tucking the end underneath. Place shaped knots on a parchment-lined baking sheet, giving them enough space to rise and expand.
Step 5: Rise the Knots
Cover the knots with a clean kitchen towel and let them rise in a warm area for about 20 minutes. As they rest, the dough will puff up, creating the light texture essential for gluten free garlic knots. This resting period is crucial, so try not to skip it, as it allows the dough to capture air pockets.
Step 6: Add Flavor and Bake
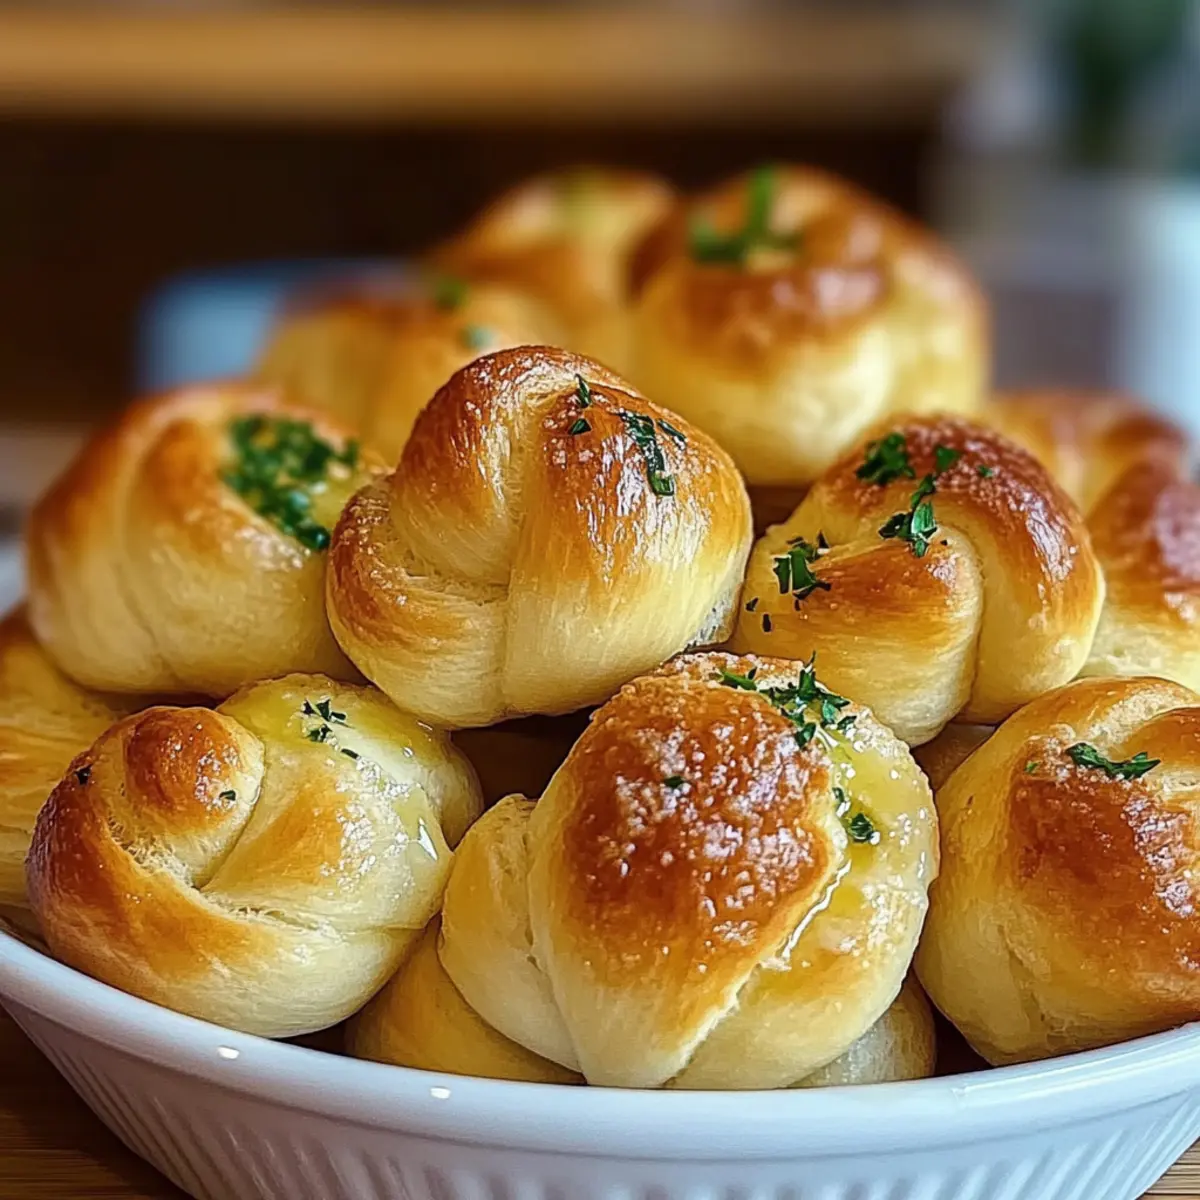
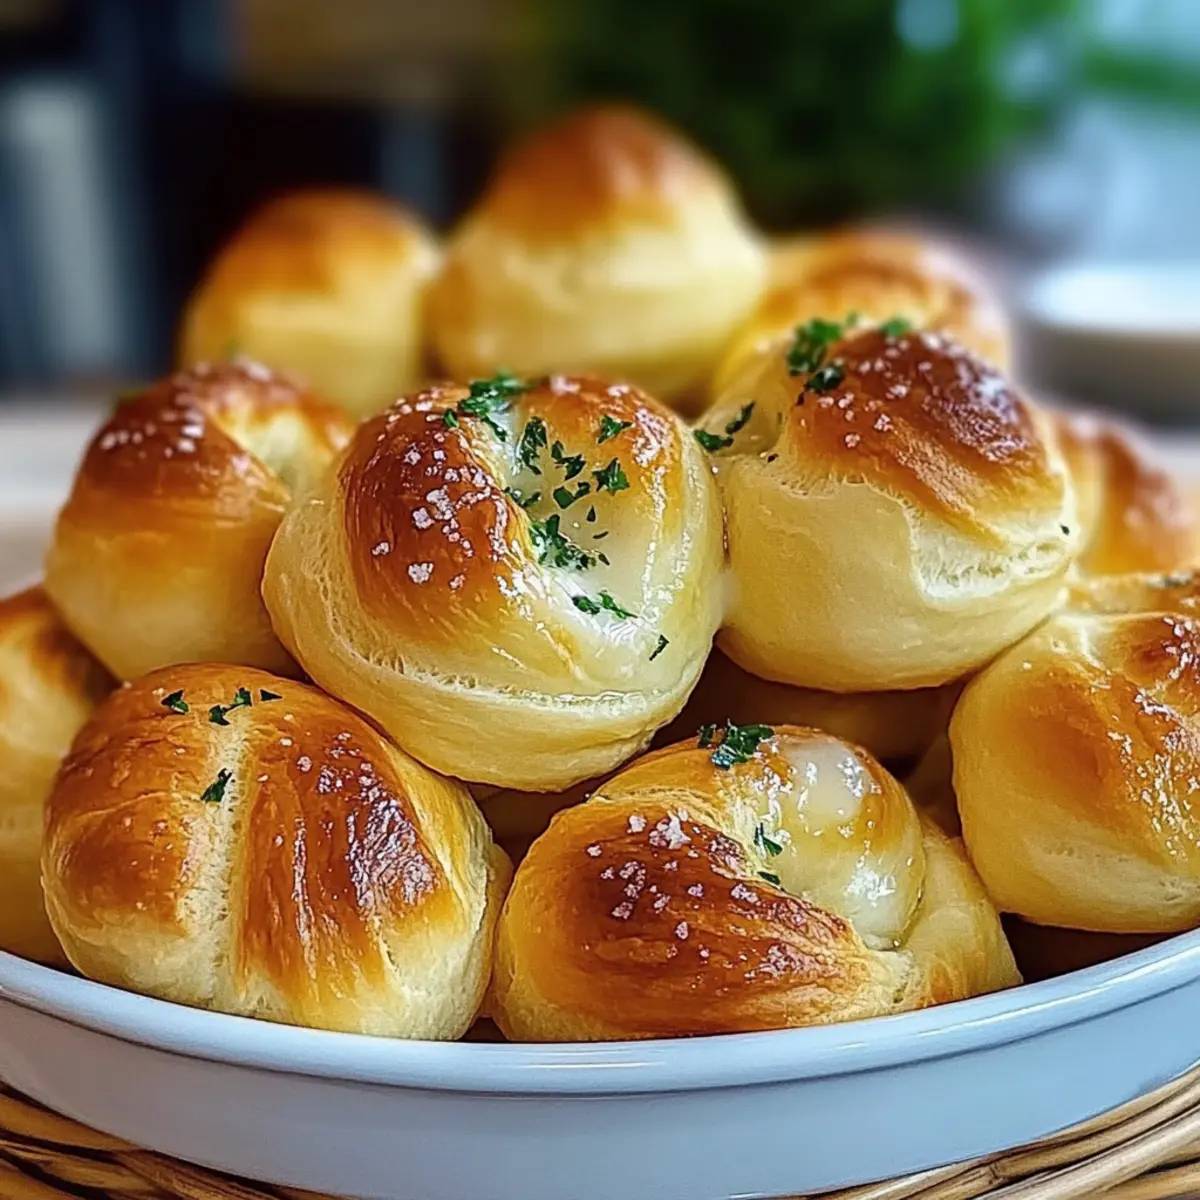
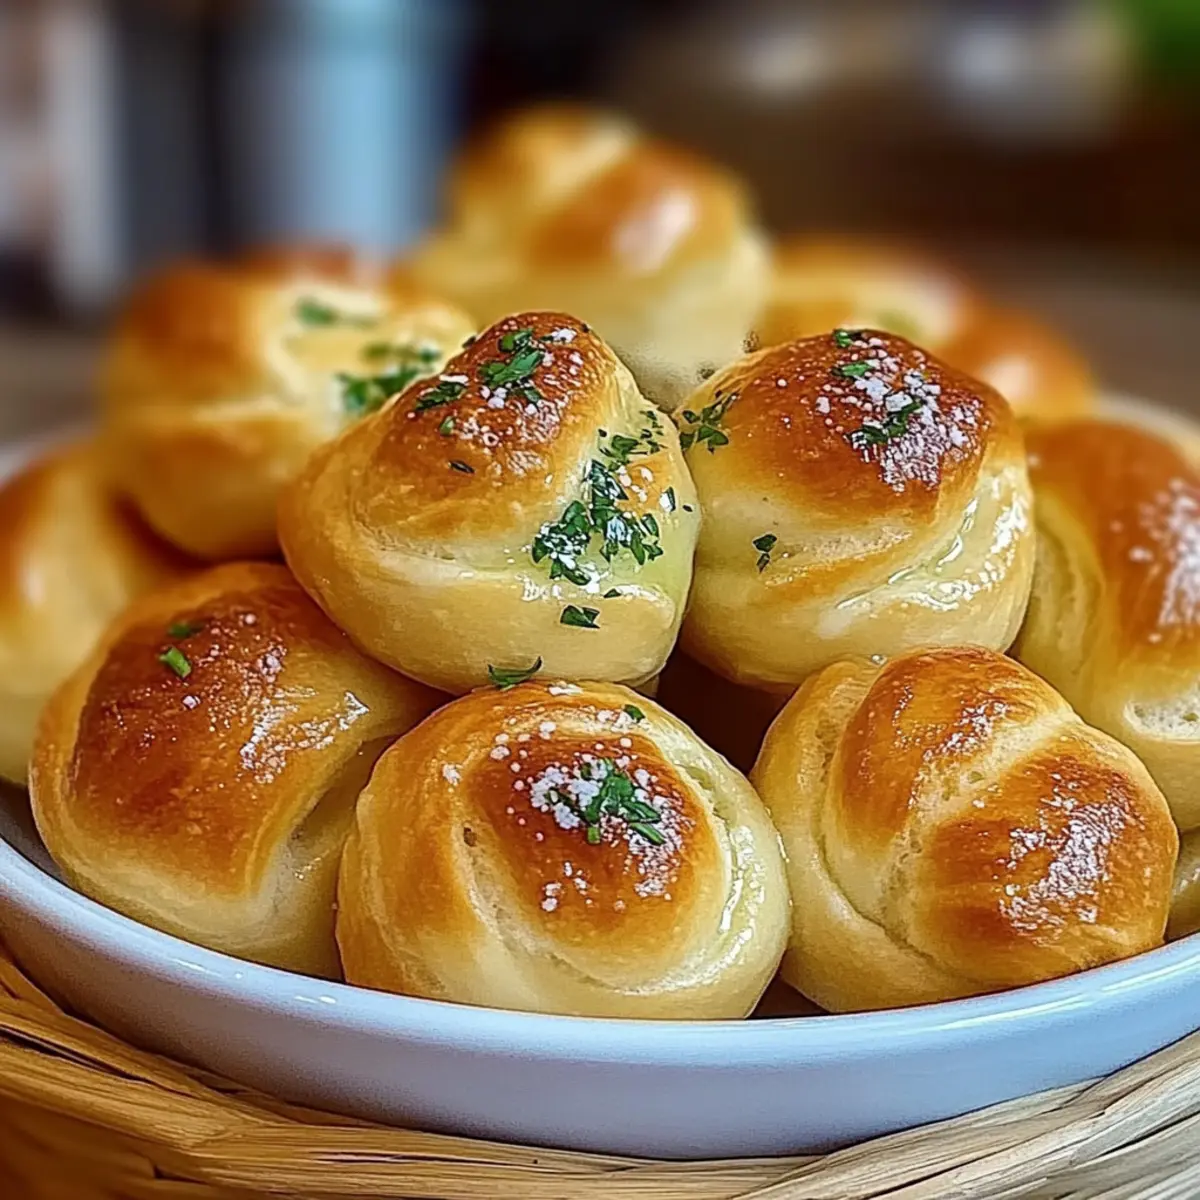
Before baking, melt 4 tablespoons of butter and brush it generously over each knot. Sprinkle with chopped fresh parsley and a pinch of flaky sea salt to enhance the flavors. Bake the knots in the preheated oven for approximately 15 minutes, or until they turn golden brown and reach that irresistible, fluffy texture.
Gluten Free Garlic Knots Variations
Feel free to let your creativity shine as you customize these delightful knots to suit your taste!
- Herb Swap: Use fresh rosemary or thyme instead of parsley for a fragrant twist. The earthy notes add a unique flair to your garlic knots.
- Cheesy Goodness: Incorporate mozzarella or parmesan into the dough or sprinkle on top before baking for a melty surprise. Cheese lovers will adore this twist!
- Spicy Kick: Add chili flakes or diced jalapeños to the dough for a zesty version that brings the heat. It’s the perfect way to spice up your next gathering!
- Savory Garlic Butter: Mix fresh crushed garlic into the melted butter before brushing it over the knots. The result? Double the garlic flavor that will have everyone coming back for more.
- Vegan Option: Swap butter with vegan butter or olive oil for a delightful dairy-free version that everyone can enjoy. You won’t miss the butter, trust me!
- Flaxseed Substitute: For an egg-free version, mix 1 tablespoon of ground flaxseed with 3 tablespoons of water and let it sit until thickened. This can help add moisture while staying gluten-free!
- Garlic Parmesan Topping: Combine grated parmesan with garlic powder and sprinkle over the knots before baking for an irresistible topping. It’s a flavor explosion that’s hard to resist!
- Sweet Twist: Feeling adventurous? Replace garlic powder with cinnamon and sugar for a subtly sweet version perfect for breakfast. Enjoy them warm with butter-based spreads!
These variations not only add fun flavors but also give you a chance to make these knots your own. And if you’re thinking about pairing them with a good sauce, I highly recommend dipping them in some homemade marinara or trying them alongside my Garlic Parmesan Chicken. Happy experimenting!
What to Serve with Gluten Free Garlic Knots?
These fluffy, buttery garlic knots are not just a treat on their own; they invite a symphony of flavors and textures that can elevate any meal experience.
- Marinara Sauce: The classic pairing! The tangy tomato flavor beautifully contrasts the rich garlic knots, creating a comforting bite.
- Caesar Salad: Crisp romaine, creamy dressing, and crunchy croutons make for a refreshing compliment to the knots’ buttery goodness.
- Creamy Tomato Soup: The smooth, velvety texture of soup with the knots brings a cozy, home-cooked feel to any gathering. A must-try!
- Cheesy Garlic Mashed Potatoes: For a hearty experience, serve these with creamy, cheesy potatoes, adding even more garlic flavor to the mix.
- Roasted Vegetables: Colorful, caramelized veggies add a hearty, healthy side that contrasts nicely with the knots’ soft texture.
- Spinach and Artichoke Dip: Creamy and savory, this dip is perfect for smothering those garlic knots, creating a true flavor bomb!
- White Wine Spritzer: To refresh your palate, a light, bubbly spritzer complements the garlic knots and adds a festive touch to your meal.
- Vanilla Ice Cream: To round out your meal, serve with a scoop of ice cream for a delightful contrast to the garlic flavors—perfect for ending on a sweet note!
Expert Tips for Gluten Free Garlic Knots
• Fresh Yeast Matters: Always check the expiration date on your yeast. Using fresh yeast ensures a good rise for your gluten free garlic knots.
• Temperature Check: Make sure your warm water is between 100°F and 110°F (37°C to 43°C). Too hot will kill the yeast, while too cold won’t activate it properly.
• Gentle Kneading: Remember, gluten-free dough requires less kneading compared to traditional dough. Knead just until smooth to avoid a tough texture.
• Rising Time: Allow your knots to rise well before baking. This step is crucial for achieving that light and airy texture that makes them delightful.
• Herb Variations: Experiment with different herbs or add cheese to the dough for unique flavors. Just keep the balance in mind and enjoy the creativity!
• Storage Tips: Keep any leftover knots in an airtight container at room temperature for up to two days. For longer storage, freeze them to enjoy later!
Storage Tips for Gluten Free Garlic Knots
Room Temperature: Store leftover garlic knots in an airtight container at room temperature for up to 2 days to maintain their soft texture.
Freezer: For longer storage, wrap garlic knots tightly in plastic wrap and then place in a freezer-safe bag. They can be frozen for up to 3 months.
Reheating: To enjoy them freshly baked taste, reheat the frozen knots directly in a preheated oven at 350°F (175°C) for 5-10 minutes. Let them cool slightly before serving!
Thawing: If frozen, let the knots thaw overnight in the fridge before reheating, or leave them out at room temperature for a couple of hours before enjoying your gluten free garlic knots.
Make Ahead Options
Prepare your Gluten Free Garlic Knots in advance for effortless meal prep! You can mix the dough and shape the knots, then refrigerate them for up to 24 hours. To do this, follow the recipe steps up to the rising phase, cover the shaped knots well with plastic wrap, and place them in the fridge. This method helps maintain their fluffy texture while saving you time on busy days. When you’re ready to bake, simply let the knots sit at room temperature for about 30 minutes, then brush with melted butter, sprinkle with parsley, and bake as directed. They’ll come out just as delightful and comforting as if made fresh!
Gluten Free Garlic Knots Recipe FAQs
What type of gluten-free flour should I use?
Absolutely! When selecting gluten-free flour, look for a blend specifically designed for baking that includes ingredients like xanthan gum. This will mimic the texture of traditional flour and provide the structure needed for fluffy garlic knots. Brands like Bob’s Red Mill or King Arthur Flour offer great options!
How should I store leftover garlic knots?
To keep your garlic knots fresh, store any leftovers in an airtight container at room temperature for up to 2 days. If you want to enjoy them longer, wrap them tightly in plastic wrap or foil, then place them in a freezer-safe bag. They will keep well in the freezer for up to 3 months.
Can I freeze gluten-free garlic knots?
Yes, you can! To freeze garlic knots, let them cool completely after baking. Then wrap each knot in plastic wrap and place them in a freezer-safe bag. When you’re ready to enjoy, simply reheat from frozen in a preheated oven at 350°F (175°C) for about 10-15 minutes, and they’ll taste almost as good as fresh.
What should I do if my dough isn’t rising properly?
If your dough isn’t rising, check your yeast. Ensure it’s fresh and activated by combining it with warm water (around 110°F/43°C) until frothy; this usually takes about 5 minutes. Also, consider the environment—if your kitchen is too cold, try placing the dough in a warmer spot, like near a preheating oven or a sunny windowsill to help it rise properly.
Are these garlic knots safe for those with allergies?
While these gluten-free garlic knots are safe for those with gluten sensitivities, always check the specific brands of ingredients you use for allergens such as dairy or nuts. For a dairy-free variation, you can substitute the butter with a dairy-free alternative. Always confirm with your guests if they have any specific dietary needs before serving!
Fluffy Gluten Free Garlic Knots You Can't Resist
Ingredients
Equipment
Method
- Preheat your oven to 400°F (200°C). In a bowl, combine warm water with yeast and let it sit for 5 minutes until frothy.
- Gradually incorporate gluten-free flour, olive oil, garlic powder, and salt. Stir until a sticky dough forms.
- Transfer dough onto a floured surface and knead gently for about 2 minutes until smooth.
- Divide the dough into 10 equal pieces and shape them into knots.
- Cover the knots with a towel and let them rise for about 20 minutes.
- Brush melted butter over each knot, sprinkle with parsley and sea salt, then bake for about 15 minutes.
Leave a Reply