
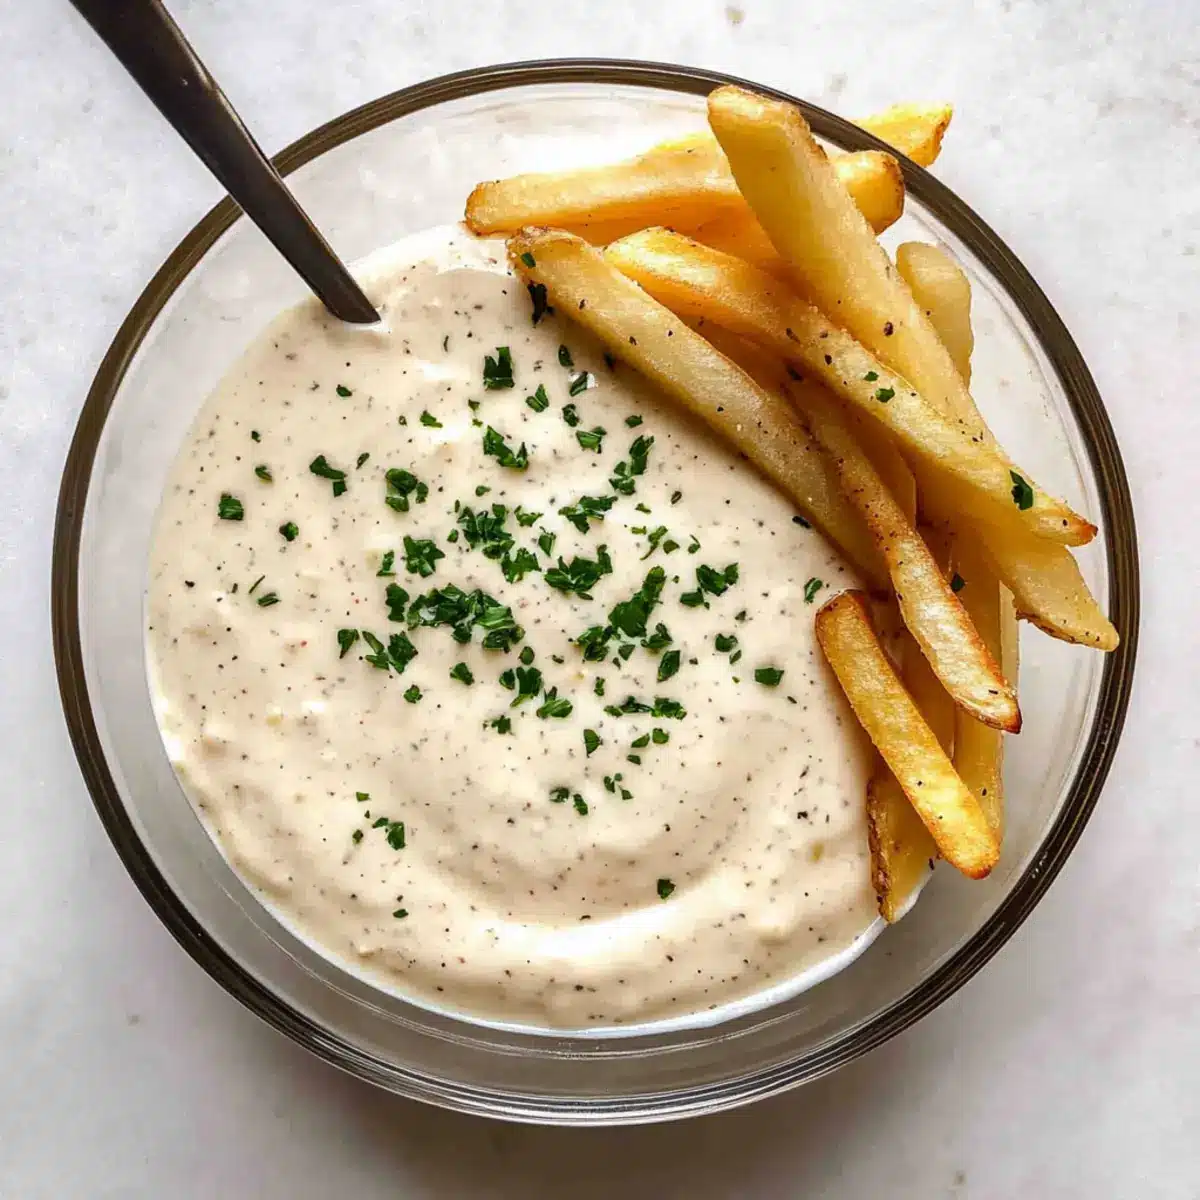
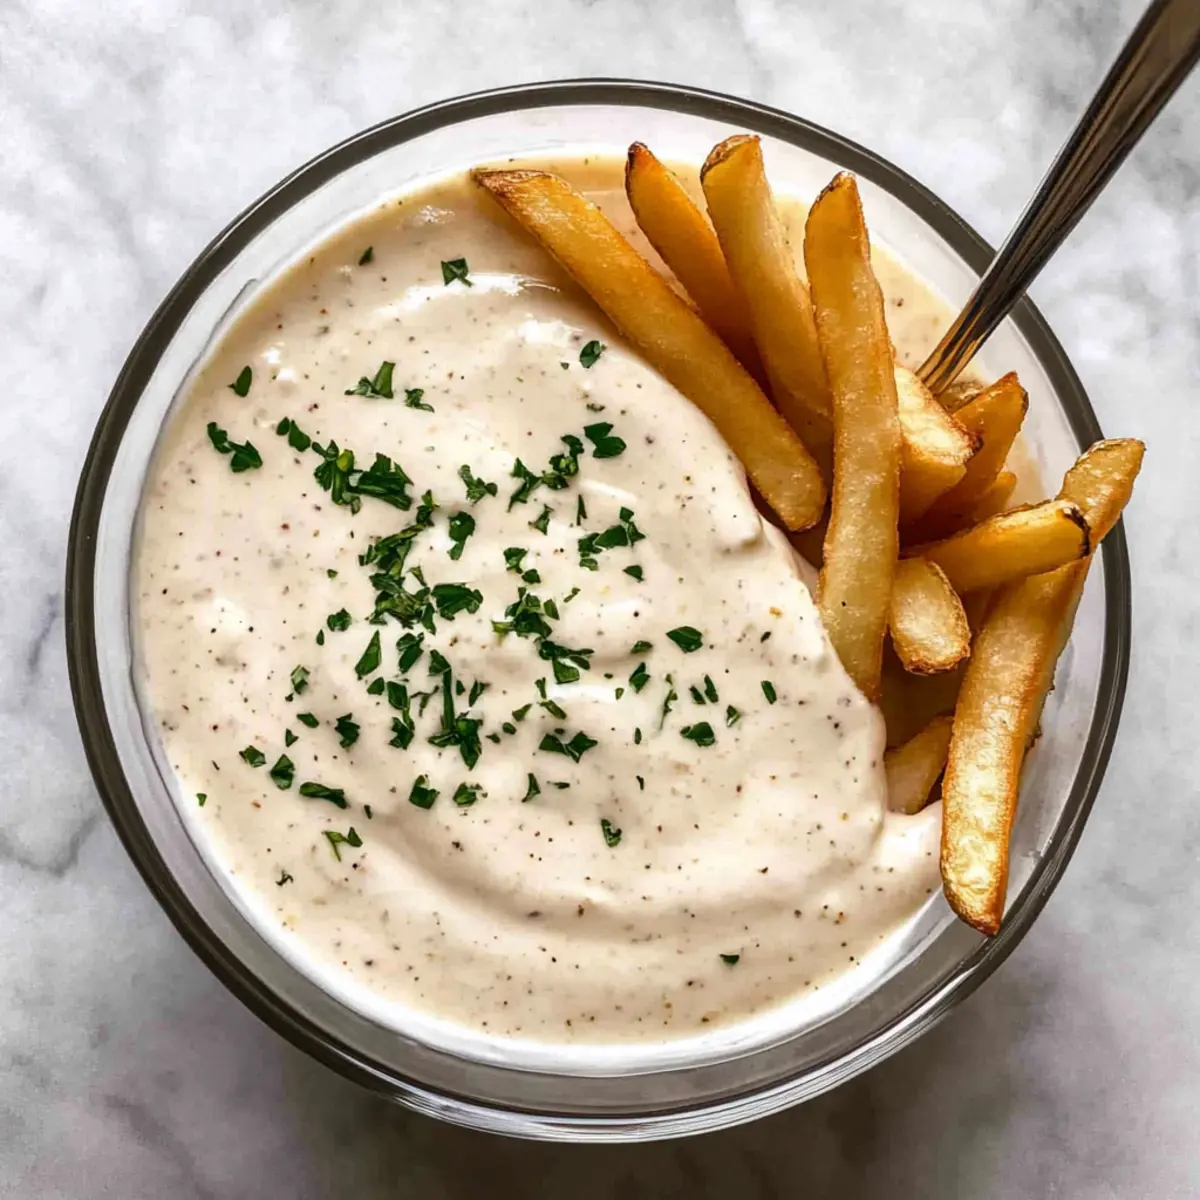
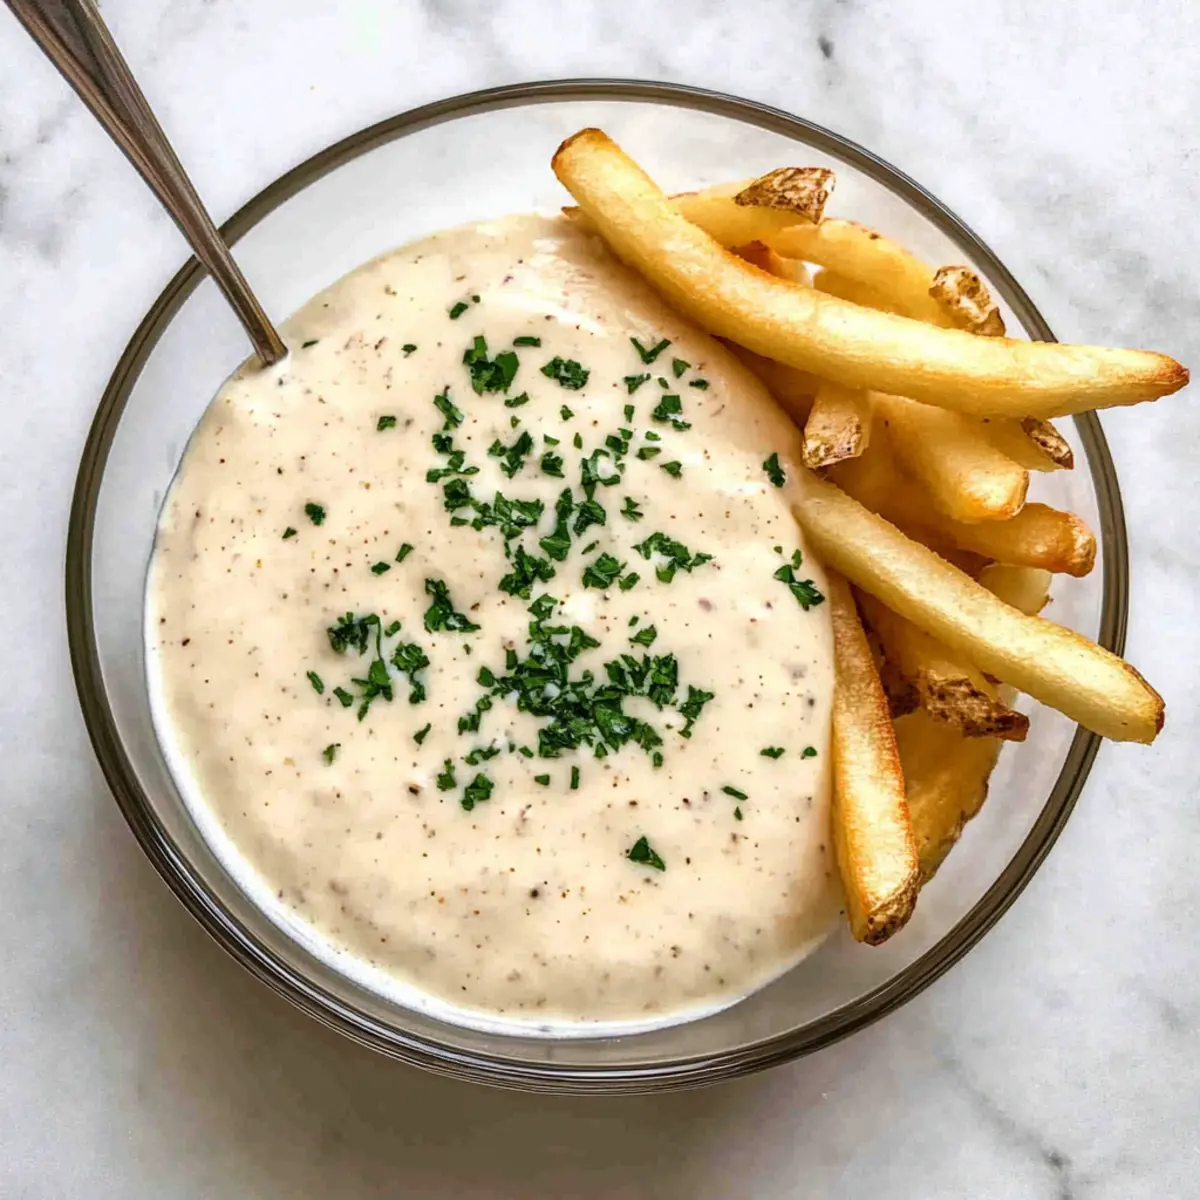
The aroma of freshly grated garlic fills the kitchen, instantly transporting me to Mediterranean markets buzzing with life. Today, I’m excited to share my recipe for Quick & Creamy Garlic Aioli, a simple yet flavorful homemade condiment that elevates any dish. With just six easy ingredients, you’ll discover that making this delightful sauce is not only quick but also a great way to impress your friends and family. Whether you’re dipping crispy fries, smothering it on sandwiches, or using it as a zesty spread for wraps, this Garlic Aioli is bound to leave taste buds dancing with joy. Plus, it comes together in less time than it takes to cook your fries! Ready to whip up a treat that you’ll want to make again and again? Let’s dive into the details!
Why Garlic Aioli Will Change Your Dipping Game
Elevated Flavor: This creamy garlic aioli offers a gourmet touch to your meals with its rich, garlicky taste.
Quick & Easy: With just six ingredients, it can be prepared in a flash—perfect for those busy weeknights.
Versatile Use: From crispy fries to sandwiches, this sauce enhances a variety of dishes and takes your culinary creations to the next level.
Crowd-Pleasing: Impress your family and friends with this homemade dip that’s sure to be a hit at gatherings.
Make-Ahead Convenience: Refrigerate for up to five days, making it a wonderful option for meal prep. For more flavorful ideas, why not try it with Garlic Sauce Potatoes or as a spread on your favorite Garlic Parmesan Chicken?
Garlic Aioli Ingredients
For the Base
- Mayonnaise – This forms the creamy base, so choose a quality brand like Hellman’s for the best flavor.
- Fresh Lemon Juice – Adds a bright, tangy note that balances the creaminess of the mayo.
For the Flavor
- Garlic – Freshly grated garlic packs a robust flavor; using a microplane will ensure a fine consistency.
- Garlic Powder – This enhances the garlic flavor with a nutty undertone, creating depth in your garlic aioli.
- Salt – A crucial ingredient that elevates the overall flavor balance of the aioli.
- Sugar – Just a pinch helps to mellow the acidity from the lemon juice, creating a harmonious taste.
- Ground Black Pepper – Adds a slight kick and complexity, enhancing the richness of the aioli.
This Garlic Aioli is not just delicious; it also brings versatility to your kitchen arsenal!
Step‑by‑Step Instructions for Garlic Aioli
Step 1: Combine the Base Ingredients
In a small mixing bowl, start by adding half a cup of quality mayonnaise. To this creamy base, incorporate one tablespoon of freshly grated garlic, ensuring it’s finely zested for a smoother texture. Then, add one tablespoon of fresh lemon juice, a pinch of salt, a dash of sugar, and a pinch of ground black pepper. Mix thoroughly using a whisk until the mixture is uniform and creamy.
Step 2: Enhance the Flavor
Next, to elevate your Garlic Aioli, sprinkle in half a teaspoon of garlic powder. This will boost the garlicky profile of your aioli, giving it a delightful depth. Whisk again to ensure that all the ingredients are well integrated. You should see a smooth, pale yellow mixture with a slightly glossy finish that promises a burst of flavor.
Step 3: Chill and Meld the Flavors
Once combined, cover the bowl with plastic wrap or a lid, and place your Garlic Aioli in the refrigerator. Allow it to chill for at least 15 minutes. This essential chilling time enables the flavors to meld beautifully, creating a richer taste that enhances any dish it accompanies. Check that the aioli is thick and creamy before serving.
Step 4: Serve and Enjoy
After chilling, your Garlic Aioli is ready to shine! Serve it as a dip alongside crispy fries or onion rings, or spread it generously on sandwiches and wraps for added zest. The perfect creamy consistency and aromatic garlic flavor are now at your fingertips, and any leftovers can be stored in the fridge for up to five days.
What to Serve with Quick & Creamy Garlic Aioli
The rich, garlicky allure of freshly made aioli invites a feast that tantalizes the taste buds and brings warmth to your table.
- Crispy French Fries: The ultimate pairing! Their crunchy exterior and fluffy interior provide the perfect contrast to the smooth dip.
- Golden Onion Rings: These crunchy rings are a delightful treat when dipped in garlic aioli, adding both flavor and texture.
- Grilled Vegetables: Smoky, charred veggies complement the creamy aioli, offering a fresh and vibrant contrast that enhances the meal.
- Roasted Chicken: A savory backyard favorite, drizzling garlic aioli over juicy roasted chicken adds a gourmet touch and depth of flavor.
- Sandwiches & Wraps: Smearing aioli on your favorite sandwiches intensifies taste, making every bite unforgettable with its creamy texture.
- Pita Chips: Crunchy pita chips are a fun alternative, inviting you to dip again and again, making for a satisfying appetizer.
- Shrimp Cocktail: Elevate this classic dish with a dollop of garlic aioli, where the creamy dip meets the sweetness of shrimp for a winning combination.
- Sparkling Lemonade: Refreshing and citrusy, a glass of lemonade balances the richness of the aioli and enhances the meal’s brightness.
- Chocolate Mousse: For dessert, a light chocolate mousse can create a delightful contrast after enjoying the aioli, leaving a perfectly sweet end to the meal.
Make Ahead Options
These Garlic Aioli are perfect for busy home cooks who want to enjoy homemade flavors without the last-minute rush! You can prepare the entire garlic aioli mixture up to 3 days in advance, allowing the flavors to develop and blend beautifully. To do this, simply whisk together all the ingredients as per the recipe, then cover and refrigerate immediately. This way, you maintain its creamy texture and robust flavor. When you’re ready to serve or use it, just give it a quick stir and enjoy your delicious homemade aioli as a dip or spread. By prepping ahead, you’ll save time and amp up your meals without sacrificing quality!
How to Store and Freeze Garlic Aioli
Fridge: Keep your garlic aioli stored in an airtight container in the refrigerator for up to 5 days. This timeframe ensures you enjoy its fresh, creamy flavor.
Freezer: While freezing is not recommended for garlic aioli due to separation, you can freeze it for up to 2 months if necessary. Thaw in the fridge and rewhisk before serving.
Reheating: Generally, garlic aioli is served cold, so there’s no need to reheat. Just give it a good stir after chilling to restore its smooth texture.
Serving Tip: Always taste after storage—sometimes a little extra fresh lemon juice can revive the flavor beautifully!
Garlic Aioli Variations & Substitutions
Feel free to play with this garlic aioli recipe, exploring flavors and textures that excite your palate!
-
Greek Yogurt: Substitute mayonnaise for Greek yogurt for a lighter, tangy twist. It adds creaminess without the extra calories.
-
Herb-Infused: Add fresh herbs like dill, parsley, or chives for a refreshing herbal note that brightens the aioli beautifully. Imagine a herb garden in every bite!
-
Spicy Kick: For those who love heat, mix in cayenne pepper or a dash of hot sauce for an exciting fiery flair. It elevates the garlicky goodness to new levels!
-
Smoky Flavor: Incorporate a touch of smoked paprika for a smoky twist. This rich flavor can transform your aioli into a gourmet experience.
-
Nutty Addition: For a unique texture, mix in some finely chopped nuts, like almonds or walnuts. Not only will it add crunch, but it will also introduce an unexpected depth of flavor.
-
Tzatziki Style: Blend in grated cucumber and a little dill for a refreshing twist reminiscent of tzatziki sauce. It’s perfect for summer snacks!
-
Vegan Option: Use vegan mayonnaise or blend soaked cashews for a creamy aioli suitable for plant-based diets. Your non-vegan friends will never know the difference!
-
Experiment: Don’t hesitate to personalize with your favorite spices or even a splash of mustard for an extra tang. Check out other delightful recipes like Garlic Sauce Potatoes and Garlic Parmesan Chicken for more culinary inspiration!
Expert Tips for Garlic Aioli
-
Chill Time Matters: Allowing your garlic aioli to chill for at least 15 minutes is essential. This waiting period helps meld the flavors into a creamy bliss.
-
Fresh Garlic Only: Always use freshly grated garlic for the best taste. Pre-minced garlic lacks the vibrant flavor that makes this garlic aioli exceptional.
-
Adjust Consistency: If your aioli turns out too thick, don’t fret! You can easily thin it with a splash of water or an extra squeeze of lemon juice.
-
Tweak the Garlic Level: Feel free to adjust the garlic amount according to your preference. Start with the suggested amount, then add more if you crave a stronger flavor.
-
Storage Tips: Keep your garlic aioli refrigerated in an airtight container. For optimal freshness, aim to use it within five days!
-
Custom Flavors: Experiment by adding herbs or spices! A touch of dill or a sprinkle of cayenne can transform your garlic aioli into a unique flavor experience.

Garlic Aioli Recipe FAQs
How do I choose the best garlic for making garlic aioli?
Absolutely! When selecting garlic, go for bulbs that are firm and heavy, with no dark spots or soft patches. Fresh garlic will yield the best flavor and aroma. I highly recommend using freshly grated garlic instead of pre-minced options, as this maintains the vibrant taste that’s crucial for your aioli.
What are the best ways to store garlic aioli?
You’ll want to keep your garlic aioli stored in an airtight container in the refrigerator to maintain its creamy texture and flavor. It’s best used within 5 days. If you notice any changes in color or if it develops an off-smell, it’s time to toss it!
Can I freeze garlic aioli?
While not recommended, you can freeze garlic aioli for up to 2 months if necessary. To do this, spoon it into an airtight container or ice cube trays. When you’re ready to use it, thaw the aioli overnight in the fridge and give it a good whisk to restore its smooth consistency.
What if my garlic aioli turns out too thick?
No worries, this is an easy fix! If your aioli is thicker than you’d like, simply add a small splash of water or an extra squeeze of lemon juice, then whisk until you achieve your desired consistency. This can also help revive it after storage if it thickens slightly.
Is garlic aioli safe for people with allergies?
Great question! Garlic aioli contains mayonnaise, which typically has eggs, so if you’re allergic to eggs, consider using an egg-free mayonnaise or a substitute like Greek yogurt. Always check ingredient labels to ensure it fits your dietary requirements.
Can this aioli be adapted for other dietary preferences?
The more the merrier! If you’re looking for a lighter version, you can swap out regular mayonnaise for Greek yogurt or a vegan mayo if you’re avoiding eggs. You can also adjust the garlic levels for a milder flavor or add spices like cayenne pepper for an extra kick.
Creamy Garlic Aioli: Your New Favorite Homemade Dip
Ingredients
Equipment
Method
- In a small mixing bowl, add 1/2 cup of mayonnaise. Incorporate 1 tablespoon of grated garlic, 1 tablespoon of fresh lemon juice, a pinch of salt, a dash of sugar, and a pinch of ground black pepper. Mix thoroughly with a whisk until uniform and creamy.
- Sprinkle in 1/2 teaspoon of garlic powder. Whisk again until all ingredients are well integrated and mixture is smooth.
- Cover the bowl and refrigerate for at least 15 minutes to meld the flavors.
- Serve as a dip for fries or onion rings, or as a spread on sandwiches and wraps.
Leave a Reply