
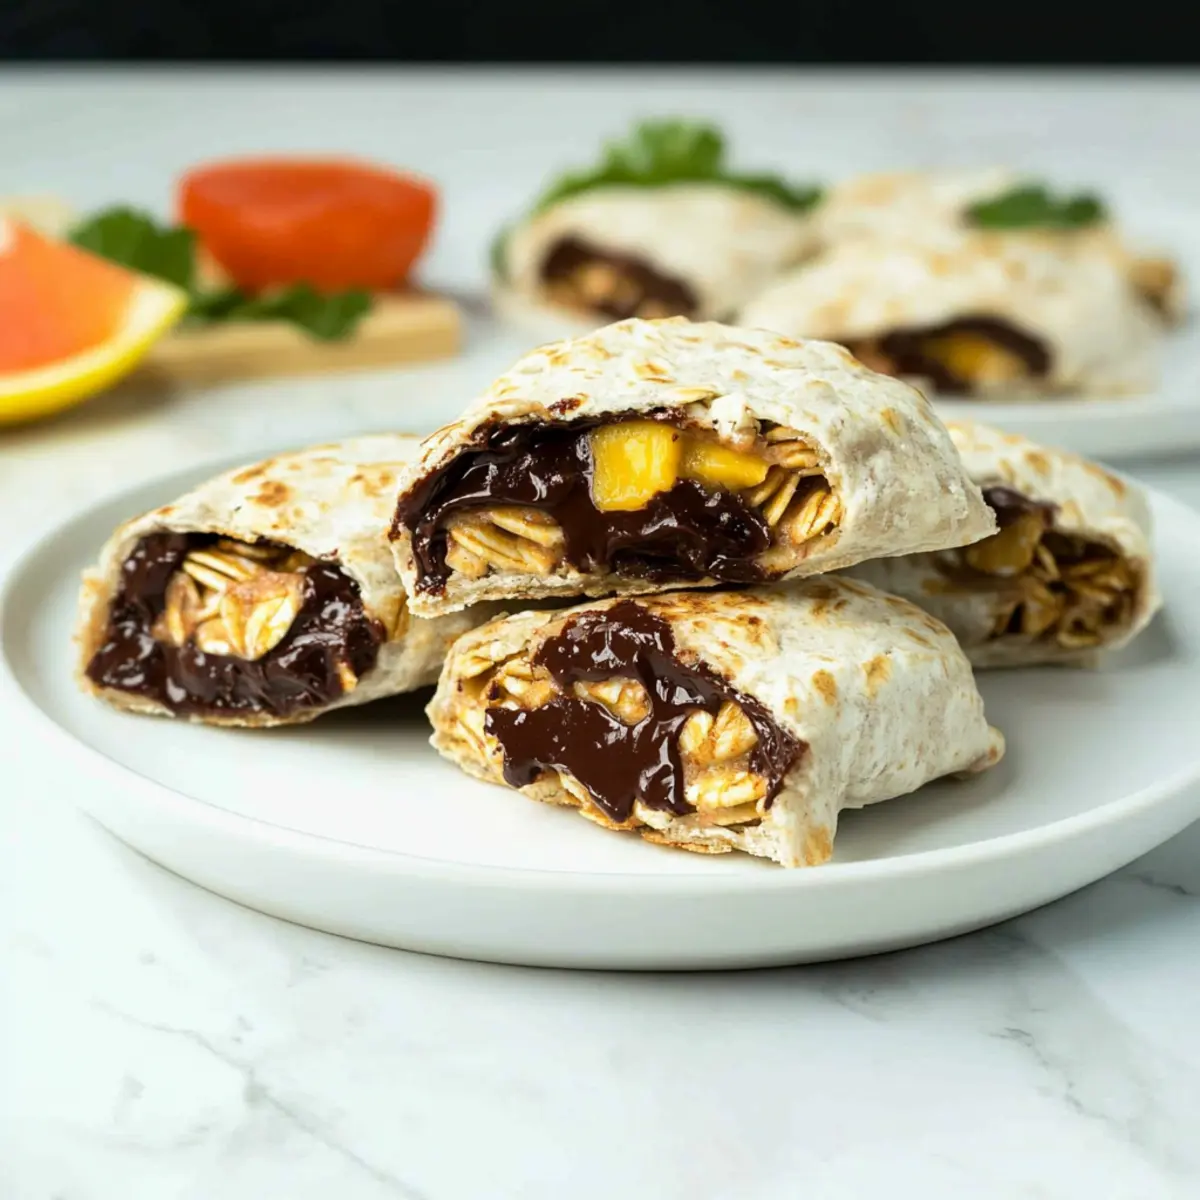
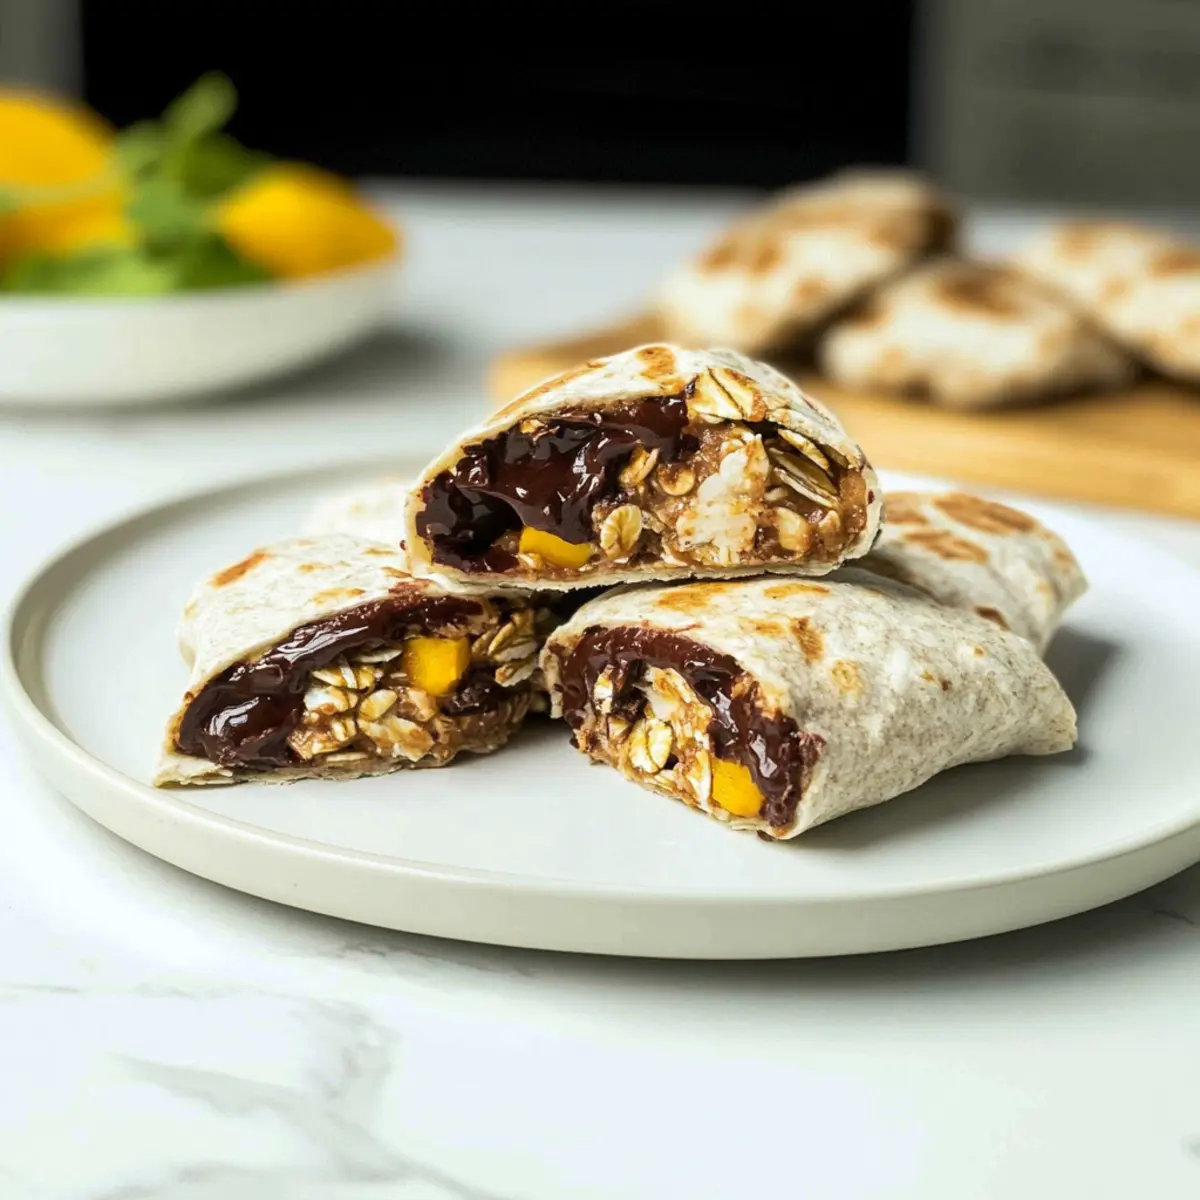
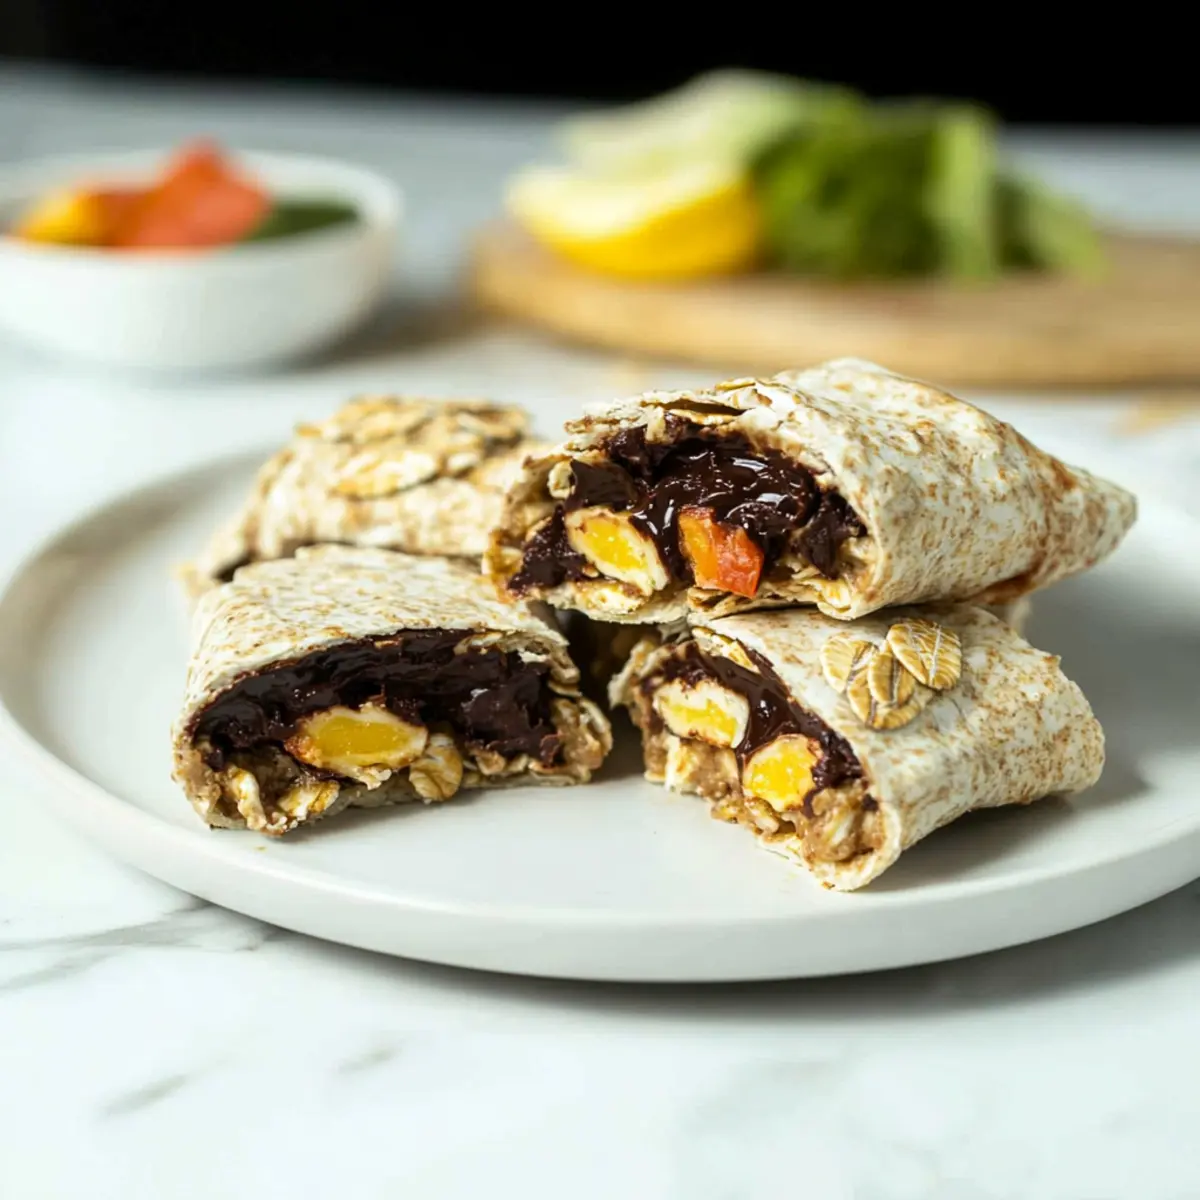
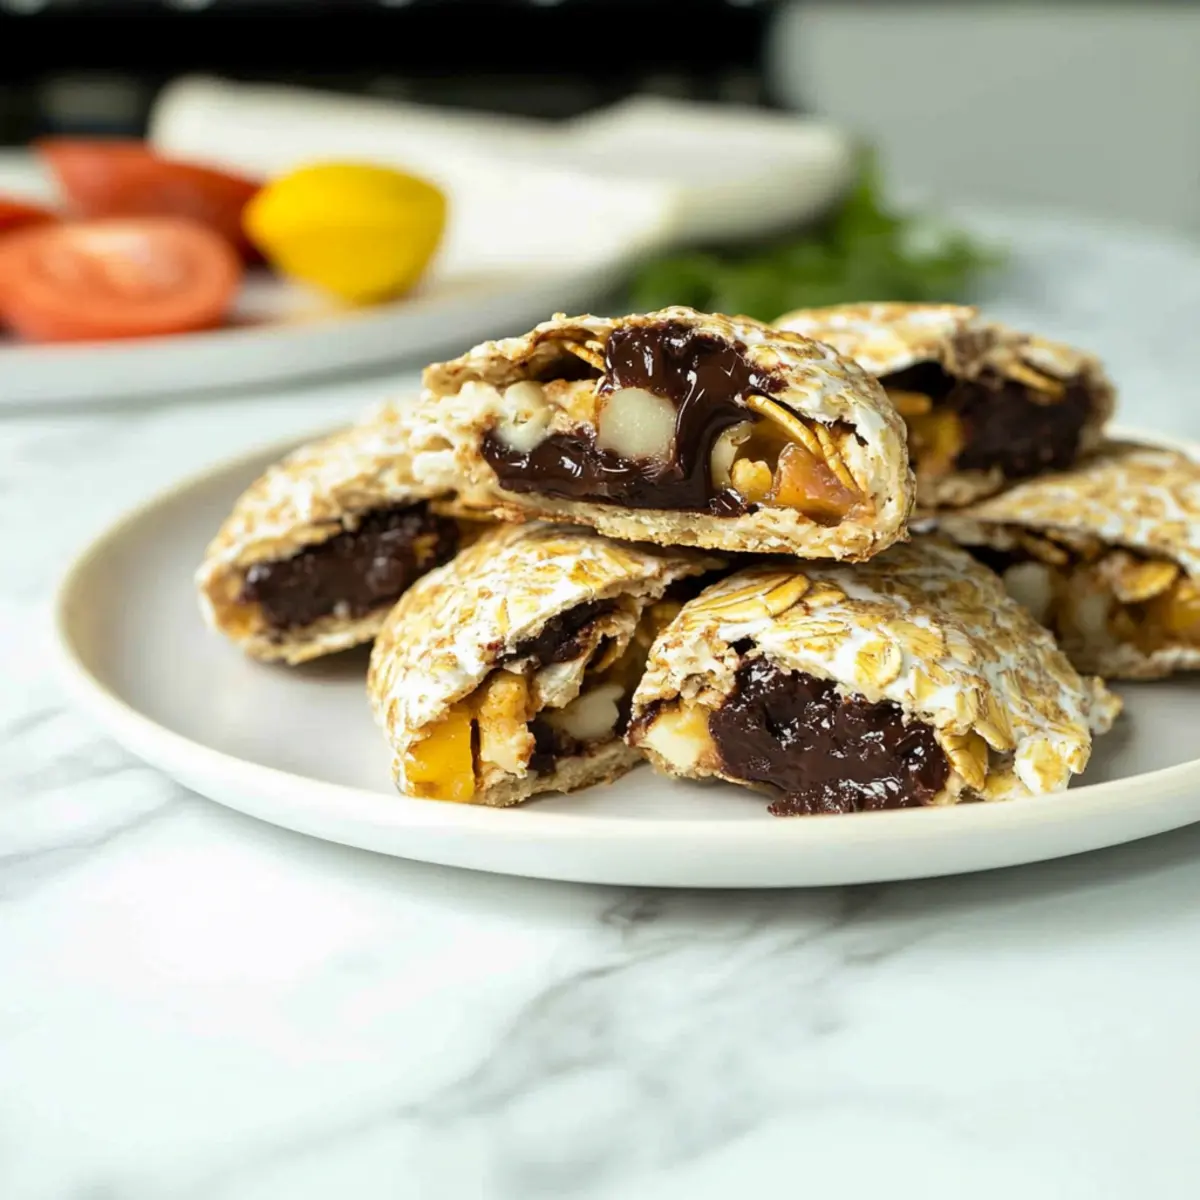
As I stood in my kitchen, trying to gather my scattered thoughts after a long day, I was reminded of how a simple cookie can transform any moment into a sweet escape. Enter my 4-Ingredient No-Bake Chocolate Oat Cookies! These little bites of joy are not just quick and easy to whip up, but they also blend the rich flavors of chocolate and nut butter into a chewy, satisfying treat that fits neatly into a gluten-free diet. With no baking required, you can make these delightful cookies in mere minutes, making them perfect for a last-minute dessert or an afternoon snack. Want to discover how to create these deliciously easy cookies? Let’s dive into the world of no-bake indulgence!
Why Make No-Bake Cookies Today?
Simplicity at Its Finest: These 4-Ingredient no-bake cookies come together effortlessly, requiring minimal time and a handful of ingredients.
Endless Variations: Experiment with different nut butters or natural sweeteners, making it easy to customize your flavors and textures.
Nutritious Treat: Packed with oats and nut butter, these cookies are high in fiber and protein, offering a guilt-free snack indulgence.
Perfect Crowd-Pleaser: They’ve got that chewy, crunchy texture that kids and adults alike can’t resist—great for gatherings or a sweet surprise!
Make-Ahead Marvel: Prep a batch in just minutes and store them in the fridge for easy access to treats all week long.
Chocolate Oat Cookies Ingredients
Discover the essential components for these delicious treats!
For the Cookie Base
• Rolled Oats – Essential for the chewy texture, ensuring your cookie keeps its form. Note: Opt for gluten-free oats if you’re following a strict gluten-free diet.
• Peanut Butter – Provides both sweetness and a rich, creamy texture that holds everything together. Substitution: Use almond butter for a nut-free alternative.
• Honey or Maple Syrup – Acts as a natural sweetener and binding agent to help with the cookie’s consistency. Substitution: Agave syrup works well as a vegan option.
• Cocoa Powder – Adds a luscious chocolatey flavor to satisfy your sweet cravings. Note: Unsweetened cocoa keeps your cookies from being overly sweet.
With these simple ingredients, you’re just moments away from indulging in your own batch of delightful chocolate oat cookies!
Step‑by‑Step Instructions for 4-Ingredient No-Bake Chocolate Oat Cookies
Step 1: Combine Dry Ingredients
In a medium mixing bowl, stir together 1 cup of rolled oats and ¼ cup of cocoa powder until evenly mixed. The dry ingredients should blend seamlessly, creating a uniform base for your 4-Ingredient No-Bake Chocolate Oat Cookies. Ensure you break up any clumps of cocoa powder for a smooth mixture that enhances the cookie’s chocolate flavor.
Step 2: Mix in the Wet Ingredients
Add ½ cup of peanut butter and ¼ cup of honey to the dry mixture, stirring until you have a sticky dough. It should feel thick yet moldable; the peanut butter binds the ingredients, creating that beloved chewy texture. If the mixture seems too dry, a touch more peanut butter or honey can help reach the perfect consistency.
Step 3: Shape the Cookies
Use a spoon or cookie scoop to portion out the dough, rolling it into balls or gently flattening them into rounds, about 1 inch in diameter. Each cookie should feel slightly sticky in your hands but will hold its shape. Place them on a baking sheet lined with parchment paper, ensuring they are spaced apart to allow for even cooling.
Step 4: Refrigerate to Set
Place the baking sheet in the refrigerator for at least 30 minutes. This step is crucial for letting your 4-Ingredient No-Bake Chocolate Oat Cookies firm up and hold together. You’ll know they’re ready when they feel solid to the touch, making it easy to pop them off the parchment paper without crumbling.
Step 5: Serve and Enjoy
Once chilled, your cookies are ready to be enjoyed! Serve them as a quick snack or a delightful dessert. Keep any leftovers stored in an airtight container in the refrigerator for up to one week, ensuring you always have a sweet treat on hand. Each bite delivers a rich chocolatey flavor combined with that beautiful oat crunch, perfect for satisfying your cravings.
Make Ahead Options
These 4-Ingredient No-Bake Chocolate Oat Cookies are perfect for meal prep, allowing you to enjoy a delicious treat while saving precious time. You can prepare the mixture up to 24 hours in advance; simply combine the rolled oats, cocoa powder, peanut butter, and honey, then refrigerate it in an airtight container. When you’re ready to serve, scoop and shape the cookies, refrigerate for at least 30 minutes to set, and enjoy! To maintain their rich, chewy texture, always store the finished cookies in an airtight container in the refrigerator for up to one week. With these make-ahead options, you’ll always have a delightful snack on hand for busy weeknights!
How to Store and Freeze Chocolate Oat Cookies
Fridge: Store your chocolate oat cookies in an airtight container for up to one week. This keeps them fresh and maintains their chewy texture.
Freezer: For longer storage, place the cookies in a single layer in a freezer-safe bag or container. They can be frozen for up to three months.
Thawing: To enjoy, simply take out the desired number of cookies and let them thaw at room temperature for about 15–20 minutes before serving.
Make-Ahead Tip: These cookies are perfect for batch-making; prep a large batch and store them in the fridge or freezer for quick, on-the-go snacks or desserts!
Expert Tips for No-Bake Cookies
-
Sticky Mixture: Make sure your dough is sticky enough to hold together. If it feels too crumbly, add a bit more peanut butter or honey for the perfect texture.
-
Firmness Matters: For firmer cookies, chill them in the refrigerator a little longer. This helps them set properly, making them easier to handle.
-
Mixing Caution: Avoid over-mixing the dough. Gentle stirring will maintain the chewy texture that makes these no-bake cookies so appealing.
-
Uniform Size: Use a cookie scoop for consistent sizing. This ensures even cooling and makes for a beautiful presentation of your 4-Ingredient Chocolate Oat Cookies.
-
Customization Options: Don’t hesitate to experiment with variations like different nut butters or adding chocolate chips for extra flavor and texture to your cookies.
What to Serve with 4-Ingredient No-Bake Chocolate Oat Cookies
These delightful cookies are not only a treat themselves but also make a perfect addition to a cozy afternoon gathering or a sweet family dessert.
-
Creamy Vanilla Ice Cream: The cool, creamy texture of vanilla ice cream complements the rich chocolate oat cookies beautifully, providing a refreshing contrast. A scoop on the side can elevate your cookie experience to new heights!
-
Fresh Berries: Bright, juicy berries like strawberries or raspberries add a burst of fruity freshness, balancing the sweetness of the cookies with their tartness. Their vibrant colors can also make your dessert spread visually stunning.
-
Nutty Granola: A sprinkle of crunchy granola adds texture and additional flavor to your cookie servings. This makes for a fantastic topping if you want to create a decadent dessert parfait – layer the cookies and granola, then drizzle with yogurt.
-
Almond Milk: This creamy, nutty beverage serves as a delightful pairing, not only enhancing the flavors of the cookies but also providing a dairy-free option that everyone can enjoy. Sip it alongside your treats for a comforting snack experience.
-
Dark Chocolate Drizzle: Enhance the rich chocolate flavor by drizzling some melted dark chocolate over the cookies or serving it on the side for dipping. This allows for a luxurious touch that chocolate lovers will adore.
-
Chai Tea: The warm spices of chai tea beautifully complement the cookie’s flavors, creating a cozy atmosphere when paired together. Imagine sitting down with this comforting duo on a chilly afternoon!
-
Raw Veggies and Hummus: For a delightful contrast, serve crisp raw veggies with a delicious hummus dip alongside the cookies. It brings a refreshing crunch to the spread, making every bite of your snack time an adventure.
Chocolate Oat Cookies Variations
Feel free to put your own spin on these delightful cookies and make them truly yours!
-
Nut-Free: Swap peanut butter for sunflower seed butter, keeping the creamy richness without the nuts. This option provides a similar texture while being school-friendly too.
-
Vegan Delight: Use agave syrup instead of honey and plant-based butter for a delicious vegan version. The sweetness and rich flavor will satisfy any sweet tooth!
-
Texture Twist: Add ¼ cup of shredded coconut or chopped nuts for an extra crunch. This delightful texture contrast makes every bite an adventure!
-
Flavor Booster: Mix in a tablespoon of vanilla extract for a warm, aromatic touch. It enhances the overall flavor profile, making your cookies sing with sweetness.
-
Chocolate Lovers’ Dream: Fold in half a cup of dark chocolate chips or chunks for an extra treat. The melted chocolate enhances the rich cocoa flavor, making these cookies even more irresistible.
-
Dried Fruit Surprise: Include ¼ cup of chopped dried fruits like cranberries or apricots for a sweet and chewy twist. They add a lovely tang, balancing the richness of chocolate.
-
Spiced Up: Sprinkle in a dash of cinnamon or a pinch of cayenne for a warm and exciting flavor kick. You’ll find that subtle warmth elevates the overall taste experience.
These variations make it easy to customize your cookies while enjoying a blend of flavors and textures! For those who love a hearty meal, you might also enjoy trying my Buffalo Chicken Burritos. Just like these cookies, they offer a fun twist to classic comfort food!
Chocolate Oat Cookies Recipe FAQs
How do I select the right oats for this recipe?
Make sure to use rolled oats, as they provide the perfect chewy texture for your cookies. If you’re following a gluten-free diet, look specifically for certified gluten-free oats to ensure there are no traces of gluten.
How should I store my chocolate oat cookies once made?
Store your chocolate oat cookies in an airtight container in the refrigerator for up to one week. This keeps them fresh and delicious, maintaining that delightful chewiness we all love!
Can I freeze these cookies for later enjoyment?
Absolutely! To freeze your chocolate oat cookies, place them in a single layer in a freezer-safe bag or container, ensuring they don’t stick together. They can be frozen for up to three months. When you’re ready to enjoy them, simply let them thaw at room temperature for about 15–20 minutes!
What should I do if my cookie mixture seems too dry?
If your cookie mixture feels too crumbly and difficult to mold, don’t fret! Just add a touch more peanut butter or honey to achieve that sticky, moldable dough you want. Stir gently until fully combined, and you’ll be set!
Are these cookies safe for people with nut allergies?
If you or someone in your household has a nut allergy, you can substitute the peanut butter with sunflower seed butter or tahini. These alternatives maintain the cookie’s delicious flavor while ensuring it’s safe for everyone to enjoy.
How can I enhance the flavor or texture of my chocolate oat cookies?
The more the merrier! Feel free to mix in ingredients like chocolate chips, dried fruits, or even a pinch of sea salt to elevate the taste. This allows you to customize each batch to your liking and keep your cookie game exciting!
Chocolate Oat Cookies Recipe FAQs
4-Ingredient No-Bake Chocolate Oat Cookies
Ingredients
Equipment
Method
- Combine dry ingredients: Stir together rolled oats and cocoa powder until evenly mixed, ensuring a uniform base.
- Mix in wet ingredients: Add peanut butter and honey to the dry mixture, stirring until you have a sticky dough.
- Shape the cookies: Portion out the dough and roll into balls or flatten into rounds, then place on a baking sheet.
- Refrigerate to set: Chill the cookies in the refrigerator for at least 30 minutes to firm up.
- Serve and enjoy: Once chilled, serve cookies as a quick snack or dessert, storing leftovers in an airtight container.
Leave a Reply