
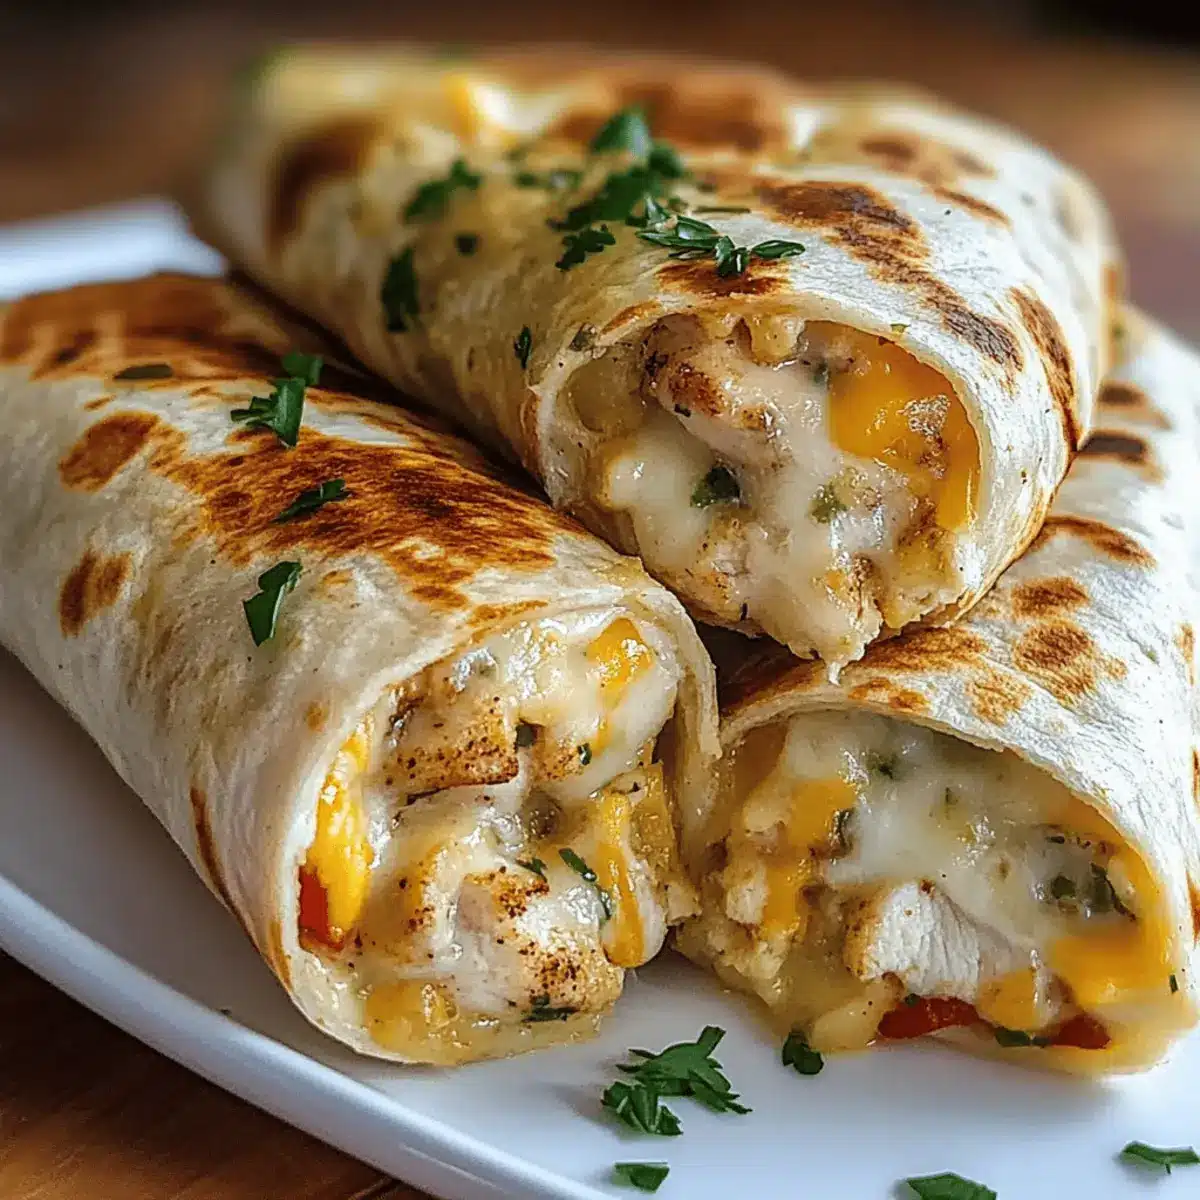
As I stood over the stove, the tantalizing aroma of sizzling garlic filled my kitchen, setting the stage for a comforting favorite—Ooey-Gooey Cheesy Garlic Chicken Wraps. With juicy chicken and rich cheese snuggled in a soft tortilla, this quick and easy dish has become a lifesaver for busy nights or casual gatherings. Not only is it a family-friendly option, but it’s also easily customizable to cater to any taste or dietary need—think gluten-free tortillas and vegetable add-ins. The best part? You’ll enjoy a delightful contrast of crispy edges and a gooey interior, all made in a flash. Ready to bring some cheesy goodness to your dinner table? Let’s get cooking!
What makes these wraps so irresistible?
Comforting and familiar, these wraps deliver a satisfying experience perfect for any occasion. Customizable to fit your family’s preferences, swap in veggies or your favorite cheeses for an extra twist! Quick and easy, they come together in no time—ideal for those busy weeknights. Kid-friendly and loved by all, everyone’s taste buds will sing. Pair with a fresh salad or your favorite dipping sauce for a complete meal!
Ooey-Gooey Cheesy Garlic Chicken Wraps Ingredients
Get ready to whip up a cheesy delight!
For the Chicken Filling
- Chicken – Use cooked rotisserie chicken for added convenience and flavor.
- Garlic – Fresh cloves provide a robust aroma; feel free to adjust based on your love for garlic!
- Olive Oil – Perfect for sautéing; it boosts flavor while keeping things healthy.
For the Cheesy Goodness
- Cheeses (e.g., cheddar, mozzarella) – These create that melty texture; swap with pepper jack for a spicy kick or gouda for extra creaminess!
For the Wraps
- Tortillas – Serve as the base; opt for gluten-free or low-carb varieties to meet dietary needs.
- Butter – Use for that golden crispiness on the outside; it can be omitted for a lighter option.
Optional Garnish
- Parsley – Adds freshness and a pop of color to your ooey-gooey cheesy garlic chicken wraps!
Step‑by‑Step Instructions for Ooey-Gooey Cheesy Garlic Chicken Wraps
Step 1: Prepare the Chicken
If using rotisserie chicken, shred or dice about 2 cups of it, ensuring it is fully cooked and seasoned with salt and pepper. If cooking raw chicken, sauté it in a skillet over medium heat for 6-8 minutes until browned and cooked through, reaching an internal temperature of 165°F. Once done, set aside, allowing it to cool slightly before mixing it into the wraps.
Step 2: Sauté the Garlic
In the same skillet, drizzle 1-2 tablespoons of olive oil and heat over medium. Add minced garlic, cooking for about 30 seconds to 1 minute until golden and fragrant—be careful not to burn it. The aromatic scent of the garlic will fill your kitchen, hinting at the delicious Ooey-Gooey Cheesy Garlic Chicken Wraps that are coming together!
Step 3: Combine Chicken and Garlic
Add the prepared chicken to the skillet, tossing it in the garlicky oil until fully coated. Stir continuously for 1-2 minutes, allowing the flavors to meld together beautifully. Remove the skillet from the heat and sprinkle a generous amount of shredded cheese (like cheddar or mozzarella) over the chicken, stirring until it melts and combines into a gooey, cheesy filling.
Step 4: Assemble the Wraps
Lay a tortilla flat on a clean surface and spoon a portion of the cheesy chicken mixture down the center. Using clean hands, roll the tortilla tightly like a burrito, tucking the edges in as you go. Make sure to secure the filling well to prevent any delicious leakage during cooking. Repeat this process until all the filling is wrapped snugly in tortillas.
Step 5: Brown the Wraps
In the same skillet, melt a tablespoon of butter over medium heat. Place the wraps seam-side down in the skillet and cook for about 2-3 minutes, or until they turn golden brown and crispy. Carefully flip them over and allow the other side to crisp up for an additional 2-3 minutes. The exterior should be delightful and crunchy, encasing the ooey-gooey cheesy goodness inside.
Step 6: Rest and Serve
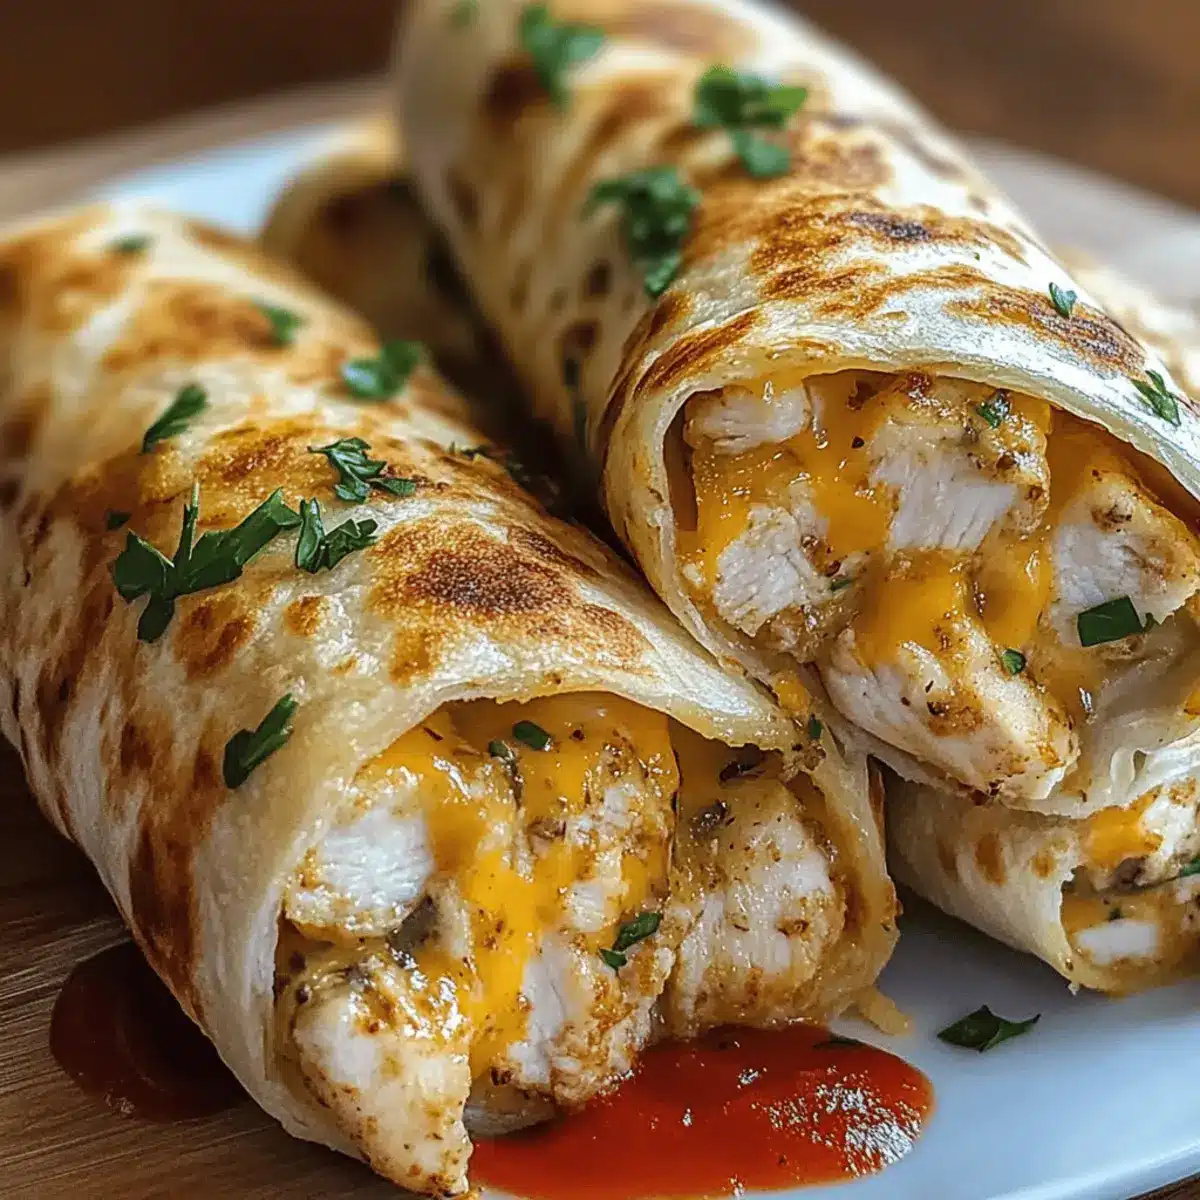
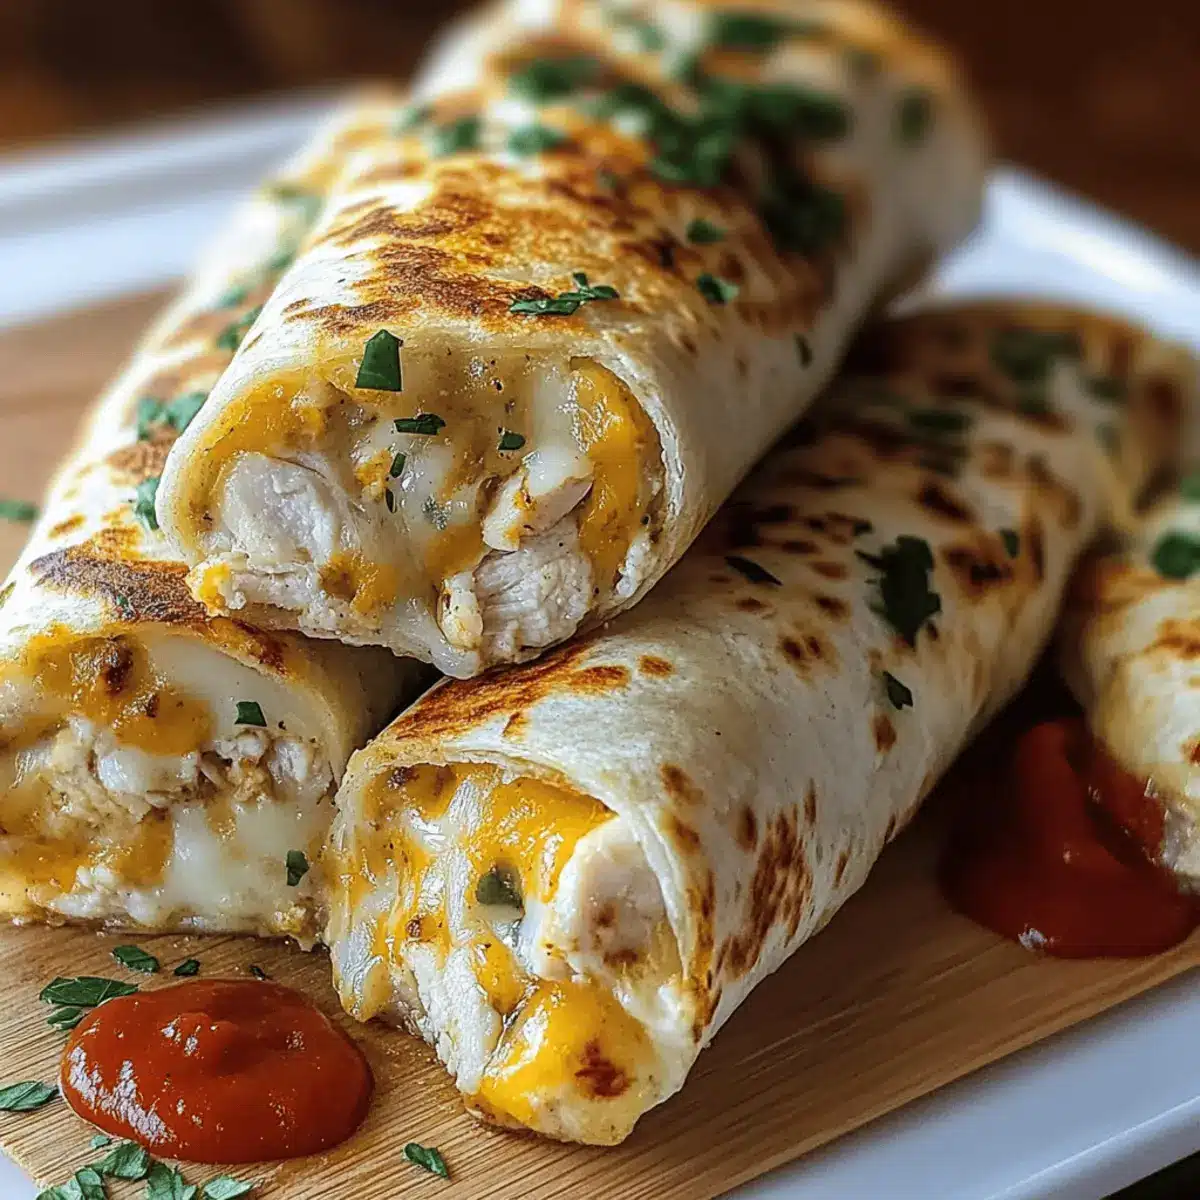
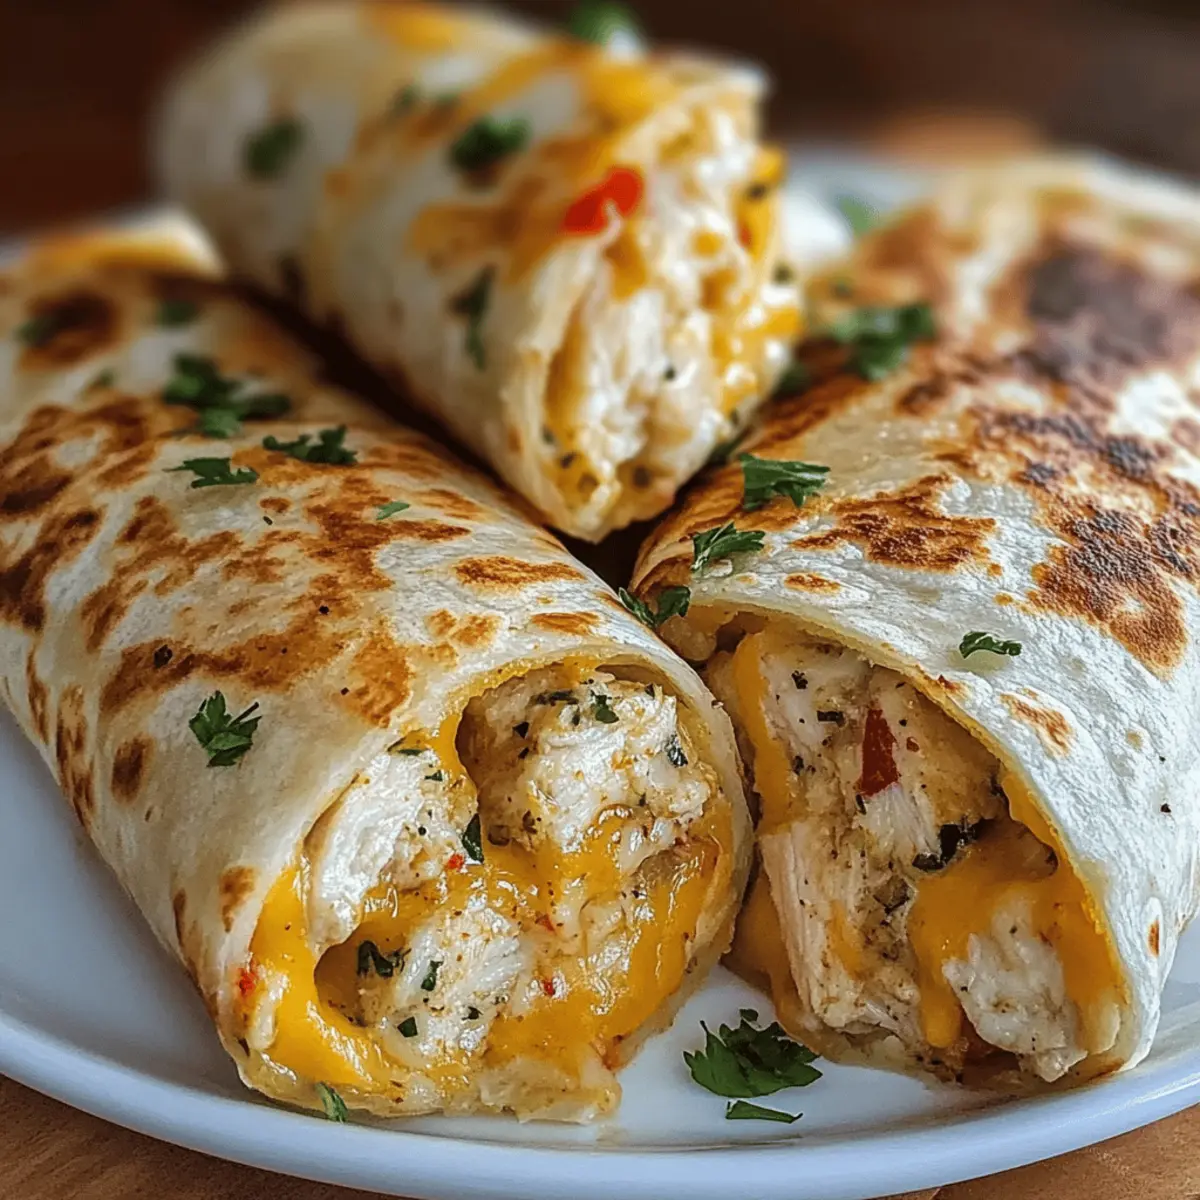
Once golden brown, transfer the wraps to a cutting board and let them rest for 1-2 minutes. This resting time allows the cheese to set slightly, making slicing easier. If desired, garnish with a sprinkle of fresh parsley for added color and aroma before slicing the wraps into manageable pieces or pinwheels. Enjoy your delicious Ooey-Gooey Cheesy Garlic Chicken Wraps warm!
What to Serve with Ooey-Gooey Cheesy Garlic Chicken Wraps
Dive into a meal that feels like a warm hug, complete with vibrant flavors and delightful textures.
- Fresh Green Salad: A light salad with crisp greens and a zesty vinaigrette balances the richness of the cheesy wraps, refreshing your palate.
- Tomato Soup: Pairing these wraps with a bowl of warm, velvety tomato soup offers the perfect dipping experience, enhancing both dishes’ flavors delightfully.
- Potato Wedges: Golden, crispy potato wedges add a satisfying crunch, while dipping them in garlic aioli echoes the wrap’s flavors beautifully.
- Roasted Vegetables: Colorful roasted veggies like bell peppers and zucchini introduce a healthy, caramelized sweetness and complement the garlicky goodness of the wraps.
- Guacamole: Creamy guacamole not only adds a rich texture but also brings an avocado’s lusciousness that pairs perfectly with the cheesy delights.
- Sparkling Lemonade: A refreshing, tangy sparkling lemonade cleanses the palate, making every bite of that ooey-gooey goodness feel extra special.
Expert Tips for Ooey-Gooey Cheesy Garlic Chicken Wraps
- Add Extra Flavor: Brush garlic butter on the outside of the tortilla before cooking for a richer garlic taste.
- Choose the Right Pan: A non-stick skillet helps prevent sticking and ensures your wraps get that perfect golden crispiness.
- Cooling Is Key: Allow wraps to rest for 1-2 minutes post-cooking to let the ooey-gooey cheesy filling settle, making them easier to slice.
- Control the Heat: Sauté garlic on medium heat—burnt garlic can ruin the flavor; look for a lovely golden hue.
- Customization Alert: Have fun with fillings! Add your favorite veggies or different cheeses to make these wraps uniquely yours.
Ooey-Gooey Cheesy Garlic Chicken Wraps Variations
Feel free to customize your wraps to match your cravings and dietary needs for the ultimate comfort food experience!
- Ground Chicken: Swap rotisserie chicken for ground chicken or turkey for a lighter option. It adds a different texture that still stays deliciously tender.
- Vegetable Boost: Incorporate spinach, mushrooms, or sautéed onions to elevate the nutrition factor. These colorful veggies blend harmoniously with the cheesy filling!
- Spicy Twist: Add crushed red pepper or sliced jalapeños for a kick of heat. This spicy version is perfect for those who crave an extra punch in their meals.
- Different Cheeses: Experiment with pepper jack for a zesty flavor or gouda for creaminess. Each cheese brings its unique flair to the wraps, making them unforgettable.
- Tortilla Alternatives: Try using lettuce wraps for a low-carb option, or whole wheat tortillas for a healthier twist. Both are fantastic choices without sacrificing flavor!
- Herb Infusion: Mix in fresh herbs like cilantro or basil for a refreshing lift. These herbs can transform your wraps into a vibrant, flavorful dish.
- Sweet and Savory: Add a drizzle of honey or balsamic glaze before rolling for a sweet contrast to the savory chicken. It creates an amazing balance that leaves taste buds wanting more.
- Cheesy Dipping Sauce: Pair your wraps with a cheesy dipping sauce using cream cheese and salsa. This is a fun way to spice up your meal, just like with our Cheesy Buffalo Chicken or Garlic Parmesan Chicken.
How to Store and Freeze Ooey-Gooey Cheesy Garlic Chicken Wraps
Room Temperature: Keep leftover wraps at room temperature for up to 2 hours, but discard if left out longer to ensure food safety.
Fridge: Store wrapped in plastic wrap or an airtight container in the fridge for up to 3 days. Reheat in a skillet over medium heat for the best crispiness.
Freezer: Freeze individually wrapped wraps in aluminum foil or freezer-safe bags for up to 3 months. Thaw overnight in the fridge before reheating.
Reheating: For the best texture, reheat in a skillet on medium until warm and crispy, about 3-4 minutes per side. Avoid microwaving, as it can make them soggy.
Make Ahead Options
These Ooey-Gooey Cheesy Garlic Chicken Wraps are perfect for meal prep enthusiasts! You can prepare the cheesy chicken filling up to 3 days in advance by combining cooked chicken, sautéed garlic, and cheese, then refrigerating it in an airtight container. When you’re ready to whip up dinner, simply take the filling out of the fridge and assemble the wraps. For the best quality, store the filled wraps tightly wrapped in foil or plastic wrap for up to 24 hours before cooking. When it’s time to serve, just sauté them in a skillet for that deliciously crispy exterior. Enjoy restaurant-quality results with minimal effort on busy weeknights!
Ooey-Gooey Cheesy Garlic Chicken Wraps Recipe FAQs
What type of chicken should I use for the wraps?
Absolutely! You can use cooked rotisserie chicken for convenience, or if you prefer, cook raw chicken in a skillet until it reaches an internal temperature of 165°F. This could be grilled, baked, or sautéed—whatever suits your schedule!
How should I store leftover wraps?
Very! Wrap any leftovers tightly in plastic wrap or place them in an airtight container. They can be refrigerated for up to 3 days. For best results when reheating, use a skillet on medium heat for that delicious crispiness—about 3-4 minutes per side should do nicely.
Can I freeze the cheesy garlic chicken wraps?
Of course! To freeze, wrap each individual wrap in aluminum foil or freezer-safe bags and store them in the freezer for up to 3 months. When you’re ready to enjoy, thaw overnight in the fridge. Reheat them in a skillet for the best texture.
What if the garlic burns while cooking?
Don’t worry! If the garlic begins to brown too quickly, reduce the heat on your stove. Burnt garlic can turn your dish bitter, so aim for a lovely golden hue instead—about 30 seconds to 1 minute should be perfect.
Are these wraps suitable for gluten-free diets?
Yes! You can easily make these wraps gluten-free by using gluten-free tortillas and ensuring that your fillings comply with gluten-free standards. For an even healthier twist, consider adding plenty of fresh vegetables to your wraps to boost nutrition while keeping flavors delightful!
How long can I keep these wraps at room temperature?
Very! You should keep the wraps at room temperature for no more than 2 hours. Beyond that, it’s best for food safety to refrigerate or freeze them to enjoy later.
Ooey-Gooey Cheesy Garlic Chicken Wraps for Cozy Nights
Ingredients
Equipment
Method
- If using rotisserie chicken, shred or dice about 2 cups of it. If cooking raw chicken, sauté it for 6-8 minutes until cooked through.
- In the skillet, heat 1-2 tablespoons of olive oil and cook minced garlic for 30 seconds to 1 minute until golden.
- Add the prepared chicken to the skillet and stir until fully coated, then remove from heat and add shredded cheese until melted.
- Lay a tortilla flat and spoon a portion of the cheesy chicken mixture down the center. Roll tightly like a burrito.
- In the skillet, melt a tablespoon of butter and cook the wraps seam-side down for 2-3 minutes until golden.
- Let the wraps rest for 1-2 minutes before slicing and garnish with parsley if desired.
Leave a Reply