
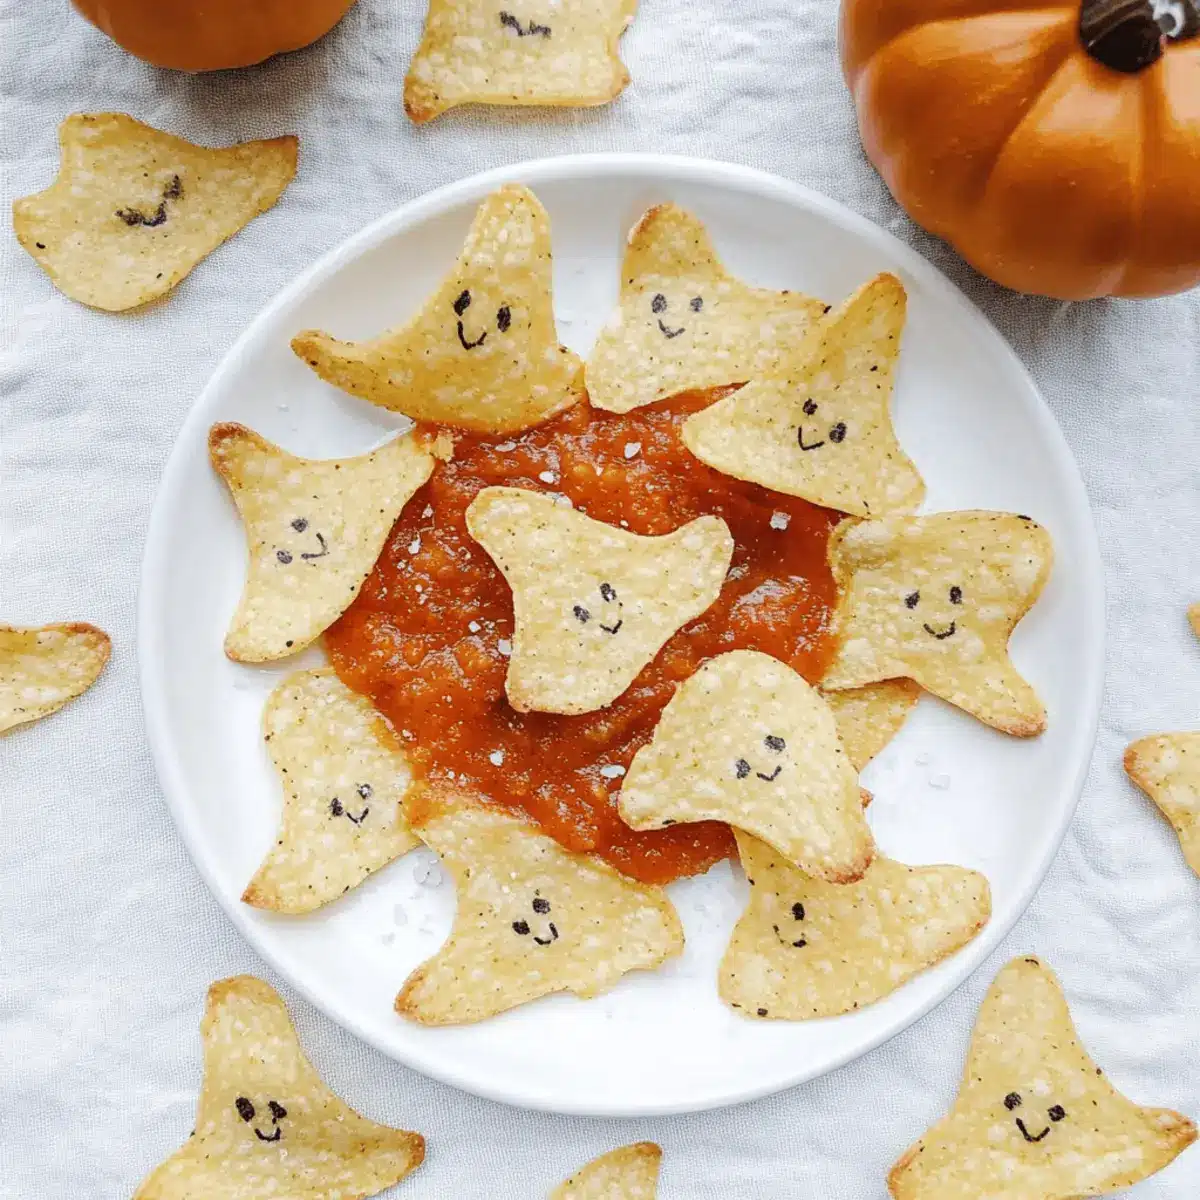
As I took a break from my usual cooking routine, I couldn’t shake the excitement that Halloween brings—spooky decorations, thrilling costumes, and of course, delicious treats. This year, I decided to whip up some Easy Spooky Baked Halloween Chips, an effortlessly festive snack that checks all the boxes for a Halloween gathering. With just three ingredients and a mere 15 minutes of your time, these gluten-free delights are a fun way to elevate your festive spread. Not only are they a hit with kids and adults alike, but they also provide a healthier alternative to traditional store-bought chips. Imagine serving these ghost-shaped treats alongside your favorite dips, making your gatherings feel extra special. Who’s ready to make some Halloween magic in the kitchen?
Why Are These Chips So Special?
Simplicity is key: With just three ingredients, you can whip up these delightful chips in just 15 minutes!
Crowd-Pleasing fun: Perfectly spooky for Halloween, they’ll impress guests of all ages—just watch them disappear!
Versatility is a game changer: Customize with various shapes or serve with any dip, from salsa to guacamole, for added flavor.
Healthy alternative: Enjoy a crunchy snack that’s both gluten-free and paleo-friendly, proving that festive treats can be nutritious too.
Perfect for celebrations: These Easy Spooky Baked Halloween Chips are not just for Halloween; use them for any festive occasion. They’re a great way to create wholesome memories! Want more delicious ideas? Check out my White Chocolate Halloween recipe for a sweet treat to pair with these chips!
Spooky Baked Halloween Chips Ingredients
• Get ready to create a Halloween snack masterpiece with these three essential ingredients!
For the Chips
- Tortillas – Choose gluten-free tortillas like Mission or Siete for a safe and tasty base.
- Oil – Use avocado or olive oil to enhance crispiness and bring a touch of flavor to your spooky creations.
- Salt – Adjust the salt to your personal taste; it’s an essential addition for that flavorful crunch!
Now you’re all set to dive into the fun of making your Spooky Baked Halloween Chips—let the Halloween festivities begin!
Step‑by‑Step Instructions for Spooky Baked Halloween Chips
Step 1: Preheat the Oven
Begin by preheating your oven to 400°F (200°C). This temperature is crucial for achieving the perfect crispy texture on your Spooky Baked Halloween Chips. While the oven warms up, line a baking sheet with parchment paper or a silicone mat to prevent sticking and ensure easy cleanup.
Step 2: Cut Out Tortilla Shapes
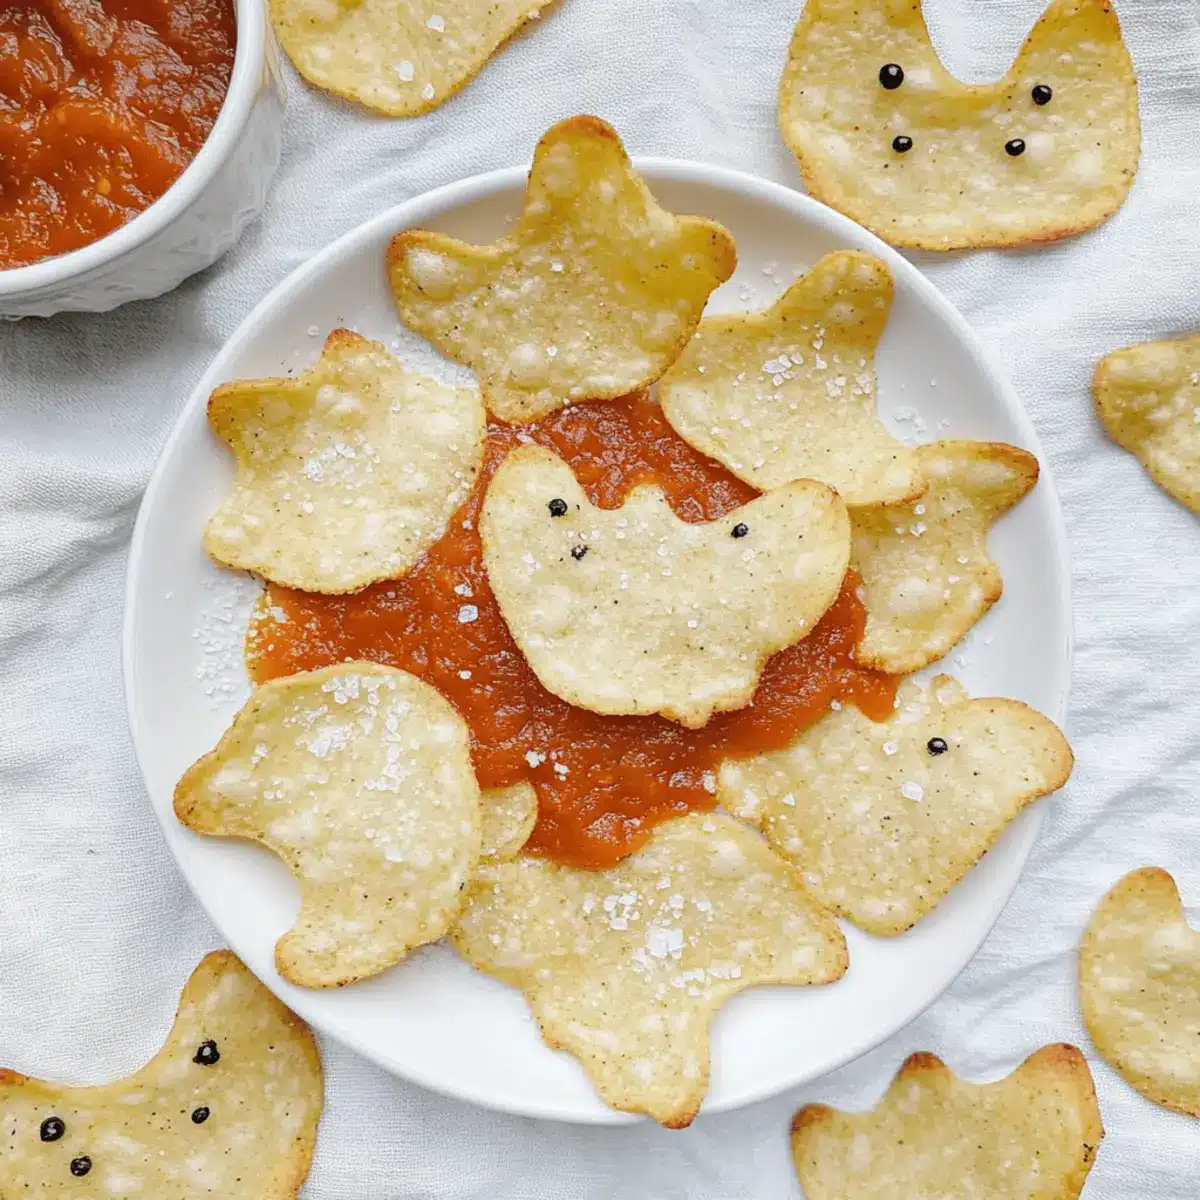
Once the oven is preheated, take your gluten-free tortillas and use a ghost-shaped cookie cutter to cut out fun, spooky shapes. Aim for even shapes so they bake uniformly. You can also repurpose any leftover tortilla scraps to allocate maximum chip goodness, which can be enjoyed later!
Step 3: Brush with Oil
Transfer your shaped tortillas to the prepared baking sheet and lightly brush or spray each piece with your chosen avocado or olive oil. This enhances the flavor, adding the perfect amount of indulgence while providing that lovely golden color as they bake. Make sure each chip is evenly coated for consistent crispiness.
Step 4: Sprinkle with Salt
Generously sprinkle salt over the oiled tortillas. This step adds essential flavor and enhances the overall taste of your Spooky Baked Halloween Chips. Adjust the salt amount to suit your preference, but don’t skimp! The salt elevates the chips and rounds out the flavor profile beautifully.
Step 5: Bake Chips
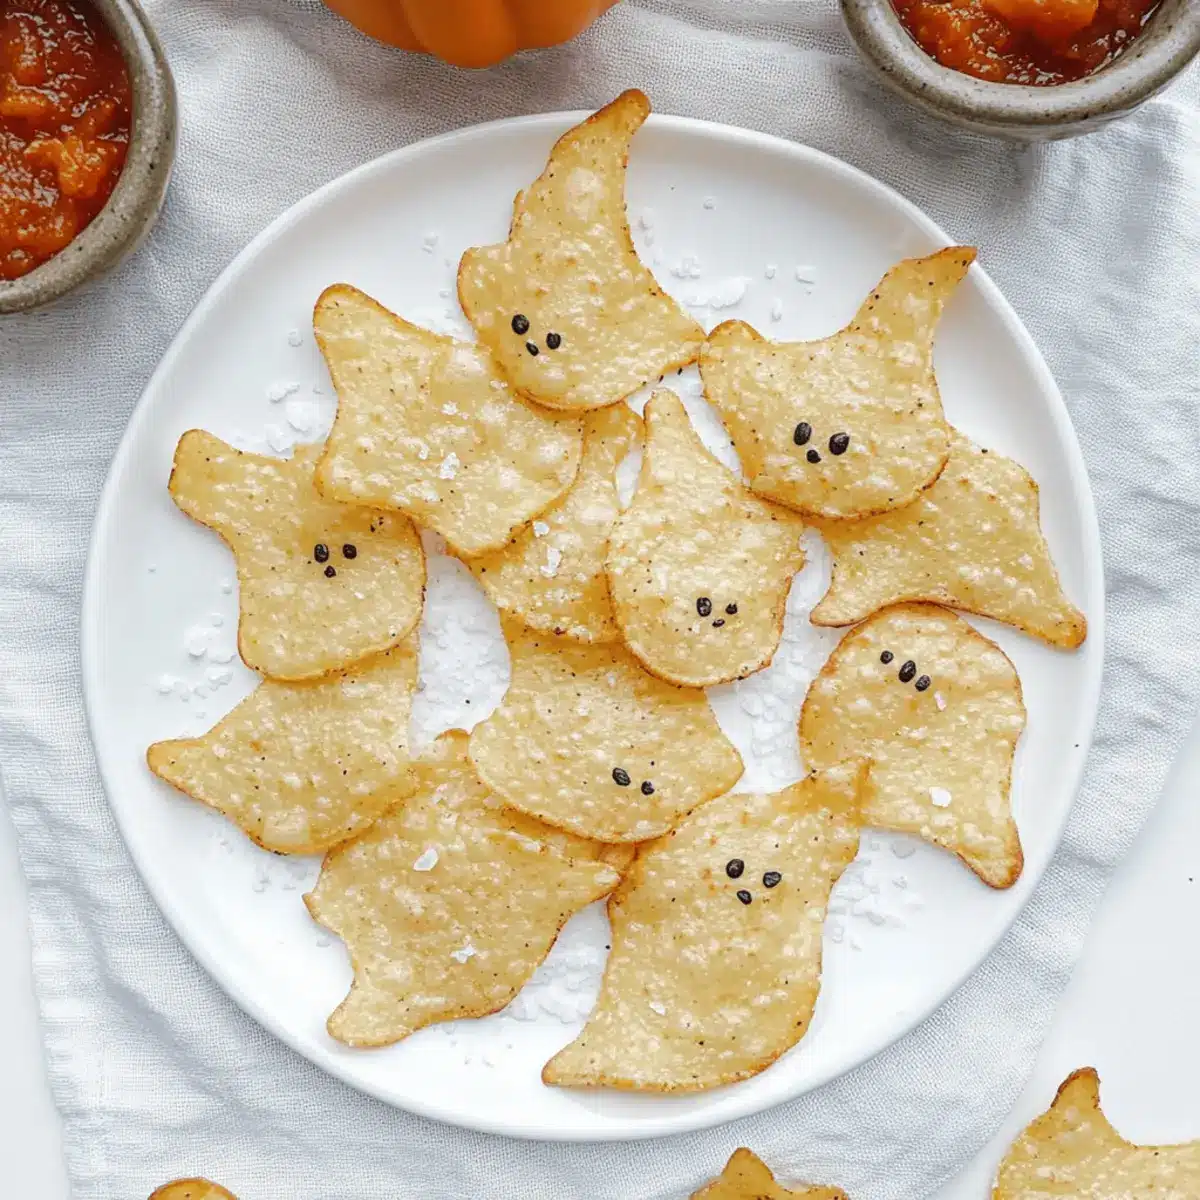
Place the baking sheet in the preheated oven and bake for about 5-7 minutes. Keep a close eye on the chips as they bake; they should turn crispy and lightly golden. This is the magic moment when the savory aroma fills your kitchen, letting you know that Halloween snacking is just moments away!
Step 6: Cool and Serve
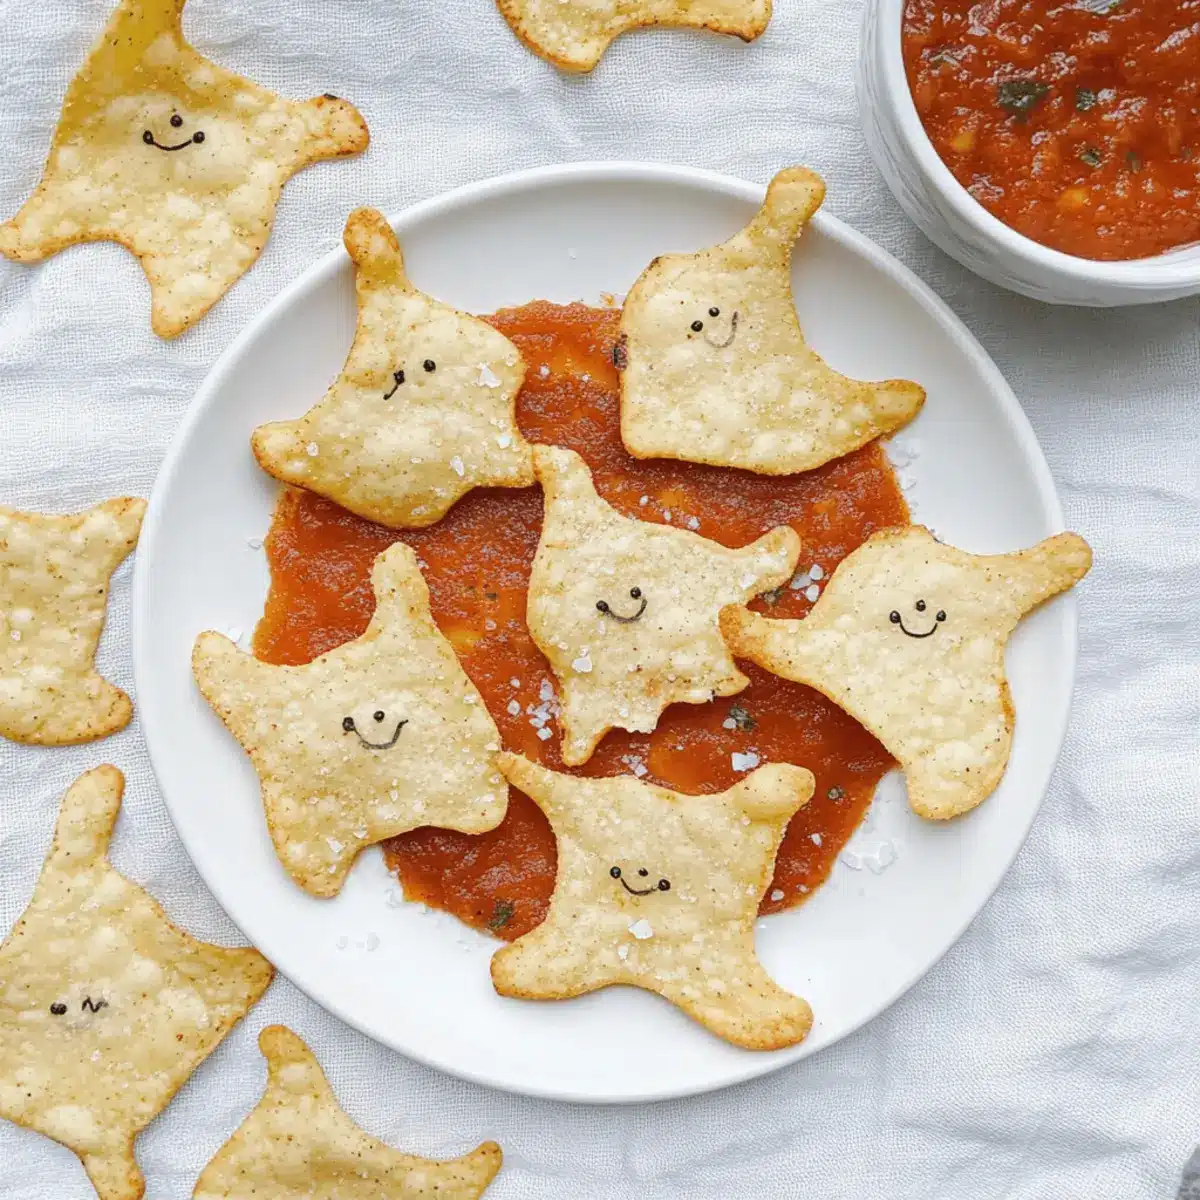
After baking, carefully remove the baking sheet from the oven and let the chips cool for a few moments. This cooling time is crucial, as it allows them to crisp up even more. Serve your delightful Spooky Baked Halloween Chips with a variety of dips, such as salsa or guacamole, for a festive touch to your Halloween celebrations!
How to Store and Freeze Spooky Baked Halloween Chips
Room Temperature: Store chips in an airtight container at room temperature for up to 1-2 days for the best crunch.
Fridge: Although not ideal, you can refrigerate the chips for up to 3 days. However, they may lose some crispiness.
Freezer: For longer storage, freeze the chips in a single layer on a baking sheet, then transfer to an airtight container for up to 1 month. Re-crisp in the oven before serving.
Reheating: To enjoy your Spooky Baked Halloween Chips again, reheat in the oven at 350°F (175°C) for about 5 minutes to restore their crunchiness.
Expert Tips for Spooky Baked Halloween Chips
-
Uniform Cutting: Ensure all tortilla shapes are cut the same size for even baking. This prevents some chips from burning while others remain soft.
-
Watch Closely: Keep an eye on the chips while they bake. They can go from perfectly golden to burnt in a matter of seconds, so timing is crucial!
-
Maximize Scraps: Don’t toss those leftover tortilla scraps! Bake them until golden for an extra snack or use them as decorative garnishes for your dishes.
-
Oil Evenly: Make sure each chip is evenly brushed with oil for a consistent crunch. Skipped spots can lead to uneven texture.
-
Flavor Variations: Feel free to sprinkle additional seasonings, like garlic powder or paprika, on your chips before baking to add a unique twist to your Spooky Baked Halloween Chips.
What to Serve with Easy Spooky Baked Halloween Chips
Get ready to create a delightful Halloween spread that will charm all your guests!
- Guacamole: A creamy and zesty dip that balances the crunchiness of the chips. Its smooth texture perfectly complements the fun ghost shapes.
- Salsa: Bright, tangy, and packed with flavor, a fresh salsa adds a refreshing kick that will elevate your Halloween gathering.
- Creamy Pumpkin Chili: This warm and hearty chili is a festive twist that pairs beautifully with the crunchy chips. The flavors of fall create a cozy dining experience.
- Queso Dip: Rich and cheesy, this dip is irresistible alongside the chips. The gooey texture is perfect for dipping, making it a crowd favorite!
- Roasted Veggies: Brighten the plate with a medley of roasted vegetables that bring a wholesome element to your Halloween party. Their earthy flavors balance the crispy treats.
- Spicy Hummus: This is a fun twist on a classic dip, offering heat that contrasts with the chips’ crunch. Pairing this bold dip keeps the Halloween fun alive!
- Apple Cider: For a refreshing drink, serve some chilled apple cider or even a spiced hot version to warm up your evening. The sweetness complements the savory chips perfectly.
- Pumpkin Spice Cupcakes: For dessert, include festive pumpkin spice cupcakes that bring a sweet, spiced finish to your spooky snacking! These cuties are a delightful treat to top off the evening.
Spooky Baked Halloween Chips Variations
Feel free to unleash your creativity and sprinkle in your personal touch!
-
Corn Tortillas: Swap flour tortillas for corn for a more traditional crunch; they can have a delightful flavor twist.
-
Herb-Infused Oil: Instead of regular oil, infuse it with herbs like rosemary or thyme for an aromatic upgrade. This will tantalize your taste buds!
-
Spicy Kick: Add a pinch of cayenne pepper or chili powder before baking to give your chips a thrilling heat. Spicy chips paired with cool guacamole? Pure bliss!
-
Cheesy Flavor: Sprinkle nutritional yeast or your favorite cheese blend on top of the oil-coated chips for a cheesy bite. It’s like Halloween magic in every crunchy morsel!
-
Shape Variety: Use different cookie cutter shapes for various holidays. Ghosts are festive, but how about hearts for Valentine’s Day or stars for New Year? Endless fun awaits!
-
Sweet & Savory Version: Brush the chips with a mix of cinnamon and sugar instead of salt for a sweet treat to enjoy with pumpkin dip. Who said chips can’t be dessert?
-
Nut-Free Option: Replace avocado oil with sunflower oil to ensure a safe and delicious snack for nut-free friends. Everyone can join in the Halloween fun!
-
Try Different Seasonings: Get adventurous with spices! Rattle your spice rack and try cumin or smoked paprika before baking for a flavorful twist. Each spoonful tells a story!
For more delicious ideas, consider making these along with my festive Halloween Chocolate Chip cookies for a dazzling treat spread!
Make Ahead Options
Make these Spooky Baked Halloween Chips ahead of time for a stress-free party snack! You can cut the tortillas into spooky shapes and store them covered in the refrigerator for up to 24 hours. This prep not only saves time but also ensures that you’re ready to bake whenever the festivities begin. When you’re ready to serve, simply brush the shapes with oil, sprinkle with salt, and bake them at 400°F (200°C) for about 5-7 minutes until crispy and golden. To maintain the chips’ freshness, store any leftovers in an airtight container at room temperature for 1-2 days. These chips will be just as delicious, making them a perfect time-saving option for busy home cooks!
Spooky Baked Halloween Chips Recipe FAQs
What kind of tortillas should I use for these chips?
For the best results, I recommend using gluten-free tortillas, like Mission or Siete. They serve as a sturdy base and ensure everyone can enjoy your Spooky Baked Halloween Chips without worry. If you prefer a different texture, corn tortillas can work as well, though they may yield slightly different results compared to flour tortillas.
How should I store leftover chips?
To keep your chips fresh and crunchy, store them in an airtight container at room temperature for up to 1-2 days. If you need to extend their life, placing them in the refrigerator is an option for about 3 days—though be mindful that they might lose some crispiness. Always let them cool completely before sealing them away to avoid sogginess!
Can I freeze Spooky Baked Halloween Chips?
Absolutely! For longer storage, place the cooled chips in a single layer on a baking sheet and freeze until solid. Then, transfer the chips to an airtight container or a freezer bag, where they’ll last up to 1 month. When you’re ready to enjoy them, simply re-crisp them in the oven at 350°F (175°C) for about 5 minutes!
What if my chips come out soggy?
If you find that your chips are soggy, it could be due to uneven oil application or not baking them long enough. Make sure to evenly brush or spray oil on each chip, and keep a close watch while they’re baking. Aim for a crispy and golden color—this indicates they’re done! If you’ve already baked them and they’re soft, try reheating them in the oven for a few minutes to restore that delightful crunch.
Are these chips pet-friendly?
While Spooky Baked Halloween Chips are made from safe ingredients for humans, it’s best to keep them from your pets, especially if you’ve added salt or oil. Dogs generally should not consume salty foods, and it’s always wise to consult a veterinarian if you’re unsure about any ingredients!
Can I customize these chips for other events?
The more, the merrier! Absolutely feel free to use different cookie cutter shapes for various holidays or celebrations—think hearts for Valentine’s Day or stars for a 4th of July celebration! You can also experiment with additional seasonings for different flavor profiles, making these chips versatile for year-round fun.
Crispy Spooky Baked Halloween Chips for Fun Festive Snacking
Ingredients
Equipment
Method
- Preheat the oven to 400°F (200°C) and line a baking sheet with parchment paper or a silicone mat.
- Use a ghost-shaped cookie cutter to cut fun shapes out of the gluten-free tortillas.
- Lightly brush or spray the shaped tortillas with avocado or olive oil.
- Generously sprinkle salt over the oiled tortillas.
- Bake in the preheated oven for about 5-7 minutes until crispy and lightly golden.
- Let the chips cool for a few moments before serving with dips like salsa or guacamole.
Leave a Reply