
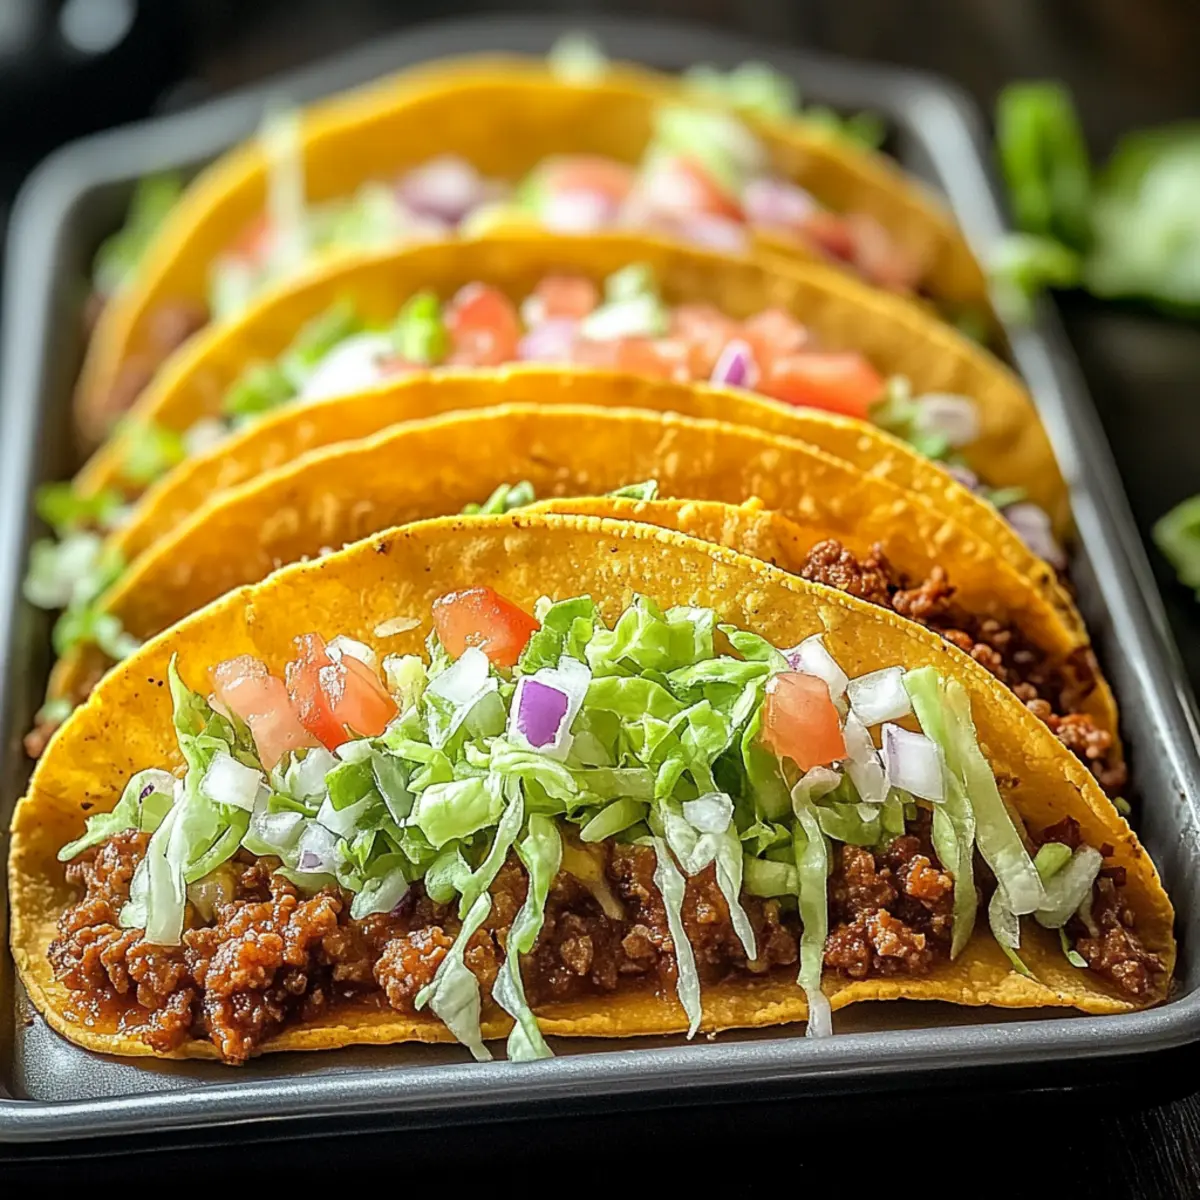
As I stood in my kitchen, the aroma of sizzling onions and seasoned beef filled the air, instantly transporting me to a cozy taco joint I frequented years ago. Today, I’m excited to share with you a recipe that captures that essence: Oven-Baked Cheesy Tacos! These delightful tacos are not just a hit for busy weeknight dinners but also a customizable comfort food that’s perfect for any gathering. With their crispy taco shells and gooey, melty cheese enveloping a flavor-packed filling, you can whip up this dish in just 35 minutes. Who wouldn’t want to savor that satisfying crunch and mouthwatering taste on their dinner table? Ready to dive into the world of deliciousness? Let’s get started!
Why are Oven-Baked Cheesy Tacos a Must-Try?
Quick and Easy: This recipe takes just 35 minutes from start to finish, making it perfect for those busy weeknights when time is of the essence.
Crispy and Delicious: The baking process ensures crispy taco shells that hold up beautifully against the gooey, melted cheese and savory filling.
Customizable Options: Whether you prefer ground beef, turkey, or veggie alternatives like black beans, you can easily adjust the recipe to suit your tastes.
Crowd-Pleasing Appeal: Perfect for family dinners or casual gatherings, these tacos are sure to impress even the pickiest eaters. Pair them with Cheesy Beef Potato for an extra hearty meal!
Gluten-Free Friendly: With easy substitutions, these tacos can easily cater to gluten-free diets, allowing everyone at the table to enjoy them without compromise.
Why wait? Let’s dive into making these irresistible Oven-Baked Cheesy Tacos that will surely become a favorite!
Oven-Baked Cheesy Tacos Ingredients
For the Filling
• Ground Beef – Main protein source providing essential flavor; substitute with ground turkey or chicken for a lighter option.
• Olive Oil – For sautéing onions and garlic, adding moisture and flavor; can use vegetable oil if preferred.
• Onion – Adds sweetness and depth; yellow or white onions work best, while green onions offer a milder flavor.
• Garlic – Provides aromatic flavors; minced garlic is preferred, but garlic powder works in a pinch.
• Taco Seasoning – Delivers essential spices for flavor; store-bought is convenient, but a homemade blend can elevate taste.
• Tomato Sauce – Adds juiciness to the filling; opt for salsa for an extra kick.
For Assembling
• Taco Shells – Holds the filling, baked to crispy perfection; choose corn for gluten-free options.
• Shredded Cheese – Melts beautifully on top for creaminess; cheddar, Monterey Jack, or a blend works well; vegan cheese can substitute for dairy-free versions.
For the Toppings
• Shredded Lettuce – Provides freshness and crunch; a must-have for that classic taco feel.
• Diced Tomatoes – Adds vibrant color and juiciness; fresh or canned work great!
• Cilantro – Introduces a burst of herbal flavor; adjust based on your preference for freshness.
• Sour Cream, Jalapeños, or Guacamole – Customize according to your taste; these additions take your Oven-Baked Cheesy Tacos to the next level!
Now you’re fully equipped with the ingredients to create a batch of these delightful Oven-Baked Cheesy Tacos that will leave everyone craving more!
Step‑by‑Step Instructions for Oven-Baked Cheesy Tacos
Step 1: Preheat the Oven
Begin by preheating your oven to 375°F (190°C). This essential step ensures that your Oven-Baked Cheesy Tacos will cook evenly, resulting in crispy taco shells and perfectly melted cheese. Use a reliable oven thermometer if you’re unsure about your oven’s calibration. While the oven warms up, you can gather your ingredients and prepare for the next steps.
Step 2: Sauté the Aromatics
In a skillet, heat 1 tablespoon of olive oil over medium heat. Once the oil shimmers, add 1 diced onion and 2 minced garlic cloves. Sauté these for about 2-3 minutes until they soften and become fragrant, creating a deliciously aromatic base for your taco filling. Stir occasionally to prevent burning while letting those flavors meld beautifully.
Step 3: Cook the Ground Beef
Add 1 pound of ground beef to the skillet, breaking it up as it cooks. Stir in your favorite taco seasoning and 1 cup of tomato sauce, mixing thoroughly. Allow the mixture to simmer for about 5 minutes, letting the flavors combine and the beef fully cook. You’ll know it’s ready when the beef is no longer pink, and the sauce is heated through.
Step 4: Prepare the Taco Shells
While your beef cooks, briefly warm your taco shells according to the package instructions. This will make them more pliable and enhance the crispiness when baked. Arrange the warmed taco shells in a greased baking dish, ensuring they stand upright to hold the filling securely once assembled.
Step 5: Assemble the Tacos
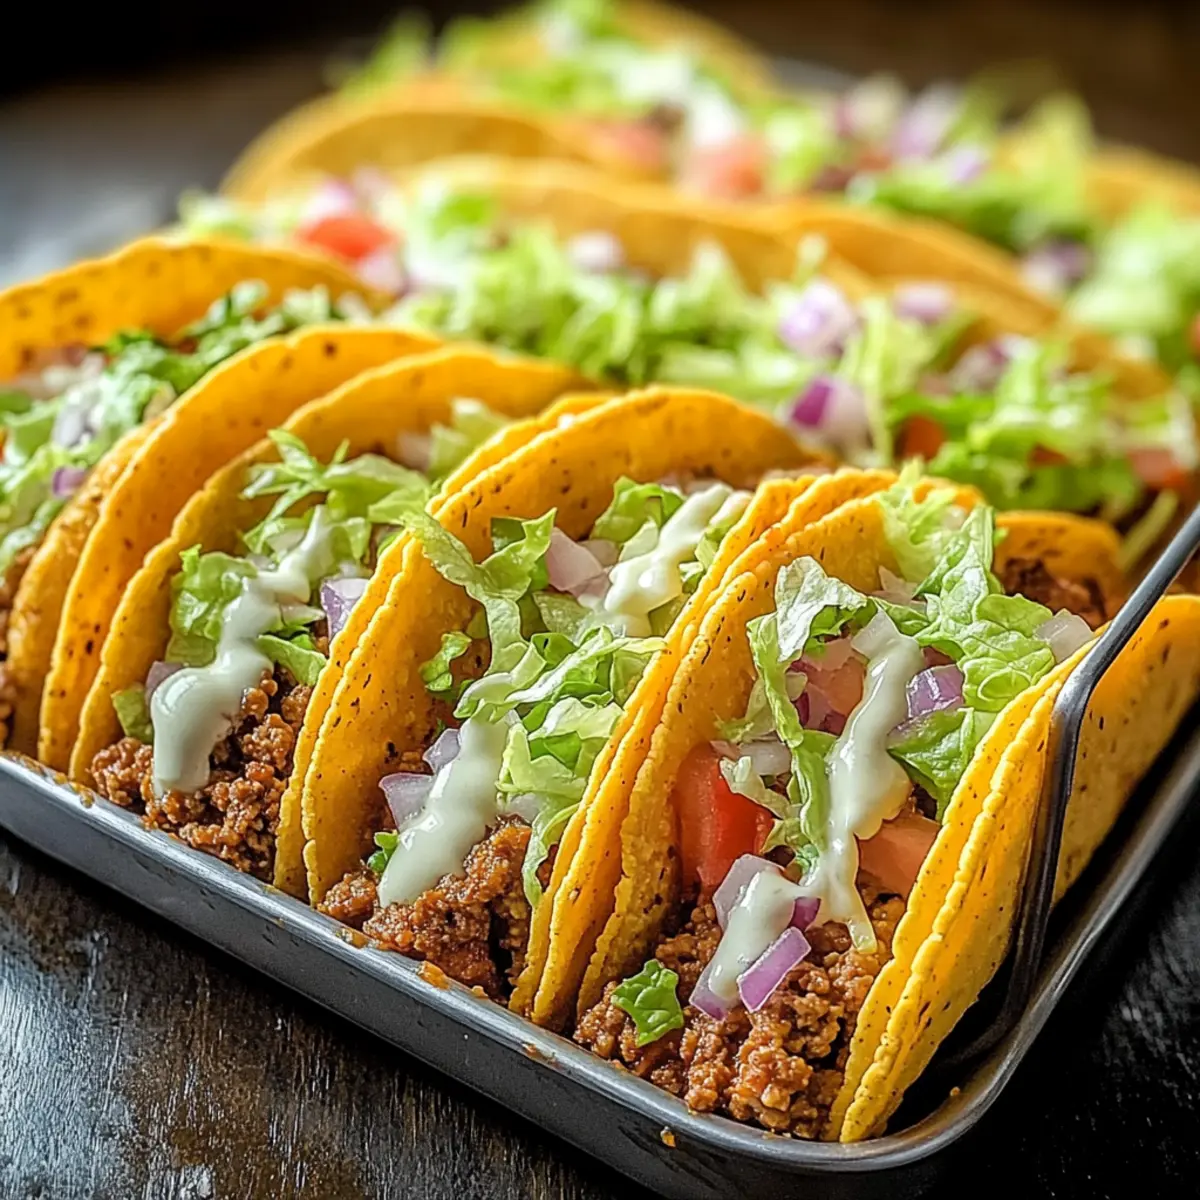
Carefully spoon the meat mixture into each taco shell, filling them generously for a hearty bite. Top each taco with shredded cheese, allowing the warmth from the filling to slightly melt it. Once filled, ensure the cheese is evenly distributed over the shells for that delightful gooeyness when baked, adding an inviting layer of flavor to your Oven-Baked Cheesy Tacos.
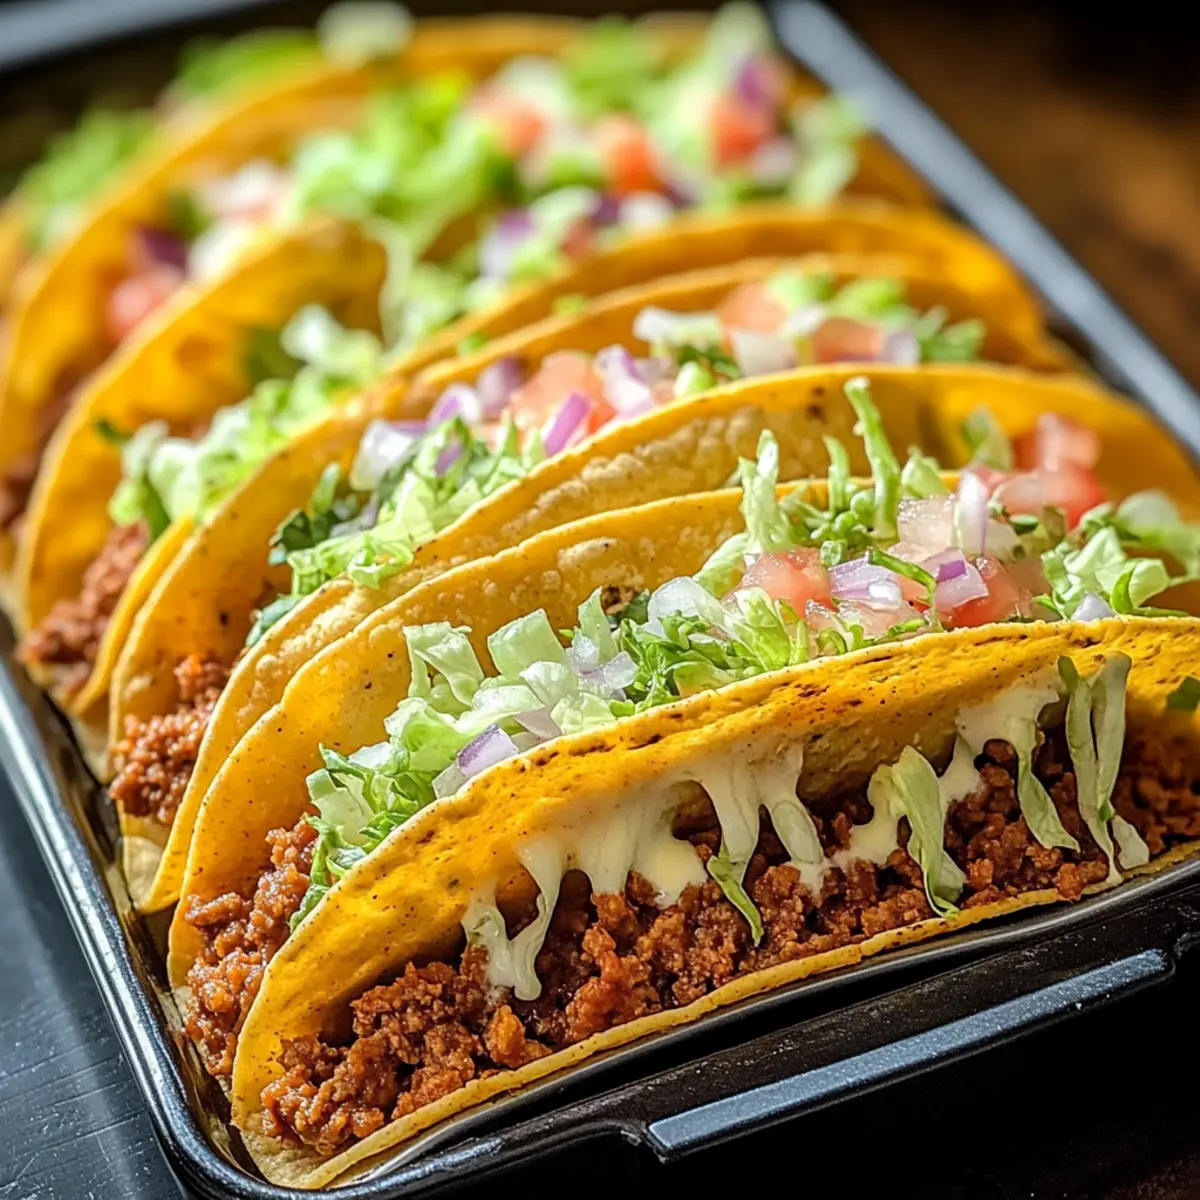
Step 6: Bake to Perfection
Place the baking dish in the preheated oven and bake for 10-15 minutes. Keep an eye on them; you’ll know they’re done when the cheese is bubbly and the taco shells are golden brown and crispy. This crucial step elevates the texture and flavor of your tacos, creating that satisfying crunch you crave.
Step 7: Add Fresh Toppings
After baking, carefully remove the tacos from the oven and let them sit for a minute to cool slightly. While warm, add your desired toppings such as shredded lettuce, diced tomatoes, cilantro, or a dollop of sour cream. Customize each taco to suit personal tastes, making your Oven-Baked Cheesy Tacos even more delectable and vibrant!
Expert Tips for Oven-Baked Cheesy Tacos
-
Preheat First: Always preheat your oven to avoid soggy taco shells; an evenly heated oven ensures the best texture.
-
Choose Your Fillings: Feel free to experiment with your filling. Ground turkey or black beans make tasty alternatives to ground beef while keeping it customizable.
-
Don’t Overfill: Be careful not to overstuff your taco shells, as this can lead to spillage while baking. Aim for a generous, yet manageable portion.
-
Check for Crispiness: Bake until the cheese is bubbly and the shells are golden brown. This ensures that you get that perfect crispy exterior everyone loves!
-
Make Ahead: For an easier weeknight dinner, assemble the tacos ahead of time and store them in the fridge, then bake fresh when you’re ready to eat.
-
Leftover Storage: Store any leftover tacos in an airtight container for up to 3-4 days. For best results, reheat in the oven to maintain their crispy texture.
Oven-Baked Cheesy Tacos Variations
Feel free to personalize your Oven-Baked Cheesy Tacos with these enticing variations that will awaken your taste buds!
-
Ground Turkey: Substitute ground beef with turkey for a leaner option that’s still packed with flavor. You’ll hardly notice the difference!
-
Black Bean Tacos: For a vegetarian twist, swap in black beans or lentils. They offer hearty texture and a delightful taste that even meat lovers will enjoy!
-
Spicy Kick: Add diced jalapeños to the filling or sprinkle them on top for an extra layer of heat. This twist adds a vibrant pop to each bite.
-
Cheese Blend: Use a mix of cheddar, Monterey Jack, or pepper jack for a more complex cheesy flavor. Experimenting with different cheeses opens a world of taste!
-
Corn Tortillas: Opt for corn tortillas instead of traditional taco shells for a gluten-free version that’s still crispy and satisfying. A simple switch makes a big impact!
-
Homemade Taco Seasoning: Instead of store-bought taco seasoning, try making your own with chili powder, cumin, and paprika to customize the spice level to your liking. It’s a game-changer!
-
Salsa Substitute: Swap marinara sauce with your favorite salsa for a zesty filling. The added flavor can brighten up the entire dish!
-
Fresh Veggie Toppings: Top your tacos with fresh pico de gallo or a zesty slaw for additional crunch. These toppings not only enhance flavor but also add color to your plate.
Your journey of delicious customization is just a recipe away! If you’re feeling adventurous, why not take a look at these mouthwatering dishes for more inspiration: Cheesy Buffalo Chicken or Smash Chicken Caesar Tacos? Enjoy your cooking adventure!
What to Serve with Oven-Baked Cheesy Tacos
Elevate your taco night by exploring these delightful side dishes and beverages that create a balanced and satisfying meal.
-
Mexican Rice: Fluffy and flavorful, this side complements the crunchy tacos perfectly with its mild spices and rich texture. A scoop of seasoned rice brings warmth and a comforting burst of flavor to the table.
-
Refried Beans: Creamy and hearty, these beans add a rich protein element to your meal. Their smooth texture pairs beautifully with the crispy tacos—perfect for dipping during every delicious bite!
-
Fresh Guacamole: Creamy avocado mixed with lime juice and spices adds a fresh twist to your tacos. This vibrant dip not only enhances the flavors but also adds a cooling effect against the savory meat.
-
Pico de Gallo: This fresh salsa, bursting with tomatoes, onions, and cilantro, adds a crisp, zesty element. The bright flavors enhance your meal, making each bite feel incredibly refreshing.
-
Crispy Tortilla Chips: Serve with salsa or queso for a crunchy appetizer. These chips encourage conversation and excitement at the beginning of your meal—a sure way to raise appetites before the main event!
-
Margaritas or Mexican Beer: Cheers to good times! A classic margarita or a cold Mexican beer complements the flavors of tacos exceptionally well. The drink’s acidity balances out the richness beautifully, making for a delightful pairing.
-
Churros: For dessert, these sweet, cinnamon-dusted treats create a happy ending to your meal. Their warm, crunchy texture contrasts nicely with a scoop of creamy ice cream, offering a delightful finish after those cheesy tacos!
By combining these delightful accompaniments, you’ll create an unforgettable taco night that appeals to everyone’s cravings!
Make Ahead Options
These Oven-Baked Cheesy Tacos are perfect for meal prep enthusiasts looking to save time on busy weeknights! You can prepare the filling (ground beef, onion, garlic, and seasonings) up to 3 days in advance; simply refrigerate it in an airtight container. Additionally, you can assemble the tacos in the baking dish and cover them with foil for up to 24 hours before baking. When you’re ready to serve, just preheat your oven and bake for 10-15 minutes until the cheese is bubbly and the shells are crispy. This method ensures that your tacos are just as delicious as if you made them fresh, allowing you to enjoy a flavorful dinner with minimal effort!
How to Store and Freeze Oven-Baked Cheesy Tacos
Fridge: Store any leftover Oven-Baked Cheesy Tacos in an airtight container for up to 3-4 days. This keeps them fresh while preserving their flavors.
Freezer: You can freeze assembled but unbaked tacos for up to 2 months. Just wrap them tightly in foil or use a freezer-safe container.
Reheating: For the best texture, reheat your tacos in the oven at 350°F (175°C) for about 10-15 minutes until heated through and crispy. Avoid using the microwave as it can make the shells soggy.
Make-Ahead: If planning to prepare ahead, you can assemble the tacos and keep them covered in the fridge to bake fresh when needed. This way, you can enjoy a delightful meal with minimal fuss!

Oven-Baked Cheesy Tacos Recipe FAQs
What type of ground meat can I use for Oven-Baked Cheesy Tacos?
Absolutely! While ground beef is the star of this dish, you can easily substitute it with ground turkey or chicken for a lighter option. If you’re looking for a vegetarian twist, black beans, lentils, or even finely chopped mushrooms are delicious alternatives.
How do I store leftover Oven-Baked Cheesy Tacos?
To keep your leftover Oven-Baked Cheesy Tacos fresh, place them in an airtight container and store them in the refrigerator for up to 3-4 days. This method preserves their flavors and texture, making it easy to enjoy leftovers any day of the week!
Can I freeze assembled tacos, and if so, how?
Yes, you can freeze assembled, unbaked Oven-Baked Cheesy Tacos! Simply wrap each taco tightly in aluminum foil or place them in a freezer-safe container. They can be stored in the freezer for up to 2 months. When you’re ready to enjoy, bake them straight from the freezer at 375°F (190°C) for an additional 5-10 minutes.
What should I do if my taco shells are soggy after baking?
To prevent soggy taco shells, ensure that you preheat your oven properly and keep an eye on the baking time. Baking until the cheese is bubbly and the shells are golden brown should provide the perfect crunch. Additionally, avoid overstuffing the taco shells, as this can lead to moisture build-up.
Are these Oven-Baked Cheesy Tacos suitable for gluten-free diets?
Very! You can easily adapt this recipe for gluten-free diets by using corn taco shells instead of flour ones. Just double-check the labels to ensure the taco shells are certified gluten-free. This way, everyone at the table can enjoy these delicious tacos without worry!
Oven-Baked Cheesy Tacos for a Crispy Weeknight Treat
Ingredients
Equipment
Method
- Preheat your oven to 375°F (190°C).
- Heat olive oil in a skillet over medium heat. Add diced onion and minced garlic. Sauté for 2-3 minutes until softened.
- Add ground beef, taco seasoning, and tomato sauce to the skillet. Cook for about 5 minutes until the beef is fully cooked.
- Warm taco shells according to package instructions and arrange in a greased baking dish.
- Fill each taco shell with the meat mixture and top with shredded cheese.
- Bake in the preheated oven for 10-15 minutes until the cheese is bubbly and the shells are golden brown.
- Remove from oven, add desired toppings, and serve warm.
Leave a Reply