
As I sift through my pantry searching for a satisfying snack, I stumble upon a humble bag of oats and a jar of peanut butter—my heroes for the day. That’s how my journey to create 4-Ingredient Crispy Chocolate Oat Cookies began. These cookies are not only gluten-free and quick to whip up, but they also bring a satisfying crunch with every bite, perfect for curbing those mid-afternoon cravings. With just four simple ingredients, they’re a delightful balance of indulgence and simplicity that will evoke fond memories of classic treats, yet with a healthier twist. Plus, they can be made in under 30 minutes, fitting seamlessly into even the busiest of days. Curious about how you can transform these pantry staples into a mouthwatering snack? Let’s dive into the delightful world of cookie-making!
Want a Quick, Guilt-Free Snack?
Simplicity at Its Best: With just four ingredients, you can whip up these delightful cookies in no time.
Crispy and Chewy: The perfect balance of crunchy edges and a chewy center makes each bite a joy.
Versatililty: Swap ingredients to fit your dietary needs—try using almond butter or a blend of gluten-free oats for incredible options!
Choco-Lover’s Dream: Loaded with rich chocolate chips, they satisfy sweet cravings without the guilt.
Perfect Anytime Treat: These cookies are not just snacks; they pair beautifully with coffee or a glass of almond milk for a delightful afternoon pick-me-up. Get ready to wow your taste buds with these quick delights!
Crispy Chocolate Oat Cookie Ingredients
• These simple yet satisfying cookies come together with just four ingredients!
For the Cookies
- Oats – They provide the essential base and texture; rolled oats yield the best chewiness.
- Peanut Butter – The binding agent that adds creaminess; try almond or sunflower seed butter for nut-free options.
- Honey or Maple Syrup – Sweetens the mixture while adding moisture; agave syrup works well for a vegan alternative.
- Chocolate Chips – Offer delightful bursts of chocolate; opt for dark chocolate for a deeper flavor, or dairy-free chips for a vegan cookie.
These ingredients are the heart of your crispy chocolate oat cookies, ensuring that every bite is bursting with flavor and texture!
Step‑by‑Step Instructions for 4-Ingredient Crispy Chocolate Oat Cookies
Step 1: Preheat the Oven
Begin by preheating your oven to 350°F (175°C). This is essential for achieving perfectly baked cookies with that delightful crispy edge. While waiting for the oven, line a baking sheet with parchment paper to prevent sticking and ensure easy clean-up later.
Step 2: Mix the Base Ingredients
In a medium mixing bowl, combine rolled oats, peanut butter, and your choice of honey or maple syrup. Use a sturdy spatula or spoon to mix thoroughly until the ingredients are fully integrated and form a sticky dough. This should take about 2-3 minutes, resulting in a smooth consistency with no dry pockets of oats left.
Step 3: Fold in the Chocolate Chips
Once your base mixture is ready, gently fold in the chocolate chips. Ensure that the chocolate is evenly distributed throughout the dough. This step is crucial for maximizing the delicious chocolate bursts in each cookie. Aim for a good mix, but be careful not to overwork the dough to maintain that ideal chewy cookie texture.
Step 4: Scoop the Cookie Dough
Using a tablespoon or a cookie scoop, portion out the dough onto the lined baking sheet. Leave about 2 inches of space between each scoop to allow room for spreading during baking. Depending on your size preference, you can adjust the amount you scoop, but try to keep them uniform for even cooking.
Step 5: Bake to Perfection
Place the baking sheet in the preheated oven and bake for 10-12 minutes. Keep an eye on your cookies; they should turn golden brown around the edges while the center remains slightly soft. This visual cue will help achieve that perfect crispy edge and chewy center that defines your 4-Ingredient Crispy Chocolate Oat Cookies.
Step 6: Cool and Enjoy
After baking, allow the cookies to cool on the baking sheet for 5 minutes. This helps them firm up before transferring them. Then, carefully move the cookies to a wire rack to cool completely. As they cool, their texture will become even more delightful, ready for you to enjoy this satisfying, guilt-free treat!
Storage Tips for 4-Ingredient Crispy Chocolate Oat Cookies
Room Temperature: Store cooled cookies in an airtight container at room temperature for up to 5 days to maintain their crispy texture and delicious flavor.
Fridge: If you prefer a longer shelf life, these cookies can be stored in the fridge for up to 1 week, but be sure to let them come to room temperature before enjoying them to regain some crunchiness.
Freezer: For extended storage, freeze the cookies in a single layer, then transfer to a zip-top bag or airtight container for up to 3 months. Thaw at room temperature before enjoying your delightful, guilt-free snack.
Reheating: To regain that fresh-out-of-the-oven warmth, briefly reheat cookies in the microwave for 10-15 seconds or in the oven at 350°F (175°C) for a few minutes. Enjoy your crispy chocolate oat cookies anytime!
Make Ahead Options
These 4-Ingredient Crispy Chocolate Oat Cookies are perfect for meal prep enthusiasts looking to save time during busy weeknights! You can prepare the cookie dough up to 24 hours in advance and store it in an airtight container in the refrigerator to maintain freshness. Simply scoop the portions onto your baking sheet as directed, and then refrigerate until you’re ready to bake. When it’s time to enjoy these delicious treats, preheat your oven and bake them straight from the fridge, adding an extra minute or two to the baking time if needed. This way, you’ll have homemade cookies just as delightful and satisfying with minimal effort!
What to Serve with 4-Ingredient Crispy Chocolate Oat Cookies
Indulge in the ultimate snack experience by pairing these delightful cookies with complementary flavors and textures that elevate your moment of enjoyment.
-
Creamy Almond Milk: A glass of chilled almond milk soothes the palate and balances the cookies’ rich chocolatey goodness.
-
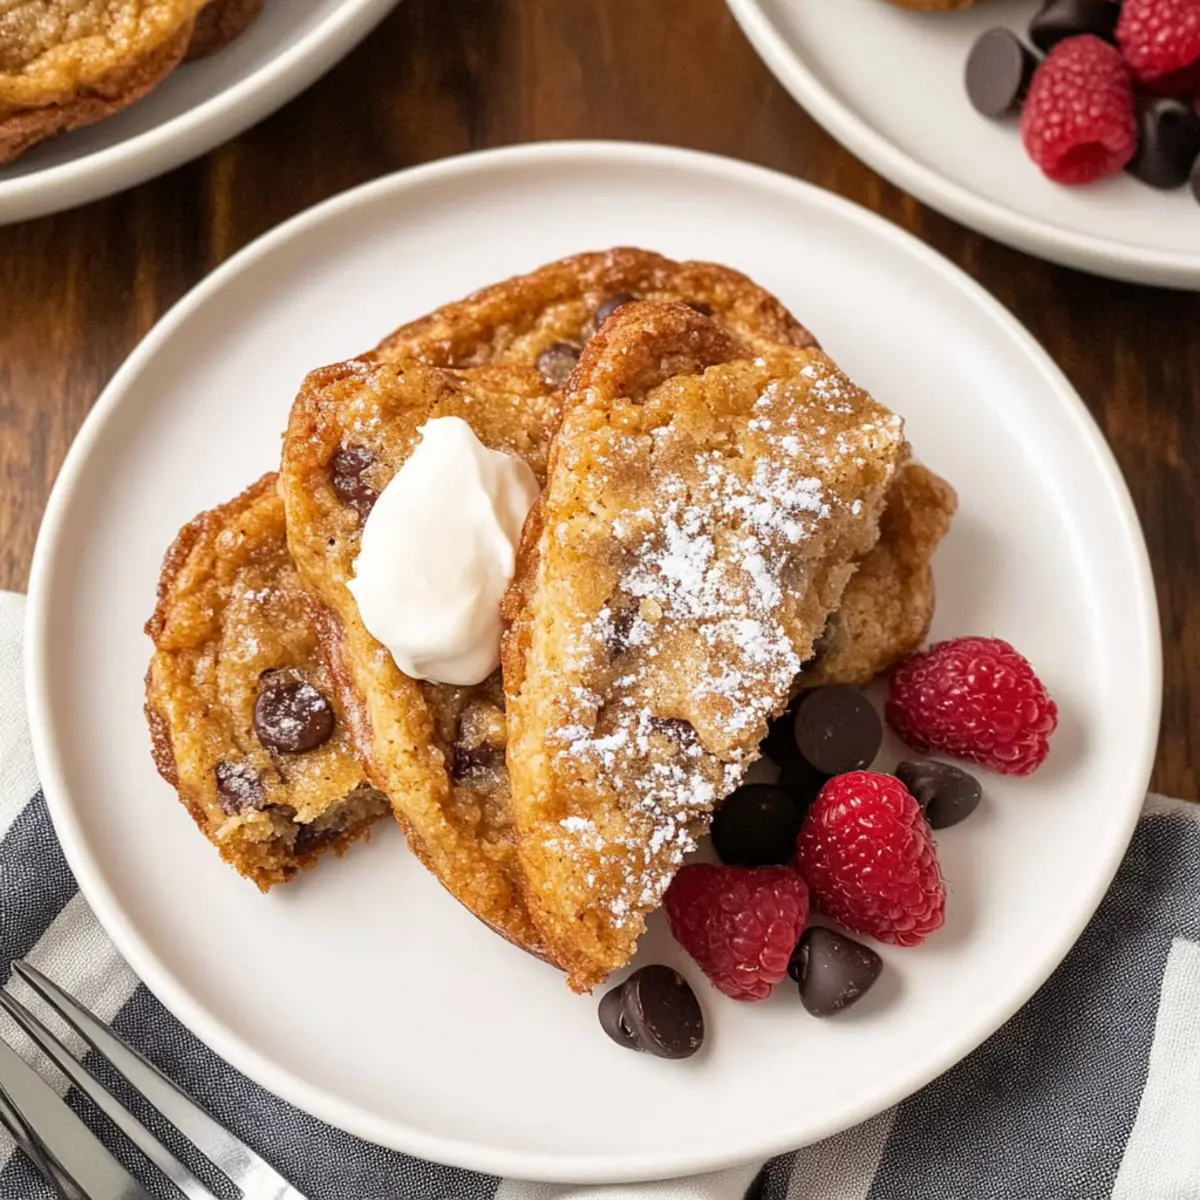
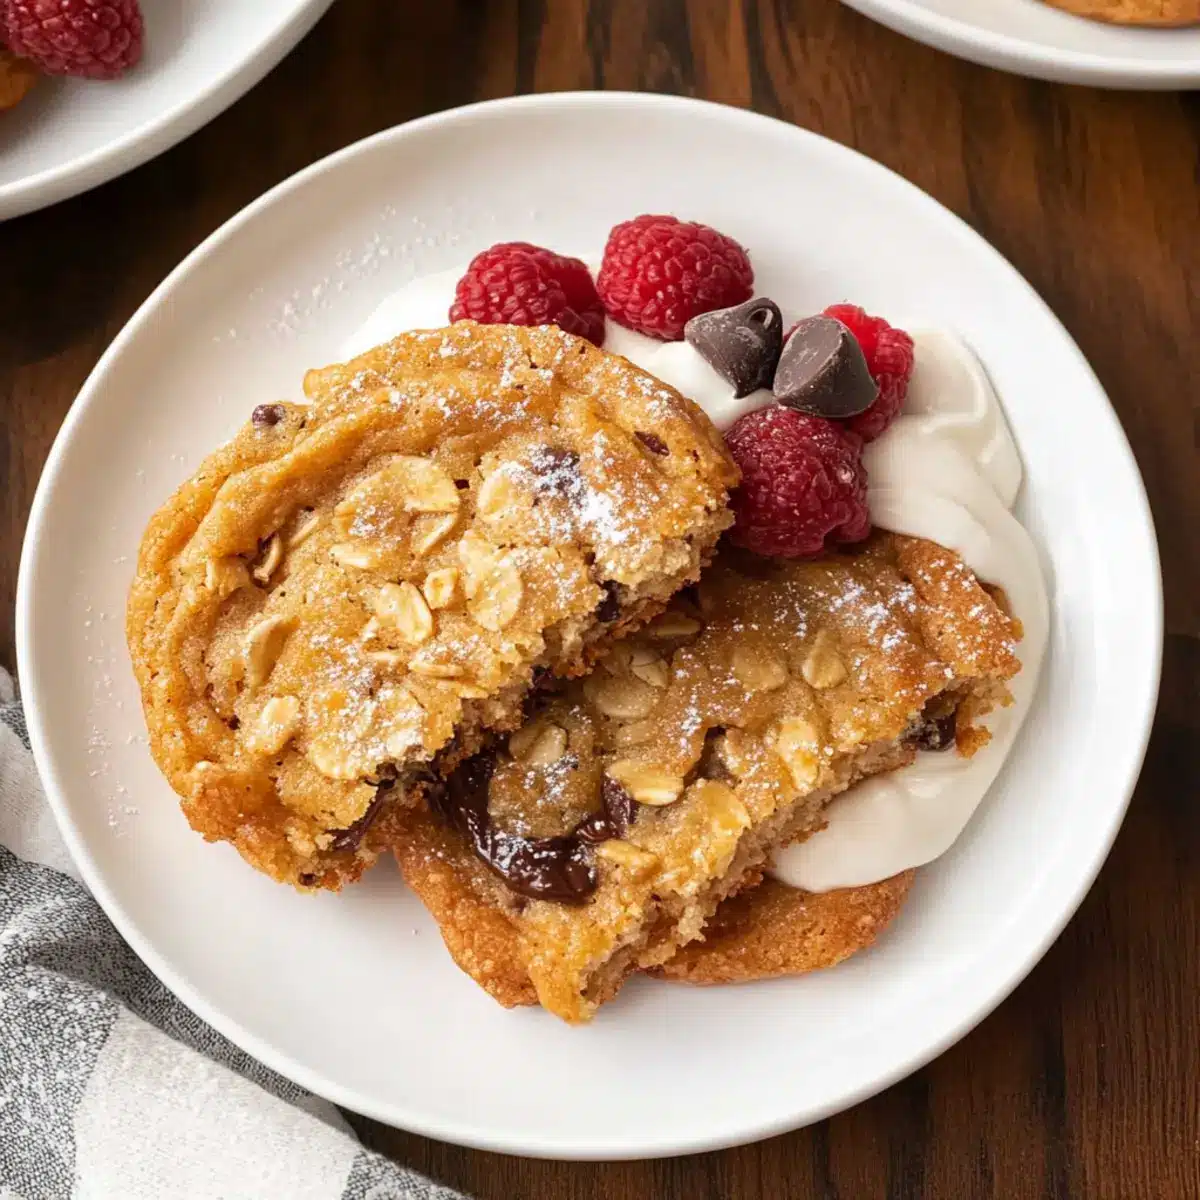
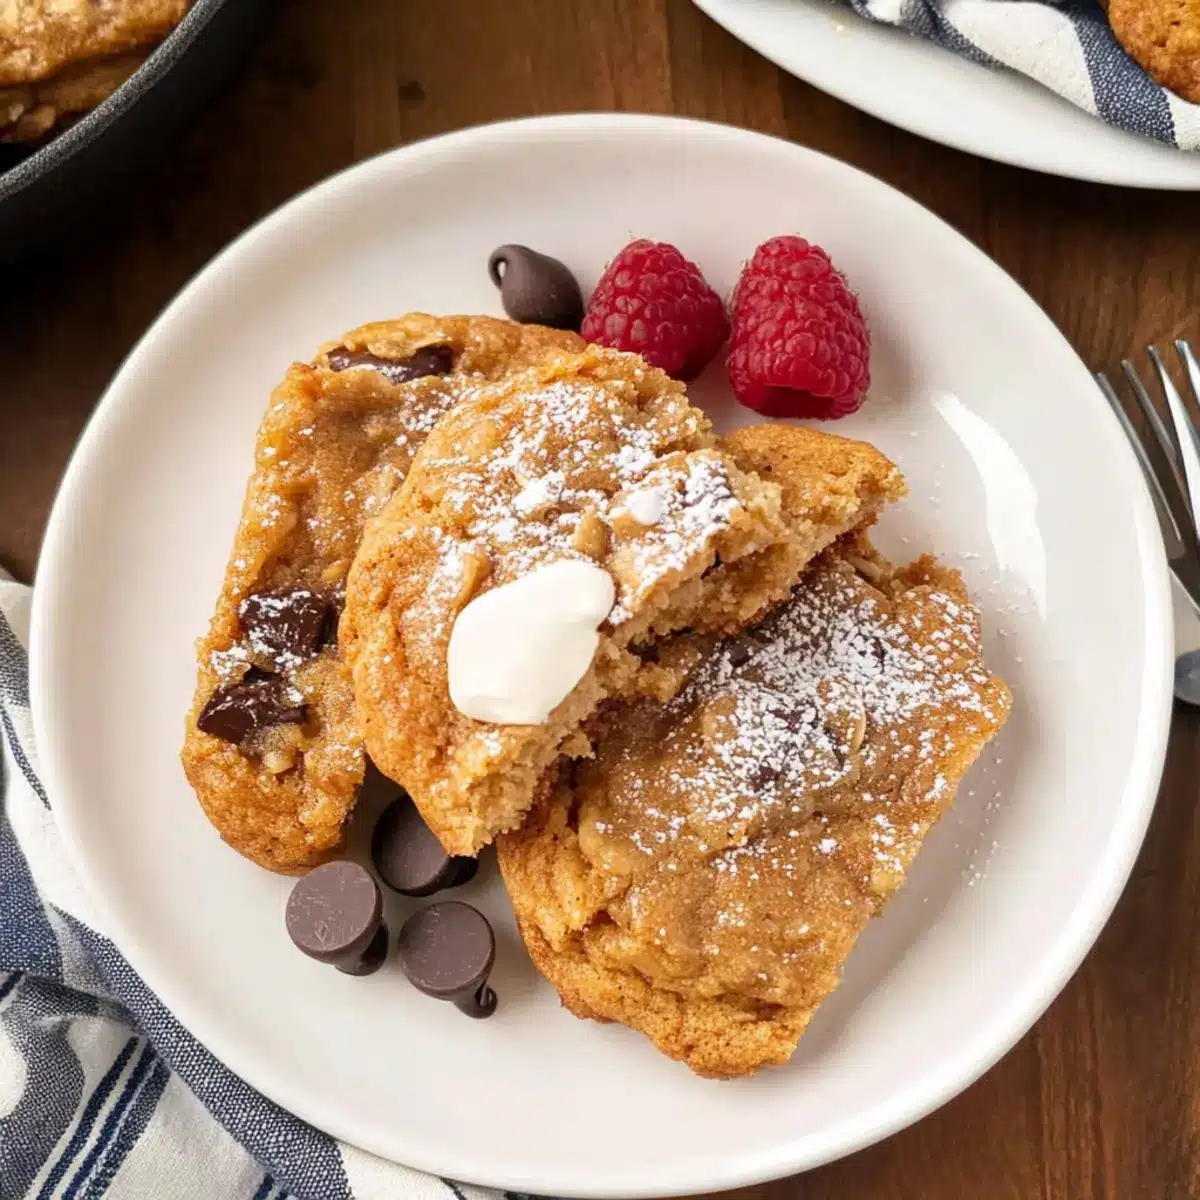
Fresh Berries: Juicy strawberries or raspberries add a burst of natural sweetness and refreshing acidity, enhancing the cookie’s flavors beautifully.
-
Nutty Granola: Sprinkle a handful of nutty granola on top for an extra crunch and a wholesome boost, making for a well-rounded snack.
-
Smooth Peanut Butter Dip: Pair with a small bowl of creamy peanut butter; it enhances the cookie’s peanut flavor while providing a velvety texture contrast.
-
Iced Coffee: A cold brew coffee adds a refreshing kick, bringing out the cookies’ cocoa notes while offering a delightful wake-up call in the afternoon.
-
Coconut Whipped Cream: For a touch of indulgence, top these cookies with light and airy coconut whipped cream for a tropical twist that feels like a treat.
-
Dark Chocolate Drizzle: A drizzle of melted dark chocolate on top amplifies the chocolate flavor and adds an elegant touch to presentation.
Tips for the Best Crispy Chocolate Oat Cookies
-
Perfectly Drippy Peanut Butter: Ensure your peanut butter is smooth and drippy to achieve the right cookie texture. Thick peanut butter can lead to a dry mixture.
-
Avoid Overbaking: To keep your cookies chewy, watch the baking time closely—removing them while still perhaps a bit soft in the center is key for that delightful balance.
-
Chill the Dough: Consider chilling the dough for 15 minutes before baking. This will help the cookies hold their shape while baking, ensuring a perfect outcome.
-
Uniform Sizes: For even baking, scoop uniform tablespoon-sized portions. This ensures that all cookies bake at the same rate, allowing each one to achieve that crispy edge!
-
Explore Ingredient Swaps: Feel free to experiment with variations, like using gluten-free oats or different nut butters, fitting your dietary needs and preferences while keeping the core elements intact.
Vegan French Toast Variations & Substitutions
Feel free to play around and make these delightful cookies truly your own!
- Nut-Free: Substitute peanut butter with sunflower seed butter for a delicious, nut-free alternative without compromising on flavor.
- Sweetener Swap: Using agave syrup instead of honey or maple syrup offers a vegan-friendly touch that sweetens beautifully. This allows you to cater to different dietary preferences without sacrificing taste.
- Chocolate Lovers: Mix in cocoa powder with the dough for an extra chocolatey burst, enhancing the cookie’s rich flavor. Each bite will be a celebration of chocolate goodness you won’t want to miss!
- Flavor Boost: Add a splash of vanilla extract to the mixture for an aroma that captivates the senses, making every cookie feel like a warm hug.
- Textured Delight: Incorporate in some chopped nuts like almonds or pecans for a crunchy texture that contrasts beautifully with the soft cookie center. They add a delightful surprise in each bite, elevating your simple cookie to gourmet status!
- Spiced Up: Sprinkle a dash of cinnamon or nutmeg into the mix for a warm, cozy flavor that evokes childhood baking memories. You’ll be left with cookies that not only taste amazing but also make your home smell heavenly.
- Oat Variation: Try using a mix of oats and quinoa flakes for a unique texture and added nutrition that leaves you feeling satisfied. This twist provides a wonderful crunch while still sticking to the health-conscious theme.
- Dairy-Free Delights: If you want to keep everything dairy-free, opt for dairy-free chocolate chips to ensure your cookies align perfectly with a vegan palette. These small changes go a long way in creating a treat everyone can enjoy.
For an irresistible pairing, enjoy your cookies with a refreshing glass of almond milk or alongside a slice of Pumpkin French Toast for a delightful breakfast spread!
4-Ingredient Crispy Chocolate Oat Cookies Recipe FAQs
How do I select the right oats for this recipe?
Absolutely! For the best texture, use rolled oats, as they provide a delightful chewiness. Avoid instant oats; they can lead to a mushy cookie. If you’re looking for a gluten-free option, make sure your oats are certified gluten-free!
What’s the best way to store these cookies?
Very simple! Store the cooled cookies in an airtight container at room temperature for up to 5 days. For longer storage, you can keep them in the fridge for up to 1 week. Just remember to let them sit out for a few minutes before enjoying; this helps regain their crunch!
Can I freeze these cookies?
You bet! To freeze, first lay the cookies in a single layer on a baking sheet, allowing them to freeze for about 30 minutes. Then, transfer them to a zip-top bag or airtight container, where they can last for up to 3 months. When you’re ready to enjoy, simply thaw them at room temperature.
What if my cookie dough is too dry?
No worries! If your dough feels crumbly, it’s likely due to using thick peanut butter. Try adding a splash of almond milk or an extra drizzle of honey or maple syrup. Mix well until the dough comes together; it should feel sticky but manageable. If in doubt, a little extra moisture goes a long way!
Can my pets eat these cookies?
While the ingredients are relatively safe, it’s best to avoid giving these cookies to pets, especially due to the peanut butter. Some dogs can have sensitivities or allergies to nuts. Always consult your veterinarian if unsure about introducing new foods to your pet’s diet!
What are some healthy substitutions I can make?
The more the merrier! To make these cookies even healthier, consider using sunflower seed butter instead of peanut butter for a nut-free alternative. You can also replace honey or maple syrup with agave syrup for a vegan option, and add in chia seeds or flaxseeds for an extra boost of nutrients without altering the flavor!

Epic Vegan French Toast that Will Wow Your Mornings
Ingredients
Equipment
Method
- Preheat your oven to 350°F (175°C) and line a baking sheet with parchment paper.
- In a medium mixing bowl, combine the rolled oats, peanut butter, and honey or maple syrup until a sticky dough forms.
- Gently fold in the chocolate chips to ensure even distribution.
- Scoop the dough onto the prepared baking sheet, leaving 2 inches of space between each scoop.
- Bake for 10-12 minutes until golden brown around the edges.
- Cool on the baking sheet for 5 minutes before transferring to a wire rack to cool completely.
Leave a Reply