
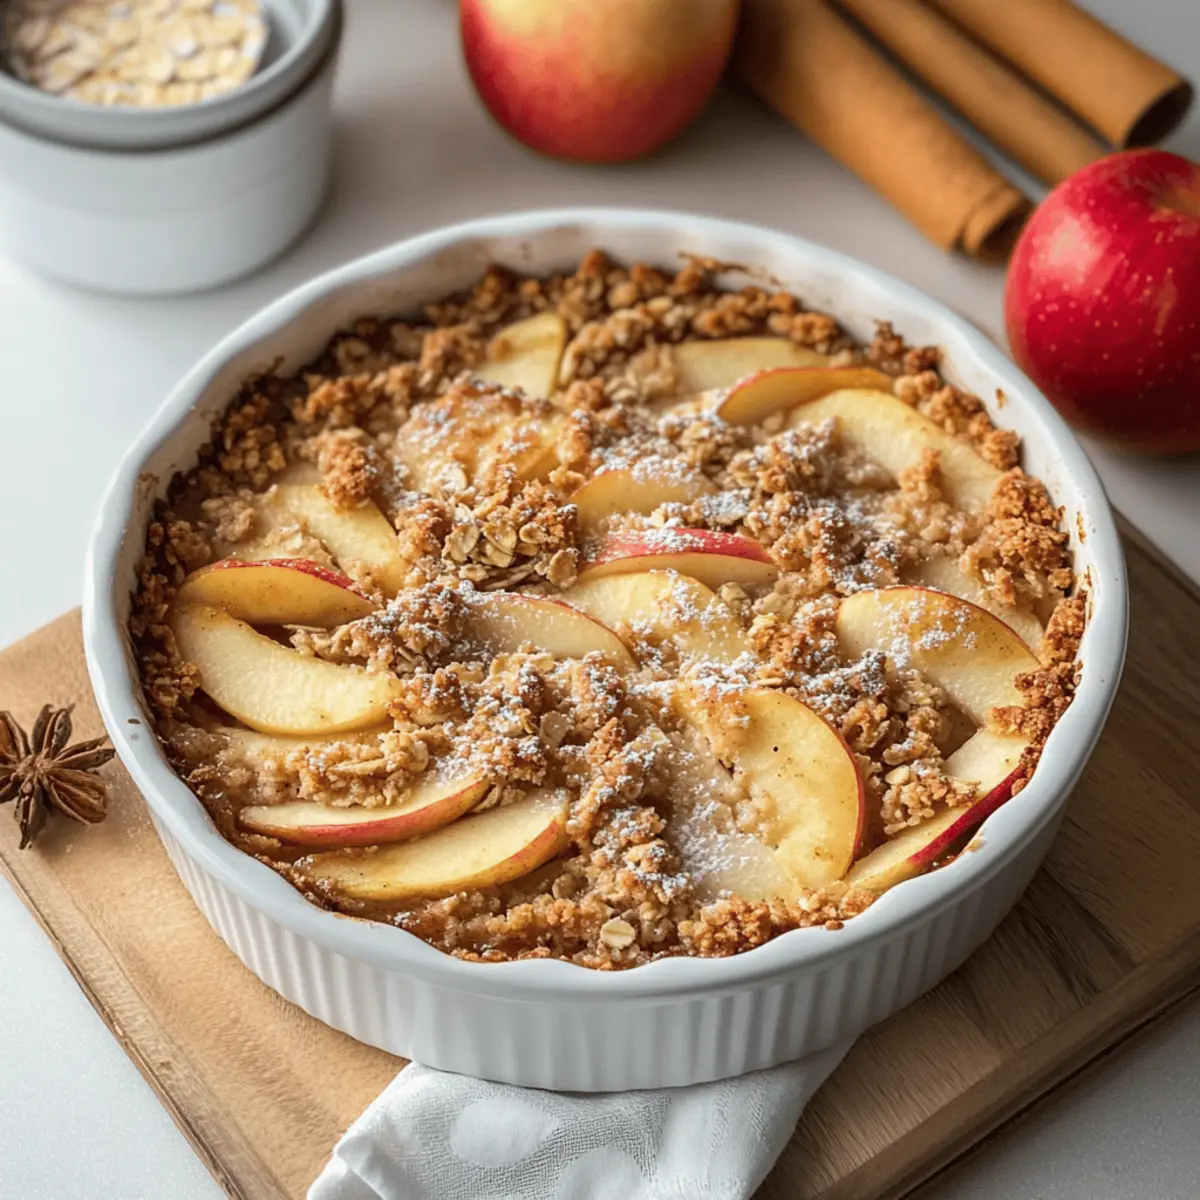
As I walked through the apple orchard, the fragrant scent of ripe, tart apples wafted through the air, beckoning me to create something delicious. This Easy Apple Crisp with Oats captures that essence perfectly—a warm hug of comfort on a plate. With minimal effort and ingredients, this delightful fall dessert is not only a breeze to whip up but also a crowd-pleaser that will have your loved ones asking for seconds. The combination of tender, spiced apples topped with a crunchy, buttery oat crumble is simply irresistible. Plus, it’s adaptable for whatever apples you have on hand, making it a versatile treat for any occasion. Are you ready to dive into this warm, cozy dessert that promises to fill your home with mouthwatering aromas? Let’s get baking!
Why is This Apple Crisp So Appealing?
Simplicity at its core: With just a handful of ingredients, crafting this dessert is a breeze, perfect for busy weeknights or last-minute gatherings. Irresistible flavor: The combination of sweet, spiced apples and a crunchy oats topping creates an explosion of taste that’s sure to please everyone at the table. Versatility reigns supreme: Use any mix of apples you have, or even try adding nuts for an extra twist. Make-ahead magic: Prepare it the night before and bake right before serving, saving you precious time. Plus, pair it with a scoop of vanilla ice cream for an indulgent treat that’ll leave everyone wanting more!
Easy Apple Crisp with Oats Ingredients
• Here’s everything you need to make this delightful fall dessert!
For the Filling
- Apples – A mix of tart-sweet apples like Granny Smith and Honeycrisp adds depth to the flavor.
- Brown Sugar – Enhances sweetness and caramelizes, creating a rich, melty filling.
- Cinnamon – This warm spice complements the apples beautifully, adding that cozy fall aroma.
For the Topping
- Oats – Essential for that crunchy texture that contrasts wonderfully with the soft apples.
- Butter – Use cold, unsalted butter for the best crumble texture; melted butter will not achieve the same effect.
- Flour – Binds the topping and helps create that perfect crispiness.
- Salt – Just a pinch highlights the flavors and balances out the sweetness.
Enjoy whipping up your Easy Apple Crisp with Oats with these specially selected ingredients!
Step‑by‑Step Instructions for Easy Apple Crisp with Oats
Step 1: Preheat the Oven
Begin by preheating your oven to 350°F (175°C). This ensures that your Easy Apple Crisp with Oats bakes evenly and reaches that perfect golden-brown color. Grab a baking dish (like a 9×13 inch) and have it ready for the apple mixture, allowing for efficient assembly once your ingredients are prepped.
Step 2: Prepare the Apples
Next, wash and peel (if desired) your apples, cutting them into thin slices. In a large mixing bowl, combine the sliced apples with brown sugar and cinnamon. Toss them well to coat and let their juices mingle for about 5 minutes, creating a warm aromatic base for the filling.
Step 3: Make the Topping
In another bowl, blend oats, flour, brown sugar, and a pinch of salt together for the oat topping. Mix thoroughly to combine all the dry ingredients, ensuring a delightful crunch. The oats will provide texture, while the flour will help bind the mixture, culminating in the perfect crumble for your Easy Apple Crisp with Oats.
Step 4: Cut in the Butter
Now, take your cold, unsalted butter, and cut it into small pieces. Add these to the oatmeal mixture, using a pastry cutter or your fingers to work the butter into the dry ingredients. Continue until the mixture resembles coarse crumbs—this step is crucial for achieving that crunchy topping we all love.
Step 5: Assemble in the Baking Dish
Layer the coated apple mixture into the prepared baking dish, spreading it evenly across the bottom. Then, generously sprinkle the oat topping over the apples, ensuring good coverage. The contrasting layers of soft apples and crunchy crumble will create a comforting texture that’s essential to the Easy Apple Crisp with Oats.
Step 6: Bake to Perfection
Place the assembled dish in the preheated oven and bake for about 45 minutes. Keep an eye on it; you’re looking for the topping to turn a beautiful golden brown and the filling to start bubbling around the edges. These visual cues indicate your dessert is nearing readiness.
Step 7: Cool Before Serving
Once baked, remove your Easy Apple Crisp with Oats from the oven and set it aside to cool for 15–20 minutes. This waiting time allows the filling to set, making it easier to serve. The warm, comforting aroma in your kitchen will surely entice everyone to gather around for a taste!

What to Serve with Easy Apple Crisp with Oats
Create a cozy fall meal by pairing this delightful dessert with some complementary dishes.
- Vanilla Ice Cream: A scoop of creamy vanilla ice cream melting over warm apple crisp creates a heavenly contrast of temperatures.
- Whipped Cream: Light, fluffy whipped cream is a classic topping that adds an airy texture to balance the rich flavors.
- Cinnamon Sugar Toast: Crunchy toast with a sprinkle of cinnamon sugar enhances the spiced notes of the apple crisp, offering a delightful crunch.
- Fresh Fall Salad: A crisp salad with mixed greens, walnuts, and apple slices brings freshness to the meal, cutting through the sweetness.
- Caramel Sauce: Drizzling warm caramel sauce over the apple crisp introduces a luscious layer of flavor, enhancing its comforting appeal.
- Chai Spiced Tea: A warm cup of chai tea, with its comforting spices, pairs beautifully, echoing the flavors found in the apple crisp.
- Hot Apple Cider: Sweet and spiced hot apple cider is the perfect drink to accompany your dessert, amplifying that cozy autumn feel.
- Pecan Pie: For a sweet treat with similar flavors, pair with a slice of pecan pie, adding another layer of fall indulgence to your meal.
- Cheese Platter: A selection of sharp cheeses adds a savory contrast, enriching the dessert experience with varying textures and flavors.
Make Ahead Options
These Easy Apple Crisp with Oats are perfect for busy home cooks looking to save time! You can prepare the apple filling and topping up to 24 hours in advance. Simply slice the apples and toss them with brown sugar and cinnamon, then store them in an airtight container in the refrigerator. For the topping, mix the oats, flour, brown sugar, and salt, and keep it in a separate container. When you’re ready to bake, layer the cold apple mixture in a baking dish, sprinkle the topping over it, and bake straight from the fridge, adding a few minutes to the baking time. This way, your dessert will be just as delicious and satisfying with minimal last-minute effort!
Expert Tips for Easy Apple Crisp with Oats
-
Choose the Right Apples: Opt for a mix of tart and sweet apples like Granny Smith and Honeycrisp for the best flavor contrast. Avoid Red Delicious, as they tend to turn mushy.
-
Cold Butter is Key: Ensure your butter is cold when cutting it into the topping mixture; melted butter will yield a soggy crumble instead of the desired crispy texture in your Easy Apple Crisp with Oats.
-
Don’t Skip the Salt: A pinch of salt in the topping enhances all the flavors and balances the sweetness, making your dessert even more delightful.
-
Layer Smartly: Distribute the apple mixture evenly and ensure the oat topping covers all apples for consistent cooking and that beloved crunchy topping in every bite.
-
Bake until Bubbling: Look for bubbling around the edges and a golden brown topping; these signals indicate your Easy Apple Crisp with Oats is ready, ensuring a deliciously warm dessert.
Easy Apple Crisp with Oats Variations
Feel free to personalize this comforting dessert with these fun twists and adaptations that will delight your taste buds!
- Nutty Crunch: Add chopped walnuts or pecans to the topping mix for an extra layer of texture and flavor.
- Berry Blend: Toss in some fresh or frozen berries, like blueberries or raspberries, along with the apples for a delightful fruity twist.
- Spiced Up: Experiment with spices by adding nutmeg or ginger to the apple filling for a warm, aromatic kick.
- Gluten-Free: Swap in almond flour for the regular flour and use certified gluten-free oats for a delicious gluten-free treat!
- Coconut Delight: Mix in shredded coconut into the topping for a tropical flavor that complements the warmth of the apples beautifully.
- Caramel Drizzle: Serve with a drizzle of caramel sauce on top for a decadent finishing touch that brings a sweet surprise.
- Dairy-Free: Use coconut oil or a dairy-free butter substitute in place of regular butter for a tasty, dairy-free alternative.
- Ice Cream Time: Top each serving with a scoop of creamy vanilla ice cream or a dollop of whipped cream for that classic dessert experience.
Each variation opens up new possibilities for warmth and comfort, making your Easy Apple Crisp with Oats a fantastic fall dessert option! And if you’re looking for other apple-inspired treats, check out my delightful Apple Cider Whoopie cookies or the ever-so-satisfying Apple Crumb Cake.
Storage Tips for Easy Apple Crisp with Oats
Room Temperature: Enjoy the Easy Apple Crisp with Oats within 2 hours of baking for the best taste and texture. If left out longer, it’s best to refrigerate.
Fridge: Store any leftovers in an airtight container in the fridge for up to 3 days. Reheat individual portions in the microwave, warming for about 30–60 seconds, or until heated through.
Freezer: You can freeze the unbaked Easy Apple Crisp with Oats for up to 3 months. Assemble in a freezer-safe dish, cover tightly with foil, and bake from frozen, adding an extra 10–15 minutes.
Reheating: When reheating leftovers, cover with foil to prevent the topping from over-browning while allowing the filling to warm thoroughly; bake at 350°F (175°C) for about 20 minutes.
Easy Apple Crisp with Oats Recipe FAQs
What kind of apples should I use for this recipe?
I recommend a mix of tart-sweet apples like Granny Smith for tang and Honeycrisp or Fuji for sweetness. This blend creates the perfect balance of flavor. Avoid using Red Delicious apples, as they can become overly mushy when baked.
How should I store leftovers from my Easy Apple Crisp with Oats?
Store any leftovers in an airtight container in the fridge for up to 3 days. When ready to enjoy, simply reheat individual portions in the microwave for about 30–60 seconds, or until they’re warmed through.
Can I freeze my Easy Apple Crisp with Oats?
Absolutely! You can freeze the unbaked crisp for up to 3 months. Assemble it in a freezer-safe dish and cover it tightly with foil. When you’re ready to bake, no need to thaw—just pop it in the oven straight from the freezer, adding an extra 10–15 minutes to the baking time.
What should I do if my filling is watery?
To prevent a watery filling, ensure the topping is golden brown and that the filling is bubbling around the edges before taking it out of the oven. If you notice excess moisture, you can also mix in a tablespoon or two of cornstarch with the sugar and spices when preparing the apple mixture as a thickening agent.
Is this recipe suitable for my gluten-free friends?
To make your Easy Apple Crisp with Oats gluten-free, simply substitute regular flour with a gluten-free blend. Additionally, ensure that your oats are certified gluten-free, as some can be cross-contaminated with gluten during processing.
How long can I keep the cooked Easy Apple Crisp with Oats?
Enjoy the Best apple crisp within 2 hours of baking for optimal flavor and texture. If you have leftovers, store them in the fridge, as mentioned earlier, but they’re best enjoyed fresher!

Easy Apple Crisp with Oats: Your Cozy Fall Favorite
Ingredients
Equipment
Method
- Preheat your oven to 350°F (175°C) and prepare a baking dish.
- Wash and peel your apples, then cut them into thin slices. Combine with brown sugar and cinnamon.
- Blend oats, flour, brown sugar, and salt in another bowl.
- Cut the cold butter into small pieces and work it into the dry ingredients.
- Layer the coated apple mixture in the baking dish and sprinkle the oat topping over it.
- Bake for about 45 minutes until golden brown and bubbly.
- Cool for 15–20 minutes before serving.
Leave a Reply