
The delightful aroma of freshly baked bread swirls through my kitchen like a warm hug, evoking memories of family gatherings and shared meals. Today, I’m excited to share my recipe for Garlic Parmesan Herb Bread, a culinary gem that’s not just easy to make but transforms everyday dinners into something special. This vegetarian delight is perfect for busy evenings when you crave comfort without sacrificing flavor. In just over an hour, you’ll have two golden loaves brimming with the rich essence of garlic and savory parmesan, ready to impress your loved ones or simply to enjoy on your own. So, what are you waiting for? Let’s dive into this heartfelt baking adventure and create something delicious together!
Why is Garlic Parmesan Bread a Must-Make?
Irresistible Aroma: The moment you mix garlic and herbs, your kitchen will fill with mouthwatering scents that entice everyone in your home.
Quick and Easy: This recipe requires minimal effort and only about an hour for both preparation and baking, allowing you to enjoy homemade goodness without the fuss.
Deliciously Versatile: Pair this bread with soups, salads, or enjoy it with a generous spread of butter. You can also experiment with different cheeses like mozzarella or add herbs for personalized flair!
Crowd-Pleasing: Perfect for gatherings or family dinners, this bread is guaranteed to impress and delight your guests while offering a comforting touch to any meal.
Make-Ahead Wonder: Prepare the dough in advance and refrigerate overnight for easy baking the next day—ideal for busy schedules. If you’re a fan of delectable baked treats, consider trying Chocolate Zucchini Bread or even Cream Cheese Bread for even more variety!
Garlic Parmesan Herb Bread Ingredients
For the Dough
- Warm Water – Activates yeast and hydrates flour; use between 100-110°F (38-43°C) for optimal results.
- Granulated Sugar – Feeds the yeast for better rise; honey can be a delightful natural substitute.
- Instant Dry Yeast – A leavening agent that helps the bread rise quickly; fresh yeast can work in a pinch with some adjustments.
- Salt – Enhances flavor and strengthens dough structure; opt for sea salt if you prefer.
- Minced Garlic – Provides robust flavor; fresh garlic is ideal, but garlic powder can serve in a hurry.
- Dried Herbs (such as basil or oregano) – Adds aromatic complexity; consider fresh herbs at three times the quantity for a fresher taste.
- All-Purpose Flour – Creates the bread structure; whole wheat flour can substitute but may need more hydration.
- Grated Parmesan Cheese – Infuses a savory richness; swap with mozzarella for a milder flavor.
- Melted Butter – Used for brushing loaves pre-baking to achieve a golden finish; olive oil is a wholesome alternative.
Step‑by‑Step Instructions for Garlic Parmesan Herb Bread
Step 1: Activate Yeast
In a small bowl, combine 1 cup of warm water (between 100-110°F) with 1 tablespoon of granulated sugar and 2 teaspoons of instant dry yeast. Stir gently and let the mixture sit for about 5 minutes until it becomes frothy, signaling that the yeast is activated. This is a crucial first step for your Garlic Parmesan Herb Bread.
Step 2: Mix Dough
Once the yeast mixture is ready, add 1 teaspoon of salt, 2 tablespoons of minced garlic, and 1 tablespoon of your choice of dried herbs. Gradually mix in 2 cups of all-purpose flour and 1 cup of grated parmesan cheese until the dough begins to form and becomes sticky. This mix is the foundation for your flavorful bread.
Step 3: Knead Dough
Transfer the sticky dough onto a floured surface, generously dusting your hands and the dough with flour. Knead the dough for 8-10 minutes, folding and pushing, until it is smooth and elastic. If it’s too sticky, sprinkle just a little more flour, but be careful not to overdo it. This step ensures the perfect texture for Garlic Parmesan Herb Bread.
Step 4: First Rise
Place the kneaded dough into a greased bowl, turning it around to coat it lightly with oil. Cover the bowl with a damp kitchen towel and let it rise in a warm area for approximately 1 hour, or until the dough has doubled in size. Keep an eye on it—this rising stage is crucial for a lovely airy bread.
Step 5: Shape Loaves
After the dough has risen, punch it down gently to release trapped air, then divide it into two equal pieces. Shape each piece into a ball by tucking the edges under. Place the formed loaves onto a greased baking sheet, ensuring there’s enough space between them for the second rise.
Step 6: Second Rise
Cover the shaped loaves with the damp kitchen towel again and let them rise for an additional 15-20 minutes. Meanwhile, preheat your oven to 375°F (190°C). This second rise helps achieve a light texture while the oven warms up, getting ready to bake your Garlic Parmesan Herb Bread.
Step 7: Bake
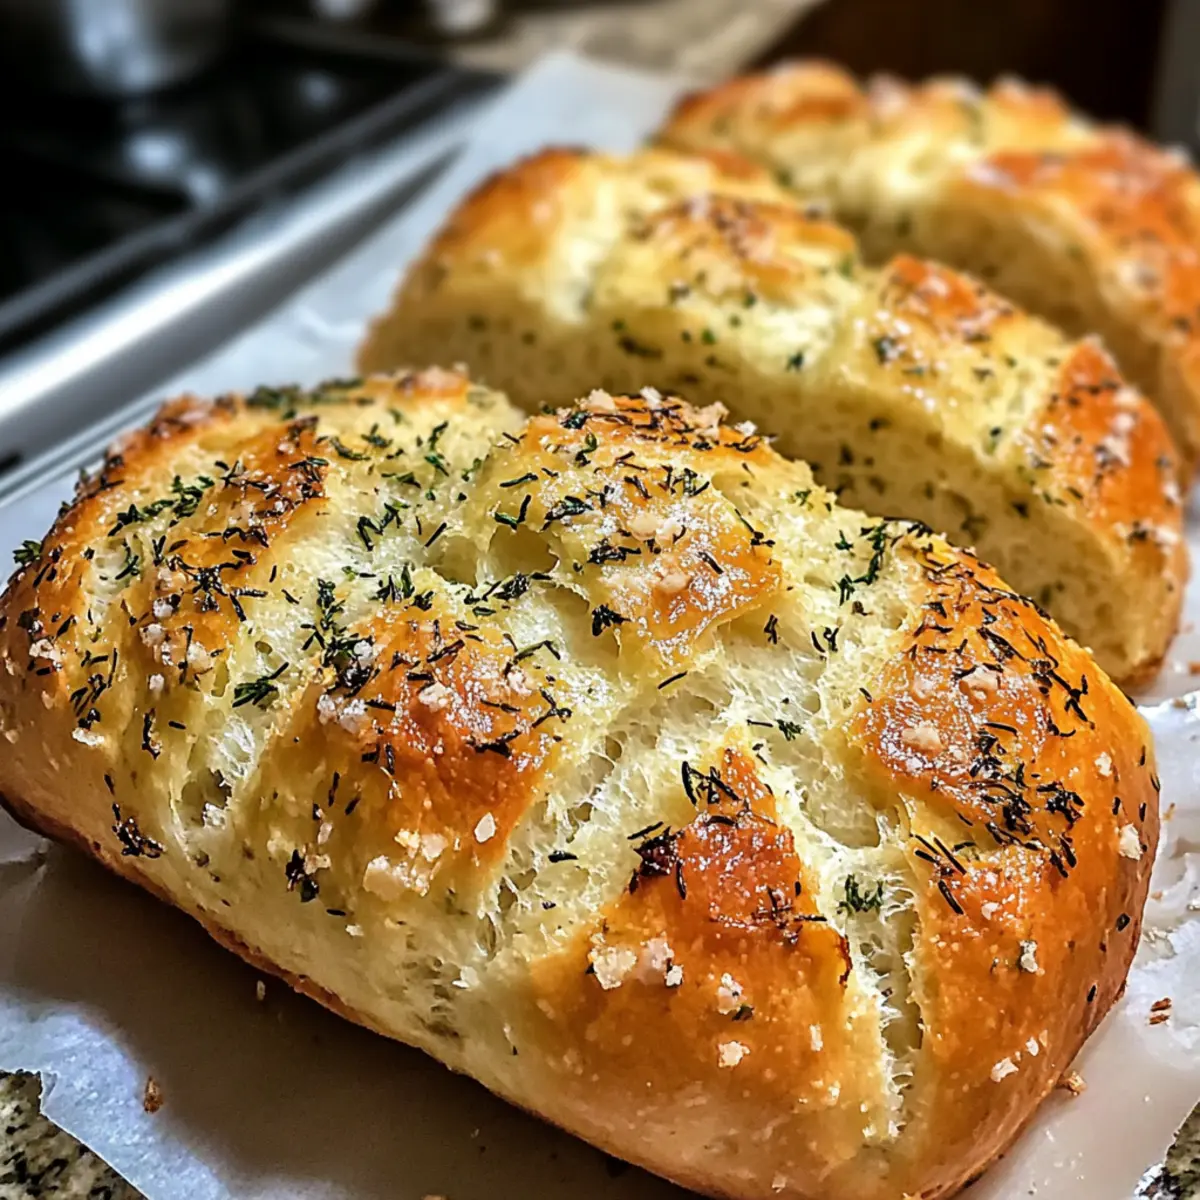
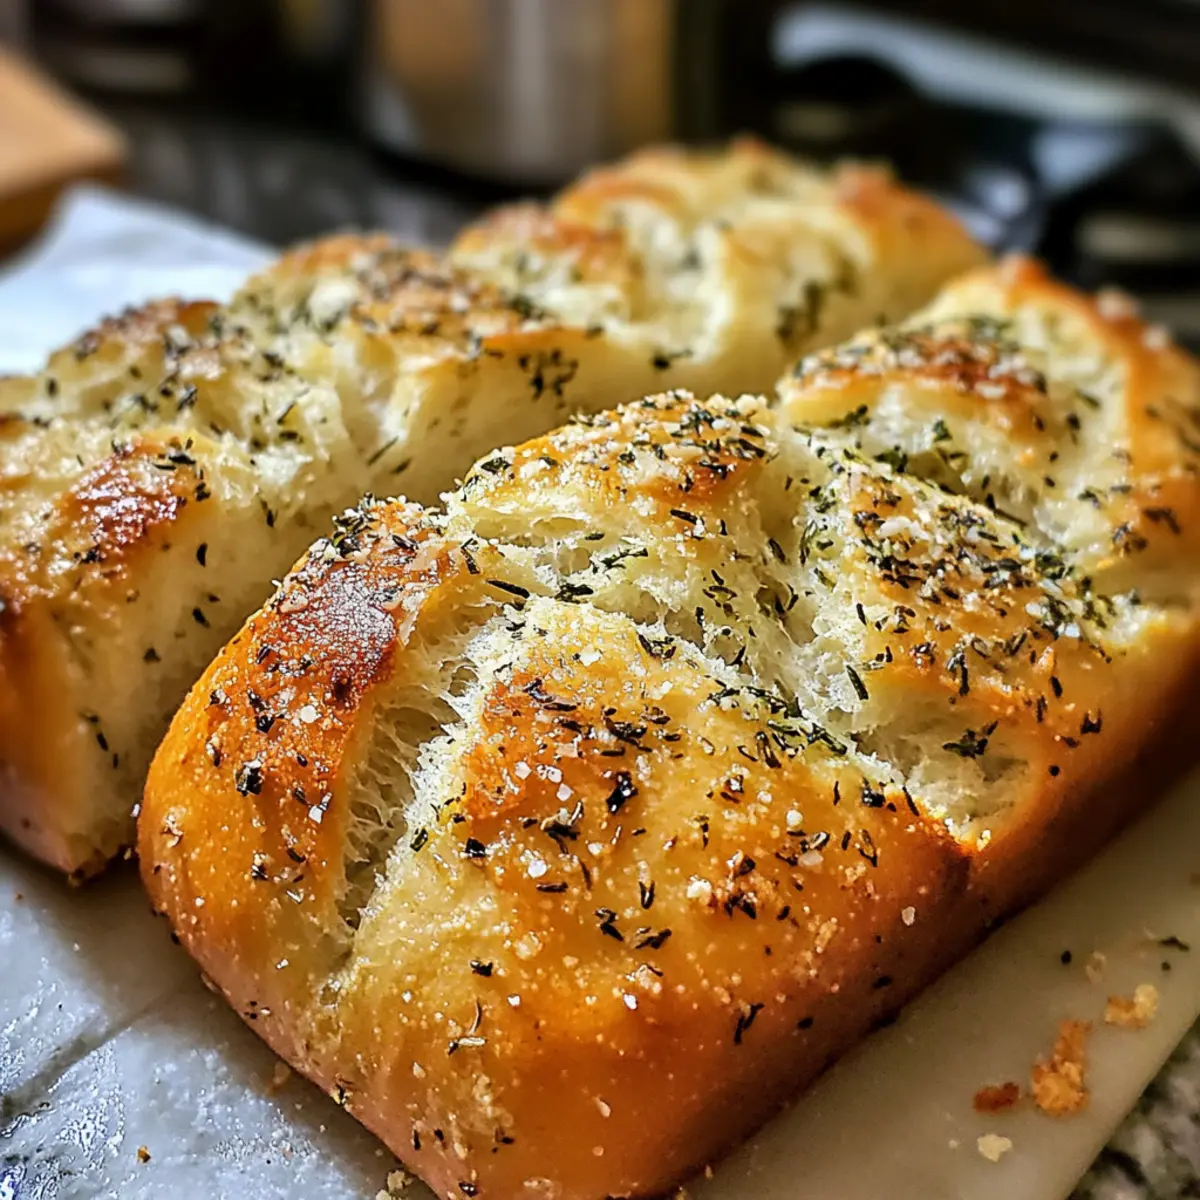
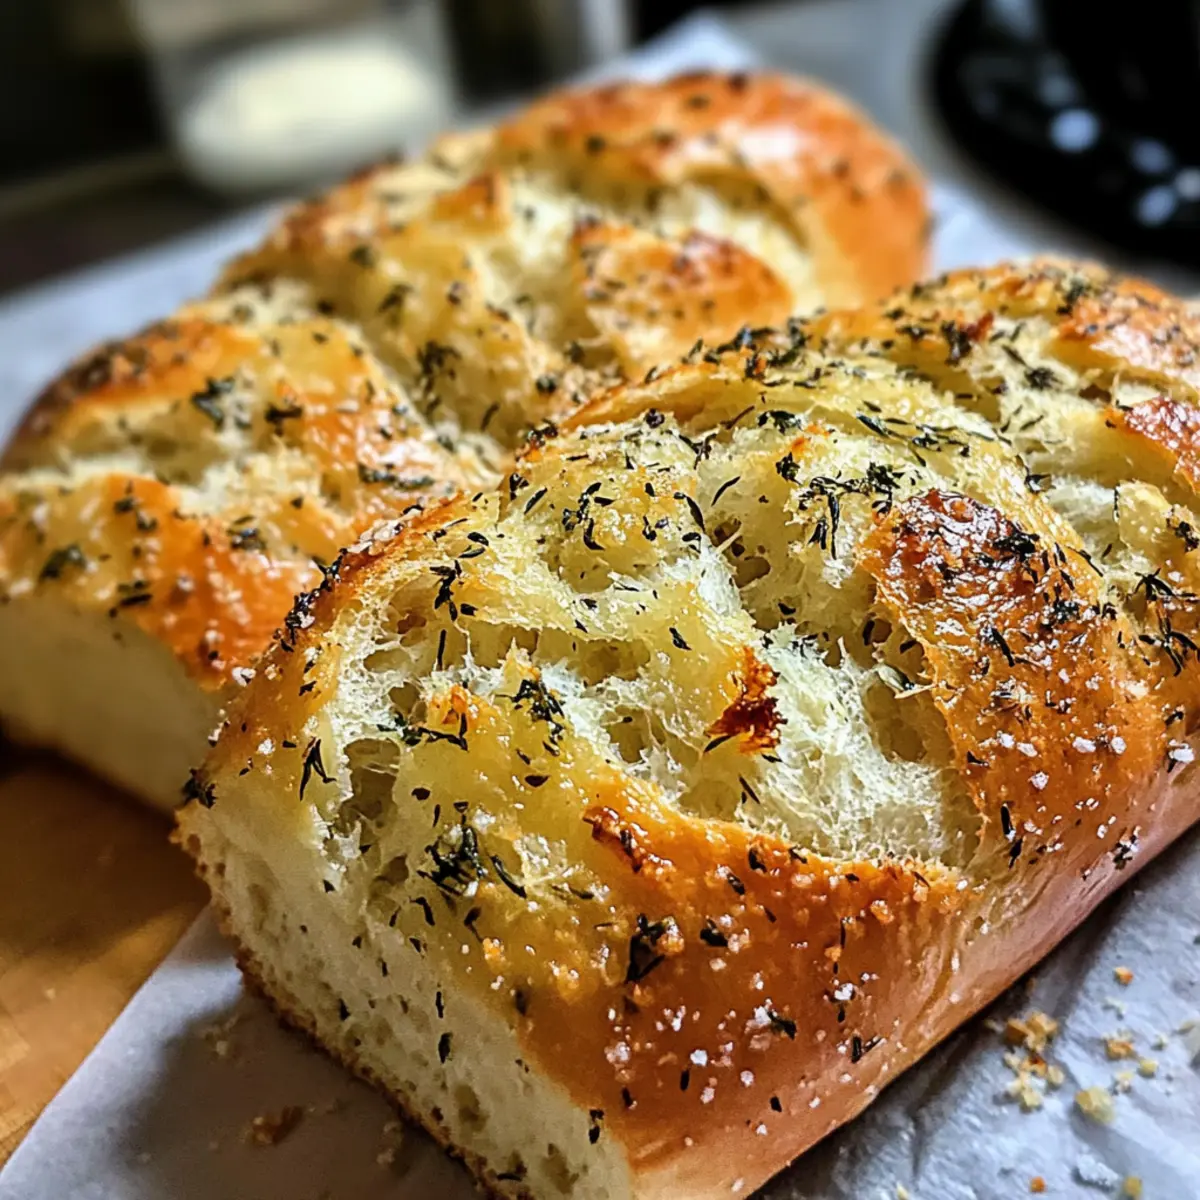
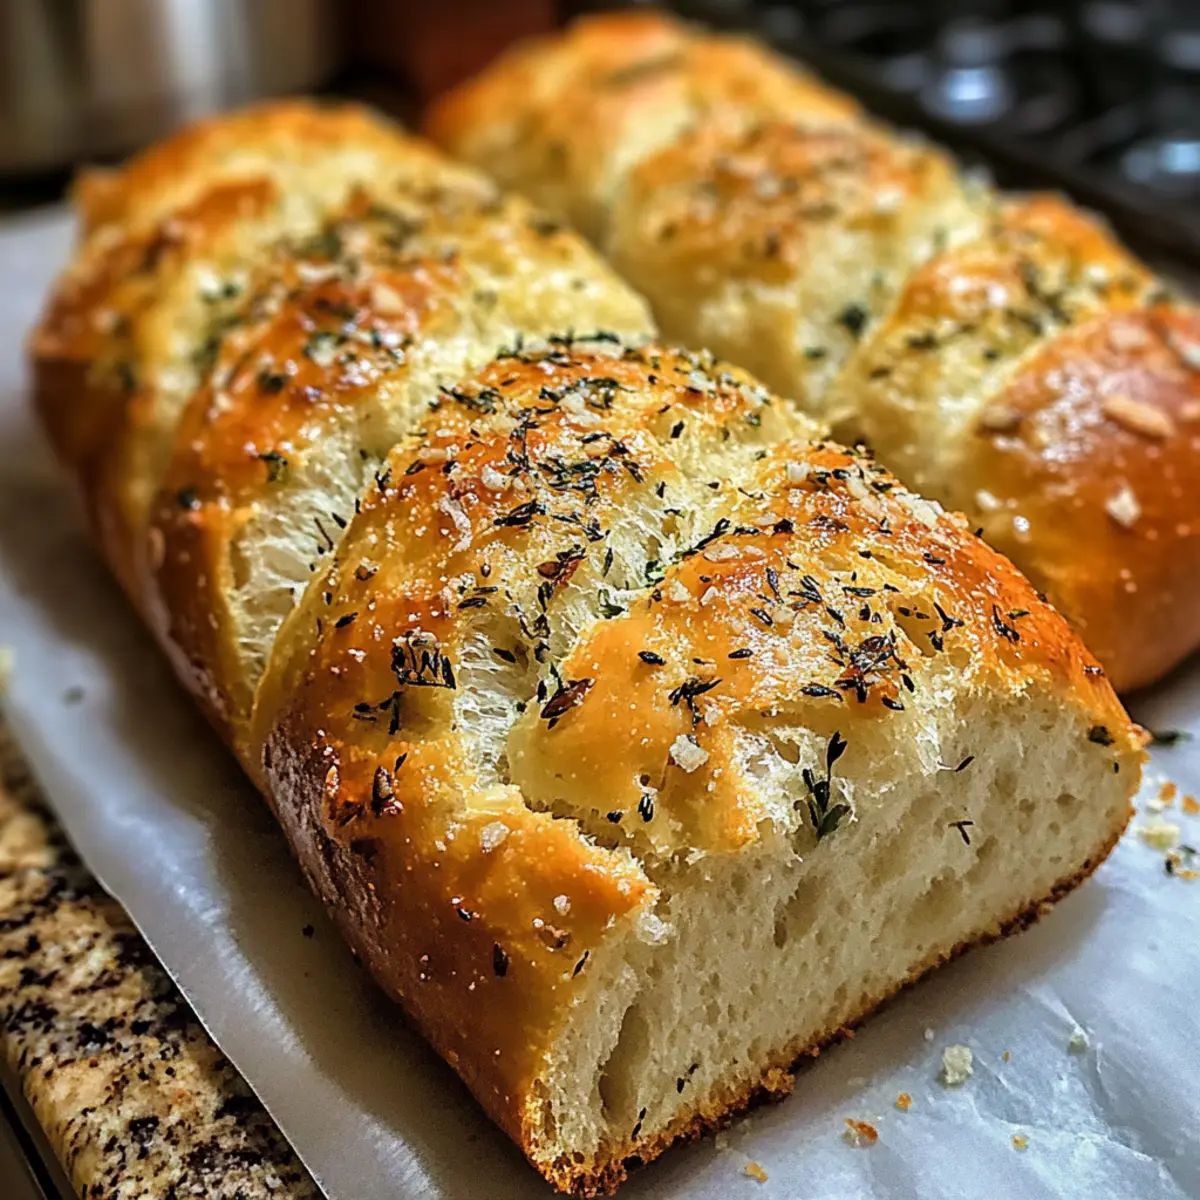
Once the dough has puffed up, brush each loaf generously with melted butter for a golden finish. Place them in the preheated oven and bake for 18-20 minutes or until the loaves are golden brown and sound hollow when tapped on the bottom. The aroma can be simply irresistible during this baking period!
Step 8: Cool
After baking, remove the Garlic Parmesan Herb Bread from the oven and let it cool on a wire rack for about 10 minutes. This cooling step is important for setting the texture. Once slightly cooled, slice the loaves and relish this delightful homemade treat with your favorite dishes or on its own.
How to Store and Freeze Garlic Parmesan Herb Bread
Room Temperature: Store the bread in an airtight container at room temperature for up to 3 days to maintain its delightful freshness and flavor.
Fridge: Avoid refrigerating the bread, as it can dry out quickly; opt for room temperature storage for the best texture.
Freezer: For longer storage, freeze the loaves wrapped tightly in plastic wrap and aluminum foil for up to 3 months. This way, your Garlic Parmesan Herb Bread will be ready for quick enjoyment later!
Reheating: To reheat, simply thaw slices at room temperature, then toast them in an oven or toaster until warm and crispy; this revives the incredible aroma and flavor.
Make Ahead Options
These Garlic Parmesan Herb Bread loaves are perfect for busy home cooks looking to save time without compromising flavor! You can prepare the dough and allow it to rise, then shape the loaves and refrigerate them up to 24 hours before baking. This way, the dough will develop deeper flavors while resting in the fridge. When you’re ready to bake, simply let the shaped loaves rest for about 30 minutes at room temperature before preheating your oven. For best results, cover the dough tightly with plastic wrap in the refrigerator to prevent it from drying out. This method allows you to enjoy freshly baked Garlic Parmesan Herb Bread on your schedule, with the same delicious results!
Garlic Parmesan Herb Bread Variations
Feel free to personalize your Garlic Parmesan Herb Bread with these delightful twists that enhance flavor and cater to various dietary preferences!
-
Cheese Swap: Use mozzarella or provolone instead of parmesan for a creamier taste. Each variation brings a unique twist to the classic recipe!
-
Fresh Herbs: Opt for fresh herbs like basil or thyme instead of dried ones. Just remember to triple the quantity for the best flavor impact.
-
Whole Wheat Flour: Substitute some or all of the all-purpose flour with whole wheat flour for a heartier loaf that adds both nutrition and a delightful nutty flavor.
-
Spicy Kick: Add crushed red pepper flakes or jalapeños to the dough for a spicy surprise. Your Garlic Parmesan Herb Bread will become a flavor-packed staple!
-
Sweet Addition: Consider incorporating a touch of honey or maple syrup into the dough for a subtle sweetness that perfectly complements the savory garlic and cheese.
-
Garlic Butter Glaze: After baking, brush the tops with garlic-infused melted butter for an irresistible finish. This extra layer of flavor is sure to impress everyone!
-
Savory Olives or Sun-Dried Tomatoes: Mix in chopped olives or sun-dried tomatoes for a Mediterranean twist. These additions will make each slice an adventure for your taste buds.
For more incredible bread ideas, check out my Chocolate Zucchini Bread or the creamy delight of a Pumpkin Cream Cheese Bread—the options are endless!
Expert Tips for Garlic Parmesan Herb Bread
-
Perfect Temperature: Always use warm water between 100-110°F to activate the yeast effectively. Cooler water may stall the rising process, resulting in dense bread.
-
Kneading Technique: Knead the dough until it’s smooth and elastic. If it’s too sticky, sprinkle in flour gradually, but avoid over-flouring to maintain the soft texture of Garlic Parmesan Herb Bread.
-
Optimal Rising: Ensure your dough rises in a draft-free, warm area. Cold spots can prevent proper rising, leading to heavy loaves instead of airy perfection.
-
Cooling Time: Let the loaves cool on a wire rack before slicing. Cutting too soon can result in gummy bread, so patience is key for that perfect texture.
-
Storage Tips: Store the bread in an airtight container at room temperature for up to three days or freeze slices for later enjoyment. This ensures freshness whether you’re having a quiet night in or a social gathering!
What to Serve with Garlic Parmesan Herb Bread?
This bread is a delightful centerpiece for any meal, inviting both warmth and flavor to your table.
-
Creamy Tomato Soup: The rich acidity of tomato soup beautifully contrasts with the savory garlic parmesan bread, creating a comforting bowlful you won’t want to put down. It’s like a classic match made in culinary heaven, perfect for dipping!
-
Caesar Salad: Crisp romaine, creamy dressing, and crunchy croutons create a fresh counterpart to the warm, chewy bread. Each bite enhances the meal’s overall experience, balancing flavors beautifully.
-
Garlic Butter Shrimp: The zesty, ocean-fresh taste of garlic butter shrimp complements the bread’s herbaceous notes, making it a harmonious duo that’s absolutely gourmet. Savoring them together transports you to a seaside restaurant!
-
Pasta Primavera: A medley of colorful vegetables tossed in olive oil pairs well with the bread’s rustic charm, providing a vibrant contrast to its rich flavor. Each bite of this dish can brighten your meal.
-
Grilled Vegetables: Smoky and slightly charred veggies provide a delightful textural balance alongside the soft bread, creating a nourishing and satisfying plate. The earthy tones mingle deliciously with garlic and herbs.
-
Sparkling Water with Lemon: A refreshing sip of fizzy water with a squeeze of lemon enhances the overall dining experience and cleanses the palate between bites. It’s a rejuvenating companion for the main dish!
-
Chocolate Lava Cake: For dessert, a rich chocolate lava cake brings an indulgent end to the meal, offering a luscious contrast to the savory flavors of the garlic parmesan bread. Pair them for a surprising yet delightful round-off!
Garlic Parmesan Herb Bread Recipe FAQs
How do I select the right garlic for this recipe?
Absolutely! For the best flavor in your Garlic Parmesan Herb Bread, opt for fresh garlic bulbs. Look for firm cloves free of dark spots or sprouting, as these will provide a robust, aromatic flavor. If fresh garlic isn’t available, garlic powder can be used as a substitute; however, its flavor will not be as pronounced.
What’s the best way to store Garlic Parmesan Herb Bread?
To keep your Garlic Parmesan Herb Bread fresh, store it in an airtight container at room temperature for up to 3 days. If you want to enjoy it longer, wrap the loaves tightly in plastic wrap and foil, then freeze for up to 3 months. Make sure to label the packages with the date, so you know when to enjoy them!
Can I freeze the Garlic Parmesan Herb Bread?
Yes, you can! Freezing your Garlic Parmesan Herb Bread is a great way to enjoy it later. First, cool the bread completely after baking. Then, slice it into individual pieces and wrap each slice tightly in plastic wrap. Place the wrapped slices in a freezer-safe bag or container. When ready to enjoy, thaw the slices at room temperature, then toast them for a crispy, delicious treat.
What if my bread doesn’t rise properly?
Very! If your Garlic Parmesan Herb Bread fails to rise, consider a few possible reasons. Ensure your yeast is active—check the expiry date and make sure the water used for activation is just warm (100-110°F). If the dough is too cold or in a drafty area, it may not rise properly as warmth encourages yeast activity. If this happens, gently re-knead your dough, place it in a warmer area, and give it more time to rise.
Is this recipe suitable for those with gluten allergies?
Unfortunately, this Garlic Parmesan Herb Bread contains all-purpose flour, which is not gluten-free. However, for gluten-sensitive bakers, I recommend using a 1:1 gluten-free flour blend. This may require you to adjust hydration slightly, as gluten-free flours can vary in absorbency. Always check for additional gluten-free ingredients as well!
Can I use different herbs or cheeses in the recipe?
Absolutely! The beauty of this Garlic Parmesan Herb Bread is its versatility. Feel free to play around with herbs, using fresh thyme or rosemary for a different flavor profile. Additionally, you can swap the parmesan for mozzarella or provolone if you prefer a milder taste. Experimenting with flavors creates a unique twist on this comforting recipe!
Garlic Parmesan Herb Bread – Easy, Flavorful Comfort at Home
Ingredients
Equipment
Method
- Combine warm water, granulated sugar, and instant dry yeast in a small bowl. Let sit until frothy.
- Add salt, minced garlic, and dried herbs to the yeast mixture. Gradually mix in flour and grated parmesan until sticky.
- Transfer dough to a floured surface and knead for 8-10 minutes until smooth and elastic.
- Place the kneaded dough in a greased bowl, cover with a towel, and let rise for 1 hour.
- Punch down the risen dough, divide into two pieces, and shape into balls. Place on a greased baking sheet.
- Cover loaves with a towel and let rise for another 15-20 minutes while preheating oven to 375°F.
- Brush the loaves with melted butter and bake for 18-20 minutes until golden brown.
- Let the bread cool on a wire rack for 10 minutes before slicing.
Leave a Reply