
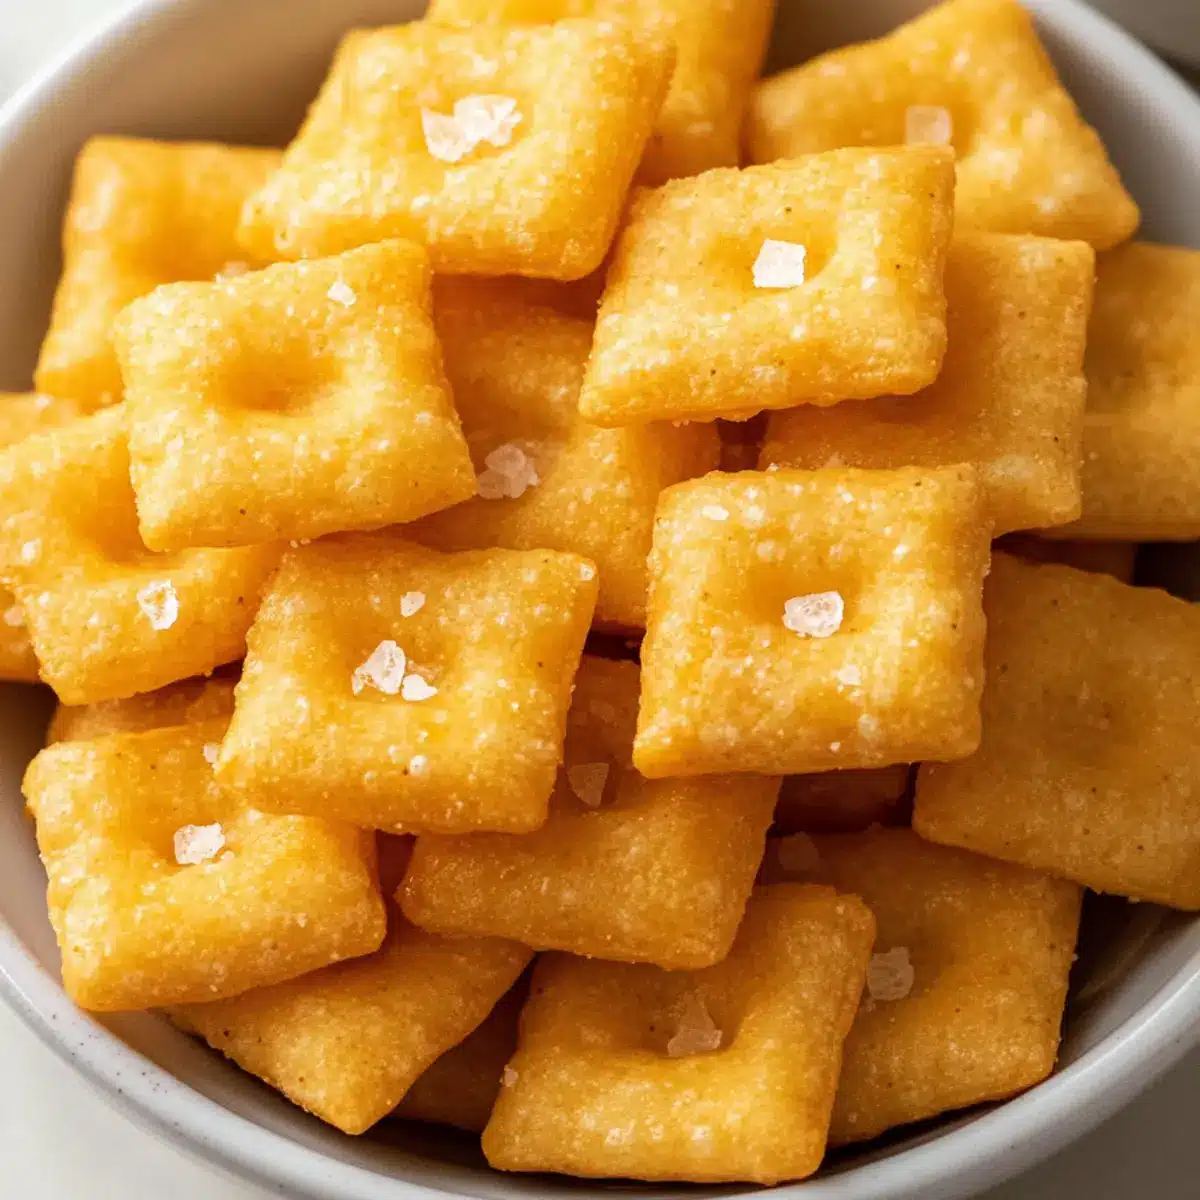
As I stood in my kitchen, the aroma of cheese filled the air, and I couldn’t help but feel like a kid again, craving a familiar snack. These 3-Ingredient Gluten-Free Cheez-Its are my go-to solution when nostalgia hits and I need something quick and easy. With just three simple ingredients and an oven timer set for under 30 minutes, you can whip up this kid-friendly homemade snack that is far better than anything packaged in a store. Not only are they gluten-free, but they also provide a healthier, cheesy crunch that satisfies cravings without the guilt. Perfect for lunchboxes or a cozy movie night, these delightful crackers promise a flavor that will have both kids and adults reaching for seconds. Ready to learn how to make your own crunchy goodness? Let’s dive in!
Why Are These Cheez-Its So Irresistible?
Simplicity at Its Best: With just three ingredients, these Gluten Free Cheez-Its are quick and easy to make, perfect for busy weeknights or spontaneous snack attacks.
Crispy, Crunchy Delight: Each bite offers a satisfying crunch, reminiscent of the beloved classic, but without any gluten or artificial preservatives.
Crowd-Pleasing Flavor: Rich and cheesy, these crackers are a hit at parties or family gatherings, pleasing both kids and adults alike.
Versatile Snacking: Whether enjoyed solo or paired with your favorite dips, these crackers adapt to any occasion—think movie nights or lunchboxes!
Healthier Alternative: Ditching store-bought snacks for homemade goodness means fewer additives and a more wholesome treat, satisfying your cravings without the guilt. Plus, if you love flavorful snacks, check out my Buffalo Chicken Burritos for a delicious twist!
Gluten Free Cheez-Its Ingredients
• Let’s gather our simple ingredients!
For the Dough
- All-Purpose Gluten-Free Flour – This provides the structure you need; ensure it contains xanthan gum for the best results.
- Shredded Cheddar Cheese – A burst of cheesy flavor; for a vegan option, use dairy-free cheese instead.
- Cold Butter – This adds richness and flakiness to your crackers; plant-based butter works just as well.
To Combine
- Cold Water – Necessary for binding the mixture; adjust the amount based on how your dough feels.
- Pinch of Salt – Enhances the overall flavor; consider using flaky sea salt for a delightful topping.
With these simple ingredients, you’re on your way to making irresistible Gluten Free Cheez-Its!
Step‑by‑Step Instructions for Gluten Free Cheez-Its
Step 1: Preheat Oven
Begin by preheating your oven to 350°F (175°C). This ensures your Gluten Free Cheez-Its will bake evenly and develop a nice golden color. Preheating usually takes about 10 minutes, so this is a great time to gather your other ingredients and equipment, ensuring a smooth cooking process.
Step 2: Prep Dough
In a food processor, combine the all-purpose gluten-free flour, shredded cheddar cheese, cold butter, and a pinch of salt. Pulse the mixture until it resembles coarse crumbs, which usually takes about 20-30 seconds. The texture should feel sandy with visible pieces of cheese; this is crucial for that delicious, flaky texture in your crackers.
Step 3: Combine Ingredients
Gradually add cold water, one tablespoon at a time, while continuing to pulse the mixture. Stop processing when a dough ball forms, which should take around 1-2 minutes. If the dough feels too dry, add a splash more water. The dough should be smooth and slightly sticky, making it easy to work with in the next steps.
Step 4: Roll Out Dough
Transfer the dough onto a clean surface or between two sheets of parchment paper. Using a rolling pin, roll the dough to about 1/8-inch thickness. This step is key to achieving that classic Cheez-It crunch, so aim for an even thickness throughout, which will take about 3-4 minutes.
Step 5: Cut Crackers
Once the dough is rolled out, remove the top layer of parchment. Use a sharp knife or a pizza cutter to cut the dough into 1-inch squares. Carefully poke a hole in the center of each square with a fork, which allows steam to escape while baking. Don’t forget to sprinkle a bit of flaky sea salt on top for extra flavor!
Step 6: Bake
Transfer the cut crackers onto a baking sheet lined with parchment paper, ensuring they are spaced apart to promote even baking. Place them in the preheated oven and bake for 12-15 minutes, or until they are lightly golden and fragrant. Keep an eye on them during the last few minutes to avoid over-baking.
Step 7: Cool
After baking, remove the Gluten Free Cheez-Its from the oven and let them cool on the baking sheet for a few minutes. Then, transfer them to a wire rack to cool completely. This final cooling step allows them to crisp up perfectly, making them irresistible and ready for snacking!
Make Ahead Options
These 3-Ingredient Gluten Free Cheez-Its are perfect for meal prep enthusiasts looking to save time during busy weeks! You can prepare the dough up to 24 hours in advance by combining the gluten-free flour, cheddar cheese, butter, and salt, then wrapping it tightly in plastic wrap and refrigerating. For even more convenience, you can cut the crackers into squares and place them in the fridge for up to 3 days before baking. When you’re ready to enjoy a crispy snack, simply preheat the oven and bake the crackers directly from the fridge, adjusting the baking time if necessary. This way, you’ll have delicious, homemade snacks that are just as fresh as if you made them that day!
Gluten Free Cheez-Its Variations
Feel free to mix things up and make these delightful snacks your own with these fun twists!
-
Vegan Cheez-Its: Use dairy-free cheese and plant-based butter for a delicious vegan version everyone will love. It’s just as cheesy and satisfying!
-
Herbed Delight: Add 1 teaspoon of dried herbs like oregano or thyme to your dough for an aromatic flavor that elevates your Cheez-Its. Fresh herbs can really make a difference!
-
Spicy Kick: Incorporate a pinch of cayenne pepper or red pepper flakes into the dough for a zesty bite. Spice lovers will appreciate this fun twist!
-
Cheddar Variations: Swap out cheddar cheese for Gouda or smoked cheddar for a unique flavor profile that will surprise your taste buds. Each cheese offers a totally new experience!
-
Nutty Crunch: Fold in a handful of finely chopped nuts, like walnuts or pecans, into the dough for added texture and a wholesome twist. The nutty flavor pairs beautifully with the cheese!
-
Seasoned Salt Finish: Instead of plain salt, sprinkle your crackers with flavored salts like garlic or truffle salt before baking for an irresistible finishing touch. Your guests will be asking for your secret ingredient!
-
Sweet & Savory: For a fun treat, try adding a pinch of sugar along with some herbs to create a sweet-savory snack that’s perfect for pairing with cheese spreads. It’s a snack on the wild side!
Try out these variations and see which one becomes your favorite! For more delicious snack ideas, you might also enjoy my tasty Buffalo Chicken Burritos. Let your culinary creativity shine!
How to Store and Freeze Gluten Free Cheez-Its
Airtight Container: Store cooled Gluten Free Cheez-Its in an airtight container at room temperature for up to 7 days. This will help keep them fresh and crunchy for snacking.
Freezer: If you’d like to save some for later, freeze the baked crackers in a zip-top bag for up to 3 months. Make sure to remove excess air before sealing.
Reheating: To enjoy them warm and extra crispy, reheat in a preheated oven at 350°F (175°C) for 5-7 minutes, keeping an eye on them to prevent burning.
Labeling: If freezing, be sure to label your bag with the date so you can keep track of how long they’ve been stored and enjoy your homemade snacks at their best!
Expert Tips for Gluten Free Cheez-Its
-
Food Processor Use: Keep it simple: While using a food processor is efficient, don’t worry if you don’t have one; you can mix by hand or with a pastry cutter.
-
Dough Consistency: Perfect texture: Aim for a dough that’s smooth and slightly sticky. If it crumbles, you may need to add a little more cold water.
-
Cutting Technique: Precision is key: When cutting your squares, ensure they are all the same size for even baking, maintaining that classic Gluten Free Cheez-Its look.
-
Baking Space: Avoid clumping: Space out your crackers on the baking sheet to allow for even air circulation, ensuring they turn out perfectly crispy.
-
Cooling Time: Patience pays off: Let your crackers cool completely before storing them. This helps them achieve that delightful crunch you crave.
-
Flavor Boost: Experiment with spices: For an extra kick, add a dash of garlic powder or paprika to the dough before rolling it out.
What to Serve with 3-Ingredient Gluten Free Cheez-Its
Elevate your snacking experience with these delightful Gluten Free Cheez-Its by pairing them with complementary treats and flavors!
- Creamy Hummus: A smooth and savory spread, perfect for dipping your crackers and adding a touch of elegance to snack time.
- Fresh Veggie Sticks: Crisp cucumbers or crunchy carrots provide a refreshing contrast to the rich, cheesy flavor of the Cheez-Its, making for a balanced treat.
- Cheddar Cheese Slices: Enhance the cheesy goodness—pairing these crackers with slices of sharp cheddar makes for a delightful flavor explosion!
- Spicy Guacamole: The creamy texture of guacamole combined with a hint of spice elevates the crackers into a zesty snack, bringing a party to your palate.
- Fruit Salad: A bright and refreshing bowl of seasonal fruits offers a sweet bite that beautifully complements the savory notes of your homemade crackers.
- Lightly Pickled Vegetables: Tangy and crunchy pickles or marinated carrots provide a zesty balance, adding an exciting contrast to each cheesy morsel.
- Sparkling Water: A refreshing beverage like sparkling water with a hint of lemon cleanses the palate, making it a perfect match for these savory snacks.
- Chocolate-Dipped Strawberries: For dessert, indulge your sweet tooth with a chocolatey treat that provides a dreamy, creamy finish to your snacking adventure!
- Red Wine: A glass of smooth red wine will enhance the richness of the cheese crackers, creating a sophisticated pairing to unwind after a long day.
3-Ingredient Gluten Free Cheez-Its Recipe FAQs
How do I select the best gluten-free flour?
When choosing all-purpose gluten-free flour, look for blends that specifically include xanthan gum, as this ingredient helps mimic the texture of traditional flour. You can find quality blends at most grocery stores—if unsure, check the packaging for reviews or buy a small bag to test first!
What’s the best way to store leftover Cheez-Its?
Store cooled Gluten Free Cheez-Its in an airtight container at room temperature for up to 7 days. This will maintain their freshness and crunch. If they begin to soften, try popping them in the oven at 350°F (175°C) for a few minutes to regain their crispy texture.
Can I freeze these Cheez-Its? How do I do it?
Absolutely! To freeze your Homemade Gluten Free Cheez-Its, allow them to cool completely, then place them in a zip-top bag, removing as much air as possible before sealing. They can be frozen for up to 3 months. When you’re ready to enjoy them, reheat in a preheated oven at 350°F (175°C) for 5-7 minutes.
What if my dough is too dry?
If your dough turns out too dry while preparing these Gluten Free Cheez-Its, don’t worry! Simply add cold water, one tablespoon at a time, until it reaches a smooth consistency. Aim for a dough that is pliable and slightly sticky—this will help ensure your crackers come out crispy and delicious.
Are there any allergy considerations for this recipe?
Yes, when making Gluten Free Cheez-Its, consider any allergies your friends or family may have. For a dairy-free version, substitute shredded cheddar with a dairy-free cheese alternative. Always check that all gluten-free flour and ingredients are certified gluten-free to avoid cross-contamination for those with celiac disease.
Can I add different flavors to my Cheez-Its?
Very! You can enhance the flavor by incorporating spices such as garlic powder, paprika, or even chili powder into the dough. Just add about 1/2 to 1 teaspoon of your preferred spice mix along with the flour for a delightful twist on the classic flavor profile!
Crispy Gluten Free Cheez-Its Ready in Just 30 Minutes!
Ingredients
Equipment
Method
- Preheat your oven to 350°F (175°C).
- In a food processor, combine the all-purpose gluten-free flour, shredded cheddar cheese, cold butter, and a pinch of salt. Pulse until resembling coarse crumbs.
- Gradually add cold water, one tablespoon at a time, pulsing until a dough ball forms.
- Transfer the dough onto a clean surface or between two sheets of parchment paper. Roll to about 1/8-inch thickness.
- Cut the dough into 1-inch squares and poke a hole in the center of each square with a fork.
- Transfer the cut crackers onto a baking sheet lined with parchment paper and bake for 12-15 minutes, until lightly golden.
- Remove from the oven and let cool on the baking sheet for a few minutes before transferring to a wire rack to cool completely.
Leave a Reply