
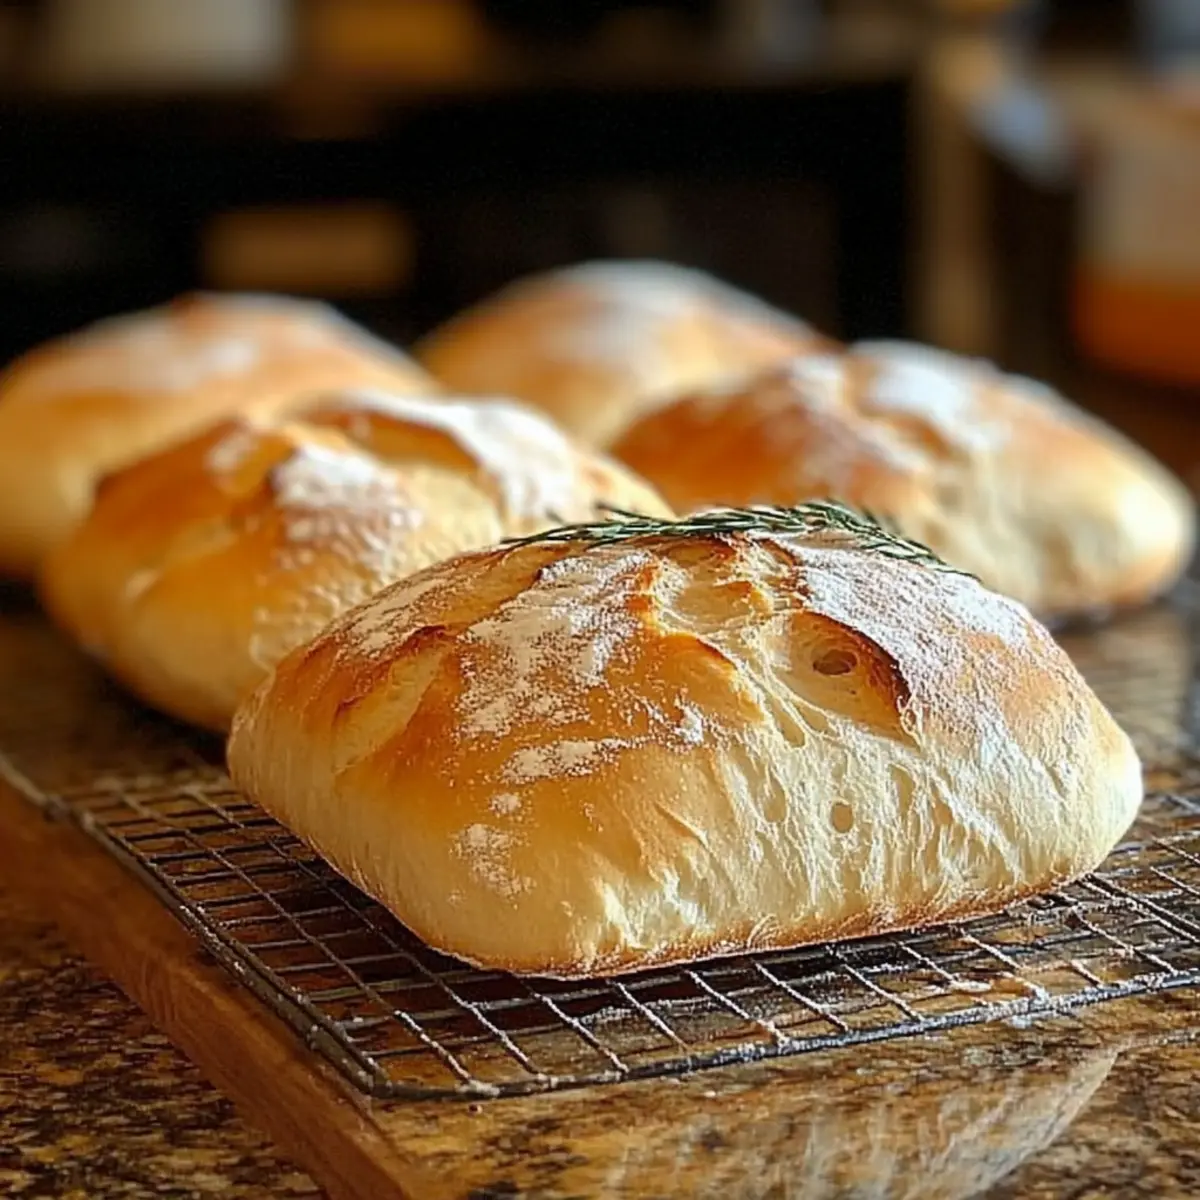
As I stood in my kitchen, a comforting warmth enveloped me, filling the air with the memory of rustic bakeries in Italy. There’s something incredibly rewarding about creating your own Homemade Ciabatta Bread—the crunchy crust and airy crumb make it a masterpiece in less than three hours! This isn’t just any bread; it’s a delightful way to elevate your meals, whether you’re crafting sandwiches or soaking up a delicious stew. With this quick baking method, you can skip the long fermentation times traditionally required for artisan breads without sacrificing quality or texture. And did I mention how easy it is? Let’s dive into a recipe that might just become your new favorite—what will you pair it with tonight?
Why is Homemade Ciabatta Bread a Must-Try?
Freshness at Home: There’s nothing like the scent of warm ciabatta wafting through your home. Easy Process: With just a few simple steps, you’ll be baking artisan bread without a fuss. Perfect Texture: The crusty exterior and soft, open crumb provide unparalleled satisfaction. Versatile Uses: Enjoy it as a sandwich base, or toast it with garlic butter for an irresistible treat. Don’t forget to explore our delicious variations like Pumpkin Banana Bread to keep things exciting in the kitchen!
Homemade Ciabatta Bread Ingredients
Here are the essential ingredients you’ll need to create your very own Homemade Ciabatta Bread.
For the Dough
- All-Purpose or Bread Flour – Provides structure and chew; you can substitute with whole wheat flour for a nuttier flavor.
- Salt – Enhances flavor and is essential for taste—avoid skipping this step!
- Instant Yeast – Acts as a leavening agent for a great rise; quick-rise yeast can be an alternative.
- Lukewarm Water – Activates the yeast and hydrates the flour—make sure it’s not too hot to prevent killing the yeast.
- Olive Oil – Helps grease your bowl and adds a subtle flavor; feel free to use melted butter or any neutral oil as a substitute.
For Serving
- Butter – For spreading on warm slices, elevating your homemade delights.
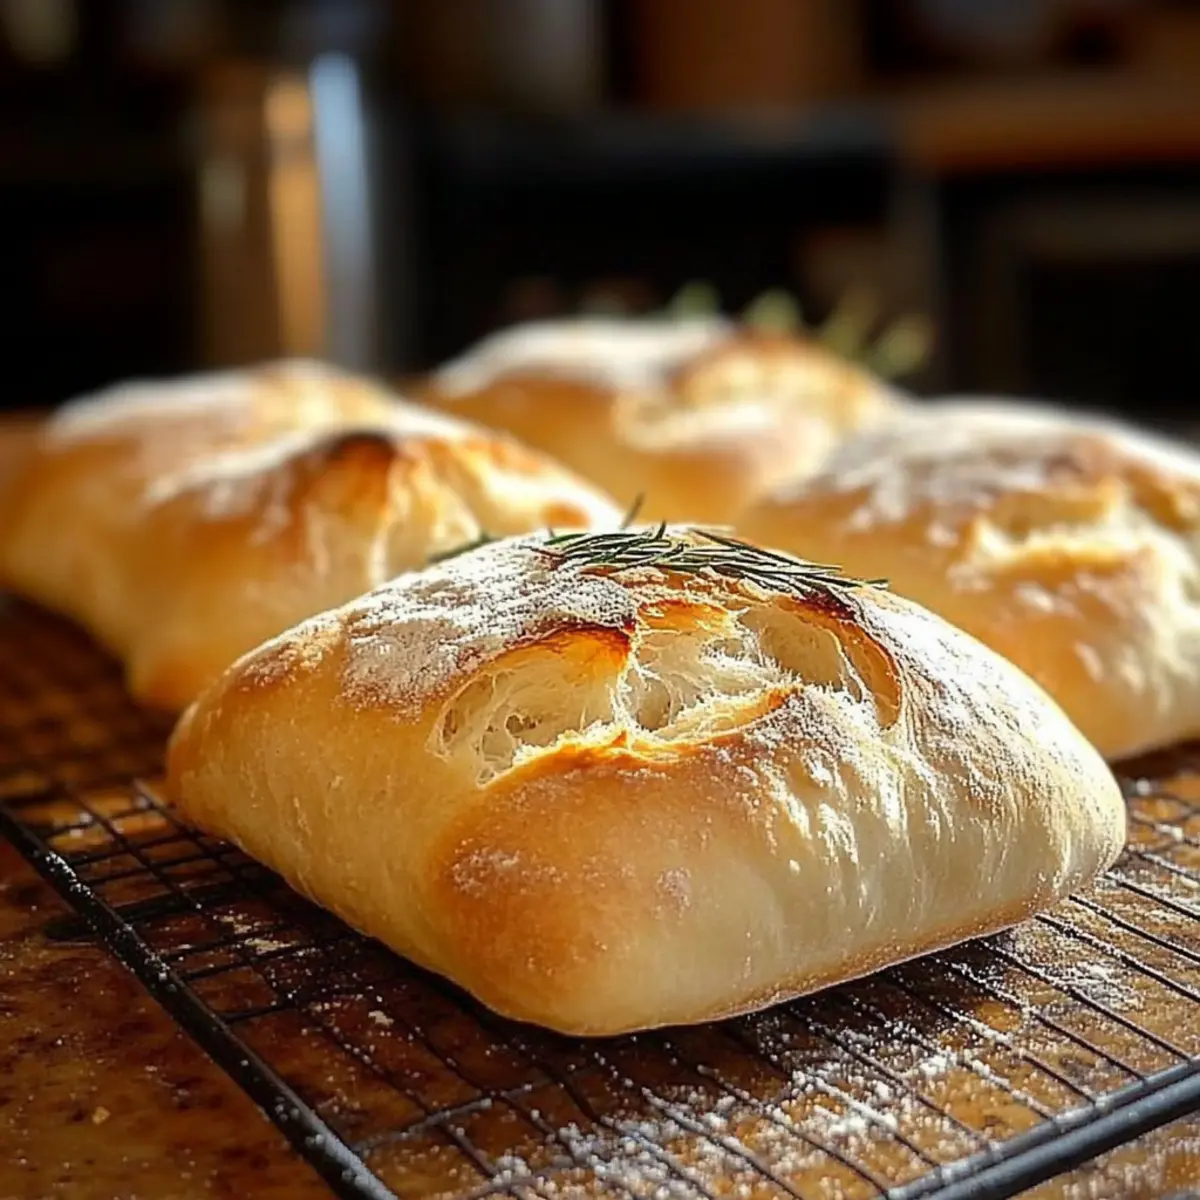
- Fresh Herbs (optional) – Such as rosemary or oregano, to incorporate into the dough for enhanced flavor.
Step‑by‑Step Instructions for Homemade Ciabatta Bread
Step 1: Make the Dough
In a large bowl, whisk together 4 cups of all-purpose flour, 2 teaspoons of salt, and 2 teaspoons of instant yeast until evenly combined. Gradually add in 1 and ½ cups of lukewarm water, mixing with a sturdy spatula until a wet, sticky dough forms. The dough should appear shaggy and well-moistened, with no dry flour visible, signaling that you’re ready for the next step.
Step 2: First Rise
Cover the bowl tightly with plastic wrap or a damp kitchen towel, allowing the dough to rise in a warm place for about 1 hour. During this time, the dough should double in size and develop a bubbly texture on the surface. Look for it to be puffy and airy, indicating that the yeast is doing its job, creating those delightful air pockets for your Homemade Ciabatta Bread.
Step 3: Fold and Rest
After the first rise, lightly flour a clean work surface to prevent sticking. Gently turn the dough out onto the floured surface, being careful not to deflate it. With floured hands, fold the dough over itself 2 to 3 times to create some structure. Then, place it onto a floured parchment-lined baking sheet and let it rest, uncovered, for an additional 30 minutes, allowing the dough to relax.
Step 4: Preheat and Bake
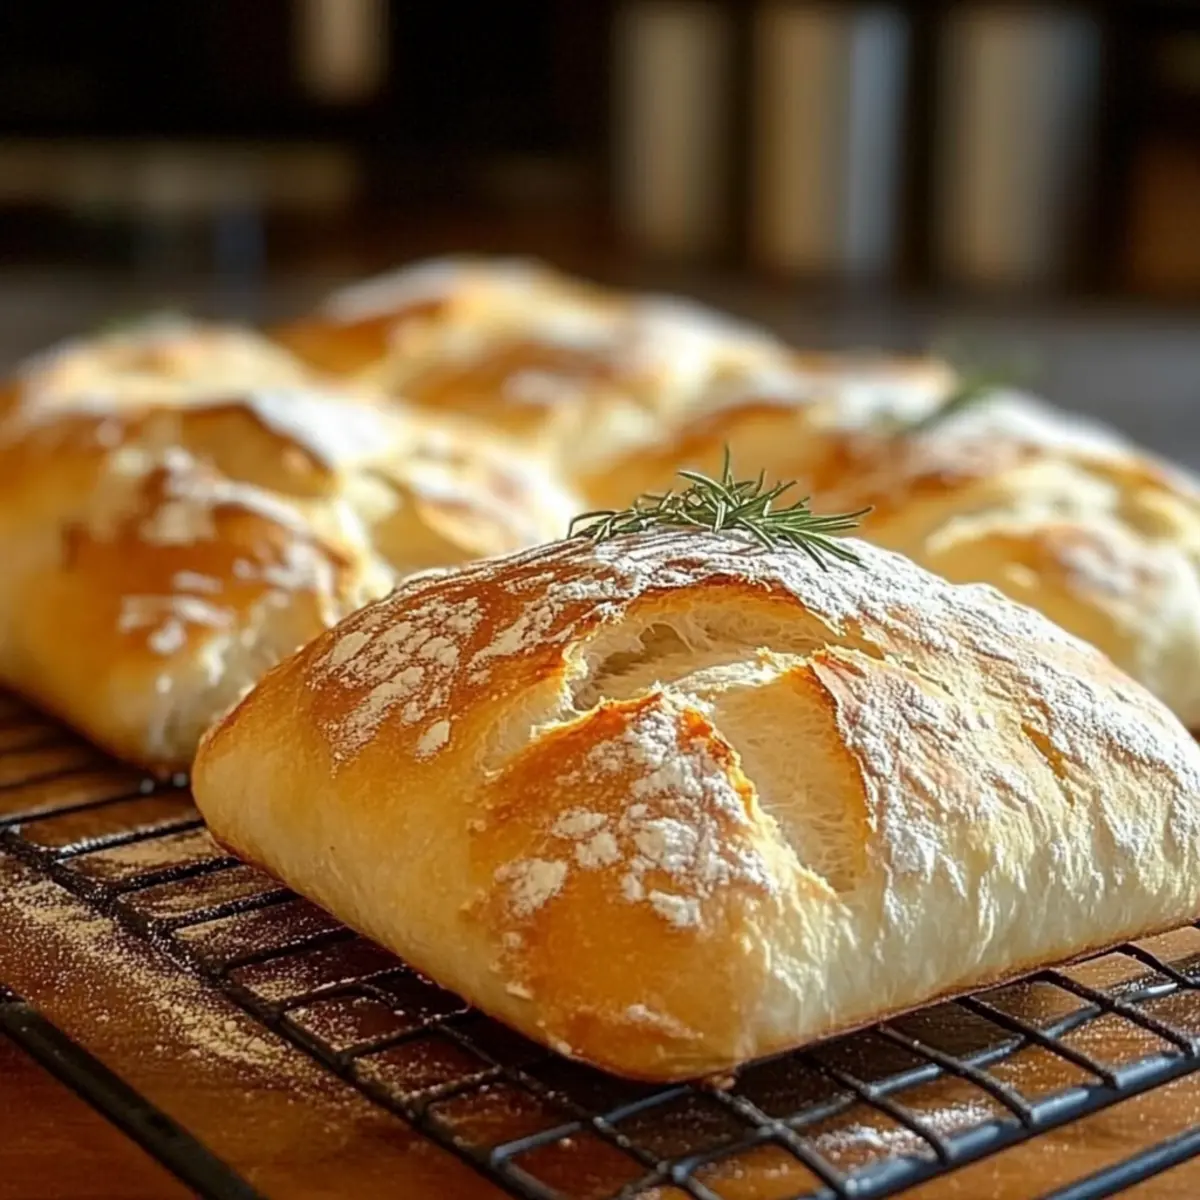
While the dough is resting, preheat your oven to 450°F (230°C) to create a steamy environment for baking. Once the oven is hot and the dough has rested, carefully transfer the ciabatta into the oven and bake for 22 to 25 minutes. The bread is done when it’s a beautiful golden-brown color, and it sounds hollow when tapped on the bottom, revealing its artisan quality.
Step 5: Cool and Serve
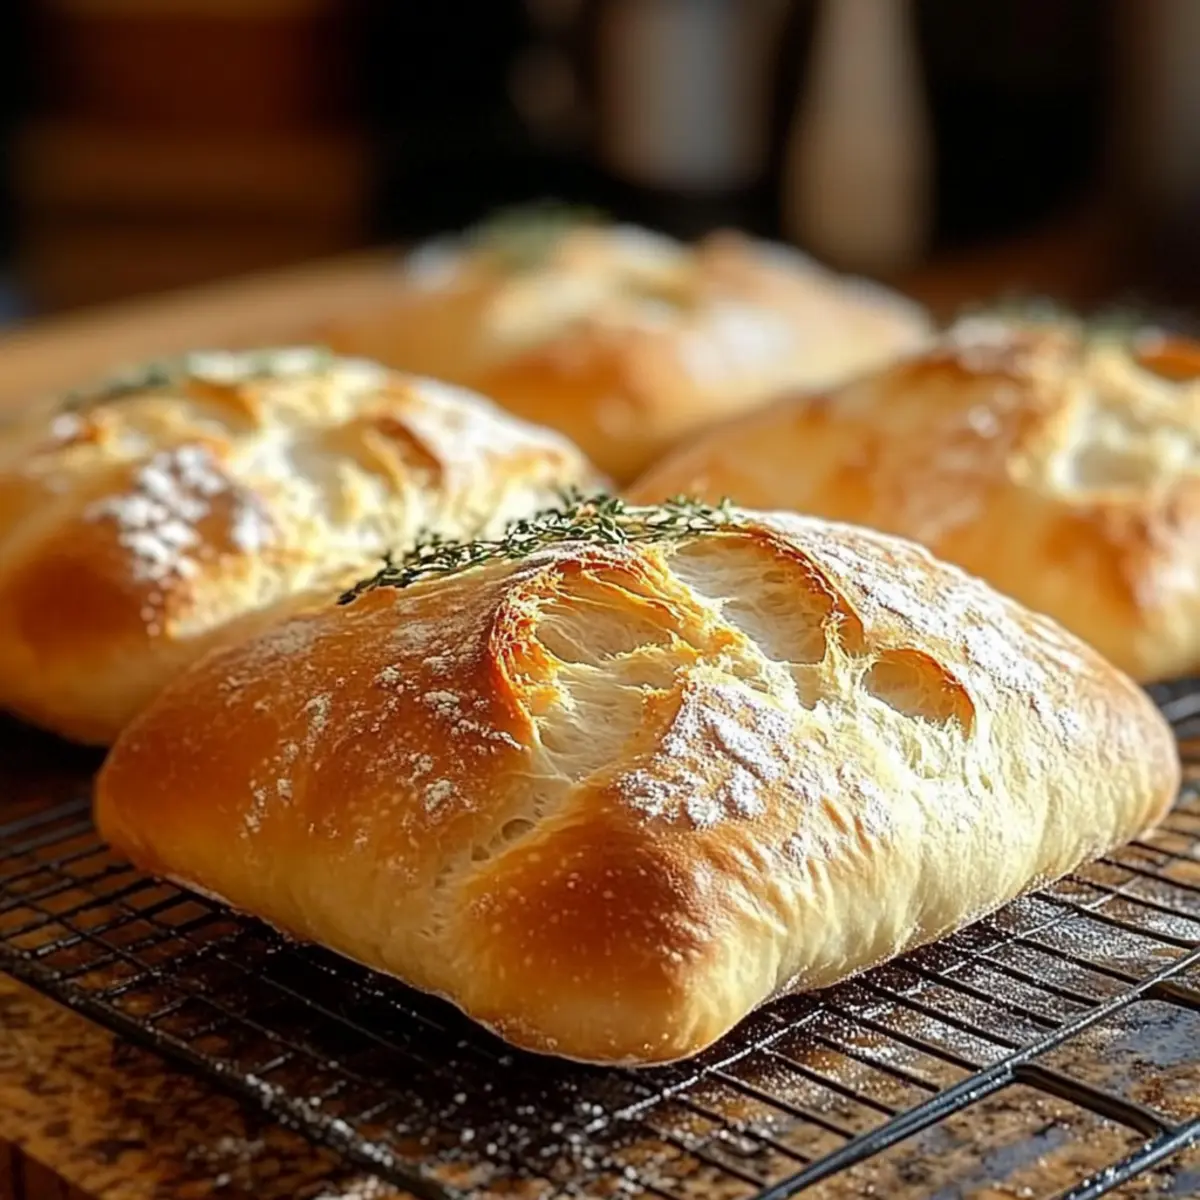
Once baked, carefully remove the Homemade Ciabatta Bread from the oven and let it cool on a wire rack for at least 30 minutes. This cooling step allows the interior to set properly, preventing a gummy texture inside. After cooling, slice the bread carefully and enjoy it as a hearty base for sandwiches or simply with a pat of butter—heavenly!
Expert Tips for Homemade Ciabatta Bread
- Watch the Dough Consistency: The dough should be sticky and wet. Adding too much flour can lead to dense bread. Trust the process!
- Use Wet Hands: When handling the sticky dough, wet your hands to prevent sticking and make shaping easier.
- Gentle Folding: Carefully folding the dough preserves air bubbles important for the texture. Avoid excessive kneading.
- Don’t Rush Cooling: Allow your Homemade Ciabatta Bread to cool completely before slicing to avoid a gummy center.
- Timing is Key: Monitor the baking closely in the last few minutes; it can turn from perfect to overdone quickly!
Make Ahead Options
These Homemade Ciabatta Bread rolls are fantastic for meal prep, saving you precious time on busy days! You can prepare the dough up to 24 hours in advance. After completing Step 1 (making the dough), cover it tightly and refrigerate it. This slower fermentation will enhance the flavor and texture of your ciabatta. When you’re ready to bake, simply let the dough sit at room temperature for about 30 minutes before proceeding with Step 3 (fold and rest). Remember to check the dough for its rise; although it can be cold, it should still look bubbly. This way, your ciabatta will be just as delicious while allowing you to savor fresh-baked bread with ease!
What to Serve with Homemade Ciabatta Bread?
Elevate your dining experience by pairing this delightful ciabatta with complementary dishes that enhance its rustic charm.
- Creamy Tomato Soup: A classic combination, the richness of the soup balances the airy texture of the ciabatta, making every bite delightful.
- Garlic Herb Butter: Spread this aromatic blend on warm slices for a simple yet indulgent treat that enhances the bread’s natural flavors.
- Fresh Caprese Salad: Juicy tomatoes and creamy mozzarella on the side bring freshness, while the ciabatta’s crust adds a satisfying crunch.
- Savory Pesto Pasta: The vibrant flavors of pesto create a delicious contrast, and you can use ciabatta to soak up the extra sauce.
- Olive Tapenade: This briny, flavorful spread pairs beautifully with the bread, adding a robust taste that brings out its rustic essence.
- Stuffed Peppers: Whether filled with grains or meat, these hearty morsels make for a wholesome meal, complemented by dipping pieces of ciabatta.
- Chilled White Wine: A crisp, fruity wine cuts through the richness of the bread, refreshing your palate and enhancing the entire dining experience.
- Dark Chocolate Tart: For dessert, the bittersweet richness of chocolate offers a luxurious finish, making your meal memorable from start to finish.
How to Store and Freeze Homemade Ciabatta Bread
Room Temperature: Keep your Homemade Ciabatta Bread wrapped in a clean kitchen towel for up to 2 days, allowing it to breathe while maintaining its crustiness.
Fridge: If you’re in a humid environment, you can store the bread in an airtight bag in the fridge for up to 5 days; however, note that refrigeration may slightly impact the crust texture.
Freezer: Slice your ciabatta and freeze it in a zip-top bag for up to 3 months. To enjoy, toast the slices directly from frozen or reheat the whole loaf in a 350°F oven for about 10 minutes.
Reheating: Enjoy your ciabatta warm by refreshing it in the oven, which revives that delightful homemade quality, perfect for your next meal.
Homemade Ciabatta Bread Variations
Let your creativity shine as you explore delicious variations of this delightful bread!
-
Herbed Twist: Add fresh rosemary or oregano to the dough for a fragrant herb-infused ciabatta that’s irresistible.
-
Savory Add-ins: Fold in olives or sun-dried tomatoes for a flavor-packed bread that’s perfect for snacking or serving with dips.
-
Whole Wheat: Swap all-purpose flour for whole wheat flour to introduce a nutty flavor and elevate the health benefits of your bread.
-
Cheesy Delight: Incorporate shredded cheese like mozzarella or cheddar into the dough to create a cheesy version that will please any crowd.
-
Spicy Kick: Mix in crushed red pepper flakes for a hint of heat, making each bite a little more exciting.
-
Garlic Infusion: For a fragrant, savory twist, add minced garlic to the dough, or brush the bread with garlic butter before baking for added flavor.
-
Nutty Addition: Stir in chopped walnuts or pecans for a delightful crunch and a nutritious upgrade. This adds a wonderful texture and surprise to your ciabatta.
-
Sesame Seed Topping: Sprinkle sesame seeds on top of the loaf before baking for an extra nutty crunch and visual appeal.
Feel free to explore these variations, and enjoy your freshly baked ciabatta in exciting new ways! If you’re looking to expand your homemade bread repertoire, don’t miss out on these tempting recipes: Roll Zucchini Bread or Chocolate Zucchini Bread. Happy baking!
Homemade Ciabatta Bread Recipe FAQs
What type of flour should I use for the best ciabatta?
All-purpose or bread flour works wonderfully for Homemade Ciabatta Bread. Bread flour provides more protein, resulting in a chewier texture. If you’re looking for a nuttier flavor, feel free to swap half the all-purpose flour for whole wheat flour.
How can I tell if my dough has risen enough?
After about 1 hour of rising, the dough should double in size and have bubbles forming on the surface. It should look puffy and airy—this visual indication means that your yeast has activated well, which is crucial for achieving that perfect ciabatta texture.
How should I store leftover ciabatta bread?
To enjoy your Homemade Ciabatta Bread at its best, wrap it in a clean kitchen towel and keep it at room temperature for 1-2 days. This allows the crust to stay crispy. For longer storage, slice the bread and freeze it in a zip-top bag for up to 3 months. Don’t forget to toast sliced pieces straight from the freezer for an easy treat!
Can I freeze ciabatta bread? If so, how?
Absolutely! To freeze your Homemade Ciabatta Bread, wait until it has completely cooled, then slice the loaf. Place the slices in a single layer in a zip-top freezer bag, removing as much air as possible before sealing. Label with the date and freeze for up to 3 months. When you’re ready to enjoy, toast the slices directly from frozen or reheat the whole loaf in a 350°F oven for about 10 minutes until warmed through.
What should I do if my ciabatta turns out too dense?
If your ciabatta ends up denser than expected, it may be due to a few reasons. Ensure you’re using the proper amount of flour; the dough should be wet and sticky. Avoid overworking the dough during the folding process, which can push out the air bubbles needed for a light structure. Lastly, check your yeast—if it’s expired, it may not rise effectively. Always trust your instincts about texture and give yourself room to adjust!
Is ciabatta suitable for dietary restrictions?
Homemade Ciabatta Bread is vegetarian, but if you’re concerned about gluten, consider using gluten-free all-purpose flour. Just keep in mind that the texture and flavor may differ. Always double-check ingredient labels if you’re cooking for someone with allergies, especially regarding store-bought substitutes such as yeast or oils!
Homemade Ciabatta Bread: Bake Fresh in Just 3 Hours
Ingredients
Equipment
Method
- In a large bowl, whisk together the flour, salt, and instant yeast until evenly combined. Gradually add in the lukewarm water, mixing with a sturdy spatula until a wet, sticky dough forms.
- Cover the bowl tightly and allow the dough to rise in a warm place for about 1 hour, until it doubles in size.
- Lightly flour a clean surface and gently turn the dough out onto it. Fold the dough over itself 2 to 3 times, then place it onto a floured baking sheet and let it rest for an additional 30 minutes.
- Preheat your oven to 450°F (230°C). Carefully transfer the ciabatta into the oven and bake for 22 to 25 minutes until golden-brown.
- Remove from the oven and let it cool on a wire rack for at least 30 minutes before slicing.
Leave a Reply