
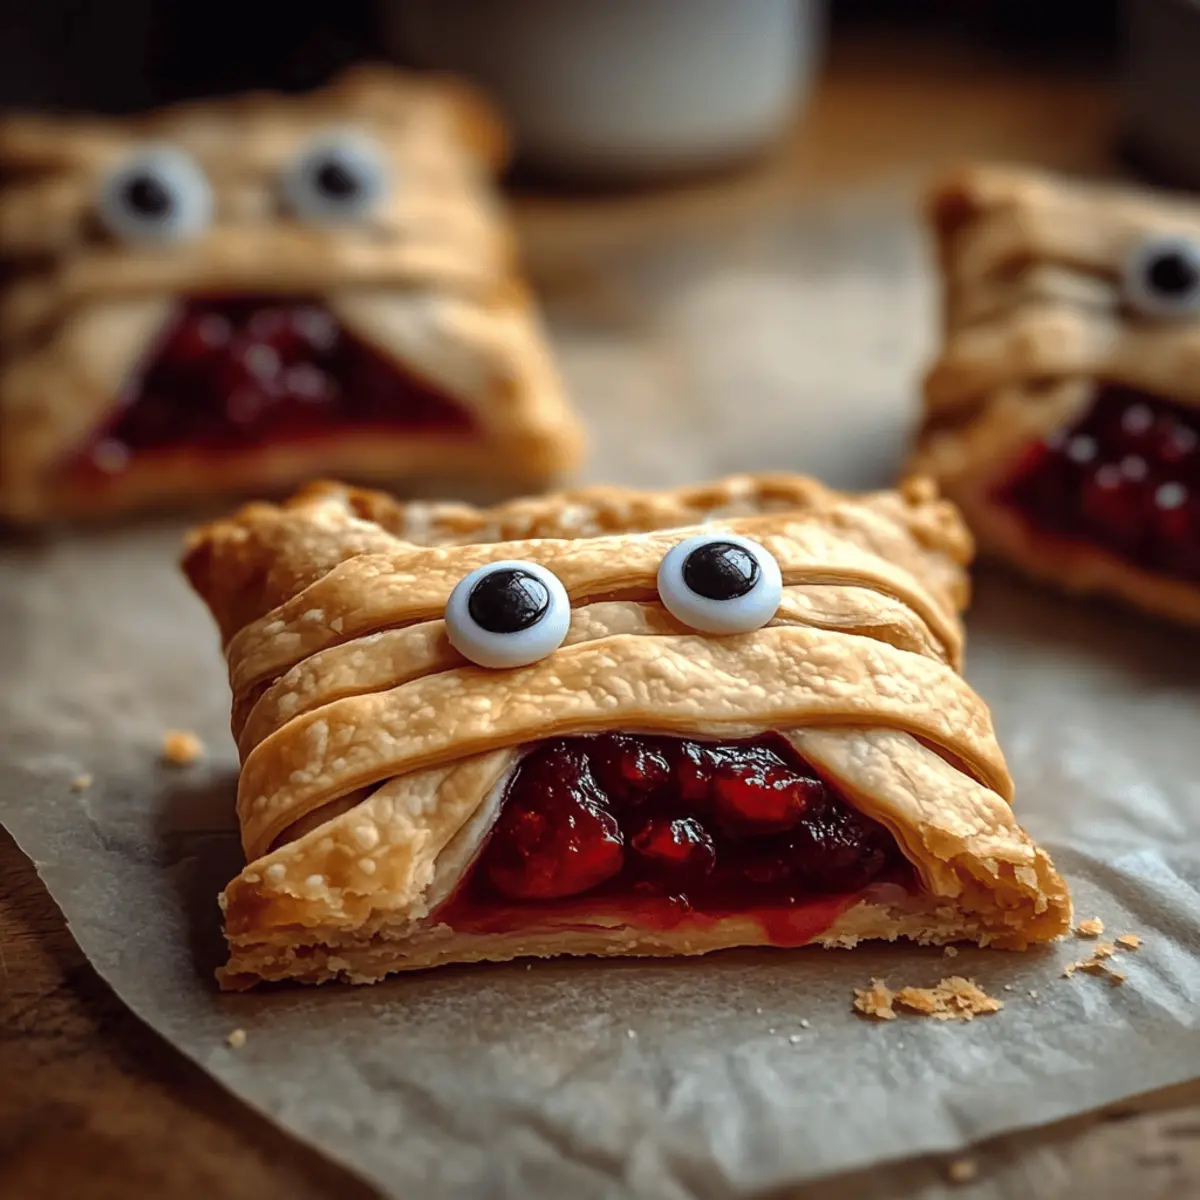
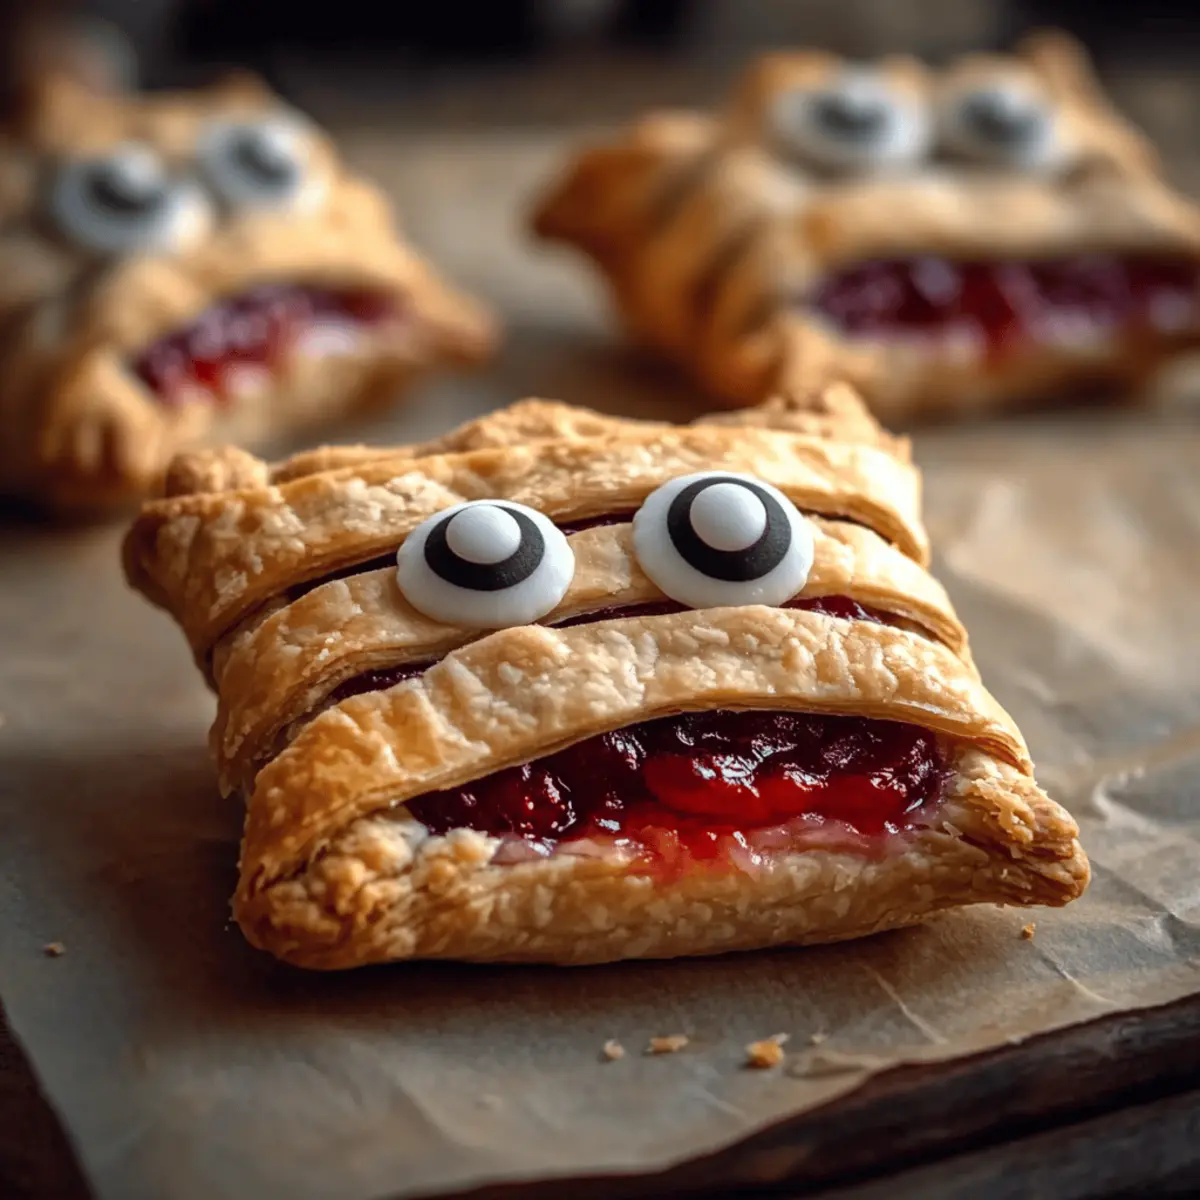
As the crisp autumn air rolls in, my kitchen transforms into a cozy hub of seasonal delights, and this year, I’m particularly excited about my Adorable Mummy Cherry Pies. These spooky treats not only capture the spirit of Halloween but are also so easy to make that even the busiest home chefs can whip them up in no time. Picture flaky pie crust bandages enclosing a warm, gooey cherry filling—it’s the perfect blend of whimsy and comfort that will captivate both kids and adults at your Halloween gatherings. Plus, they’re handheld, making them a fun addition to any party spread. What’s not to love about an adorable dessert that offers a taste of nostalgia? Ready to get your scare on in the kitchen? Let’s dive into this deliciously spooky recipe!

Why Are Mummy Cherry Pies a Must-Make?
Simplicity: This recipe is designed for everyone, whether you’re a first-time baker or a seasoned chef. The use of premade pie dough makes for quick assembly, allowing you to focus on the fun of creating!
Adorable & Fun: These little pies aren’t just treats; they’re conversation starters! With their fun mummy design and candy eyes, they’ll bring smiles to both kids and adults at any Halloween gathering.
Flavorful Filling: Bursting with sweet cherry flavor, these pies offer a delightful balance of tart and sweet that perfectly complements the flaky crust. Looking to switch it up? Try using alternative fillings like apple or blueberry for an exciting twist!
Versatile Serving: Serve them warm for that cozy touch, or allow them to cool for a delightful room temperature dessert. They’re perfect for parties, trick-or-treaters, or a festive family night in!
Make-Ahead Magic: Baking ahead is a breeze! Store leftover pies in the fridge or freeze them for later. Just pop them in the oven for a quick pre-Halloween treat!
These Mummy Cherry Pies truly encapsulate the joy of Halloween baking. Are you ready to bake some spook-tacular treats?
Mummy Cherry Pies Ingredients
• Get ready to create these spooky delights with ease!
For the Dough
• Premade Pie Dough – This saves time and gives you a flaky, crispy result without the fuss!
For the Filling
• Cherry Pie Filling – The star of the show, providing a sweet and tart burst of flavor; feel free to swap it with alternative fillings like apple or blueberry for a twist!
For the Shine
• Egg (beaten) – Brushing this on gives your mummies a beautiful golden sheen.
For the Decoration
• Candy Eyes – These fun touches add a whimsical Halloween flair; they can be omitted if you want a more classic treat!
Step‑by‑Step Instructions for Mummy Cherry Pies
Step 1: Preheat the Oven
Start by preheating your oven to 375°F (190°C) and line a baking sheet with parchment paper. This will ensure that your Mummy Cherry Pies bake evenly and don’t stick to the pan. As the oven heats up, the aromas of the coming treats will start to fill your kitchen, getting everyone excited!
Step 2: Prepare the Dough Circles
Cut out 16 circles (3-inch) from the premade pie dough using a round cutter. Place 8 of these circles directly onto the prepared baking sheet, leaving space between each. This is the base of your adorable Mummy Cherry Pies, and you’ll want them to have enough room to expand as they bake.
Step 3: Create the “Bandages”
Using the remaining 8 dough circles, slice them into strips to simulate “mummy bandages.” Aim for approximately 1/2-inch strips to give a good illusion of wraps. These will be draped over the cherry filling later, adding to the spooky aesthetic of your Mummy Cherry Pies.
Step 4: Add the Filling
Spoon a generous amount of cherry pie filling onto the center of each dough circle on the baking sheet. Be careful not to overfill them; about a tablespoon should suffice, allowing the filling to bubble up without spilling over. The sweet cherry flavor is the star of these pies, so make sure it’s well-distributed!
Step 5: Assemble the Mummies
Take the strips you cut earlier and crisscross them over the filling on each pie, mimicking the look of mummy bandages. Be playful with how you arrange them—some overlapping is encouraged for a fun, haphazard feel. This step transforms your simple pies into charming, spooky treats that will capture everyone’s attention.
Step 6: Brush for Shine
Using a pastry brush, gently coat the tops of the dough with the beaten egg. This will give your Mummy Cherry Pies a beautiful, golden-brown sheen as they bake, making them look even more enticing and party-ready. Make sure to cover all the exposed dough for the best finish.
Step 7: Bake Them Up
Carefully place your baking sheet in the preheated oven and bake for 8–10 minutes, or until the pies puff up and the crust is golden brown. Keep an eye on them during the last few minutes to avoid over-baking. The delightful aroma will be hard to resist as they transform into beautifully flaky treats.
Step 8: Cool and Decorate
Once baked, remove the Mummy Cherry Pies from the oven and let them cool for a few minutes. When they’re cool enough to handle, place candy eyes on the pies for a fun festive touch. This final addition brings your spooky handheld desserts to life, making them irresistibly cute for Halloween festivities.
Mummy Cherry Pies Variations & Substitutions
Feel free to put your own spin on these delightful Mummy Cherry Pies and make them uniquely yours!
- Dairy-Free: Use plant-based butter for the crust to make it dairy-free while keeping the flakiness intact.
- Gluten-Free: Swap the premade pie dough for a gluten-free option to cater to those with dietary restrictions.
- Spicy Kick: Add a pinch of cinnamon or nutmeg to the cherry filling for a warm, spiced twist that complements the sweetness beautifully.
- Nutty Accents: Incorporate finely chopped almonds or pecans into the cherry filling for a delightful crunch and added richness. Imagine the added texture with each bite!
- Different Shapes: Instead of circles, use Halloween-themed cookie cutters for fun shapes. Ghosts, bats, or pumpkins can add extra excitement to your treats.
- Sweet Glaze: Drizzle a simple glaze made from powdered sugar and milk over the finished pies for extra sweetness and a beautiful finish. That little touch of frosting can really elevate the presentation.
- Chocolate Remix: Drizzle melted chocolate over the top to create a rich, dessert-like finish that chocolate lovers will adore. You could even mix chocolate with the cherry filling for an indulgent surprise!
- Fruity Alternatives: Try using alternative fillings, like peach or strawberry, to change up the flavor while still delivering the same fun mummy design. The versatility in fruit can make your Halloween treats stand out even more.
Let your creativity flow as you whip up these Mummy Cherry Pies, making sure to have fun along the way!
Make Ahead Options
These Mummy Cherry Pies are perfect for busy home cooks looking to save time! You can prepare the dough circles and filling up to 24 hours in advance. Simply cut the pie dough and store the circles layered with parchment in the refrigerator. The cherry filling can be prepared ahead and stored in an airtight container in the fridge for up to 3 days. When you’re ready to serve, just assemble the pies by placing the filling on the dough circles, top with the bandage strips, brush with egg, and bake as directed. This way, you’ll have deliciously spooky treats with minimal hassle, ready to delight guests at a moment’s notice!
Expert Tips for Mummy Cherry Pies
Chill Your Dough: Keeping your premade pie dough cold makes it easier to cut and shape, resulting in flaky Mummy Cherry Pies.
Mind the Filling: Avoid overfilling your pies; too much cherry filling can leak out during baking, creating a mess.
Golden Finish: Brush all exposed dough with beaten egg for a shiny, golden crust. It enhances both appearance and flavor!
Creative Flavors: Don’t hesitate to swap cherry filling with apple or blueberry for an unexpected twist on these Mummy Cherry Pies.
Storage Savvy: Best enjoyed fresh, these pies can be stored in the fridge for 2 days. You can also freeze unbaked pies for quick treats later!
How to Store and Freeze Mummy Cherry Pies
Fridge: Store any leftover Mummy Cherry Pies in an airtight container for up to 2 days. Enjoy them warm or at room temperature, but the sooner, the better for the best flavor!
Freezer: Unbaked Mummy Cherry Pies can be frozen. Layer them in an airtight container with parchment paper between them to avoid sticking. Bake from frozen with an additional 3–5 minutes of baking time.
Reheating: If heating previously baked pies, simply pop them in a preheated oven at 350°F (175°C) for about 5–7 minutes, ensuring they’re warm and the crust remains crispy.
Make-Ahead: You can assemble the Mummy Cherry Pies in advance and freeze them unbaked, making for an easy treat whenever you need a spooky dessert!
What to Serve with Mummy Cherry Pies
As you prepare your Mummy Cherry Pies, why not think about the delightful accompaniments that will make your Halloween gathering even more special?
-
Vanilla Ice Cream: A scoop of creamy vanilla ice cream perfectly contrasts the warm, gooey cherry filling, creating a delightful balance of temperatures and flavors. The richness of the ice cream enhances the sweetness of the pie, making each bite irresistible.
-
Spooky Punch: A vibrant, fruity punch adds a festive flair to your Halloween spread. Serve it in a spooky cauldron with floating fruit slices and gummy worms for a fun twist that keeps guests refreshed and energized!
-
Caramel Drizzle: A light drizzle of warm caramel sauce over the pies adds an indulgent touch. Just imagine the sweet and salty notes mingling with the tart cherry filling—a match made in dessert heaven!
-
Pumpkin Spice Latte: Warm, cozy drinks like a pumpkin spice latte evoke the spirit of autumn. The spiced flavor harmonizes beautifully with the sweet cherry filling, making for a sweet pairing.
-
Chocolate-covered Strawberries: These can be a fun dessert contrast! The sweetness and slight tartness of fresh strawberries perfectly complement the rich cherry flavors, while the chocolate adds a decadent touch.
-
Ginger Snap Cookies: Crunchy and spiced, ginger snap cookies provide a delightful contrast to the soft texture of the Mummy Cherry Pies. Their warm spices echo the flavors of the season and offer a satisfying snap!
-
Candy Corn: For a nostalgic, festive touch, serve a small bowl of candy corn. Its sweetness ties in beautifully with the cherry flavors while adding a playful pop of color to your spread.
-
Hot Apple Cider: Warm and comforting, a mug of spiced hot apple cider brings cozy vibes to your Halloween night. The apple notes meld beautifully with the cherry filling, creating an autumnal experience.
These pairings will create an inviting Halloween feast that celebrates the delicious fun of your Mummy Cherry Pies!

Mummy Cherry Pies Recipe FAQs
What type of cherry filling should I use?
You can opt for store-bought cherry pie filling for a quick and easy solution, which provides a consistent flavor. Alternatively, if you’re feeling adventurous, homemade cherry filling using ripe cherries allows for a fresher taste. Look for cherries that are vibrant in color and firm, avoiding any with dark spots or mushiness.
How should I store leftover Mummy Cherry Pies?
To keep your Mummy Cherry Pies fresh, place them in an airtight container and refrigerate for up to 2 days. They taste best when eaten the same day, but if you need to store them, ensure they are cooled to room temperature before sealing to avoid sogginess.
Can I freeze Mummy Cherry Pies?
Absolutely! You can freeze unbaked Mummy Cherry Pies for up to 3 months. Simply layer them in an airtight container with parchment paper in between to prevent sticking. When you’re ready to bake, pop them straight into a preheated oven, adding an extra 3–5 minutes to the baking time.
What if my pie dough becomes too warm when preparing?
If your pre-made pie dough gets too warm, it may become difficult to manipulate. Simply place it back in the refrigerator for about 15–20 minutes to chill. This will restore its firmness and make it much easier to cut and shape into the adorable mummy designs.
Can I make Mummy Cherry Pies vegetarian-friendly?
Yes! To make these treats vegetarian-friendly, simply substitute the beaten egg wash with non-dairy alternatives, such as almond milk or coconut milk brushed on the crust. This will still provide a nice finish without using animal products.
Are Mummy Cherry Pies pet-friendly?
While these Mummy Cherry Pies are delicious for humans, they are not suitable for pets. The sugar and pie filling could upset their stomach. Always be sure to keep any baked goods out of reach from your furry friends.
Spooky Mummy Cherry Pies for a Fun Halloween Treat
Ingredients
Equipment
Method
- Preheat your oven to 375°F (190°C) and line a baking sheet with parchment paper.
- Cut out 16 circles (3-inch) from the premade pie dough using a round cutter. Place 8 on the prepared baking sheet.
- Slice the remaining dough circles into approximately 1/2-inch strips for mummy bandages.
- Spoon a generous amount of cherry pie filling onto the center of each dough circle.
- Crisscross the strips over the filling on each pie, mimicking mummy bandages.
- Brush the tops of the dough with the beaten egg.
- Bake for 8–10 minutes or until the crust is golden brown.
- Let them cool for a few minutes and then add candy eyes.
Leave a Reply